
React Admin Advanced Recipes: Creating and Editing a Record From the List Page

This is the third article in the series of advanced tutorials for React-admin. It assumes you already understand the basics of react-admin and have at least completed the official tutorial.
In the last article, we saw how to have a create, show or edit view of a referenced resource inside a modal or a sliding side panel.
In this article, I’ll explain how to have a create, show or edit view inside a modal or a side panel from the List page.
Why would we do that? Let’s assume this is the administration of a blog which has posts on which the users assign tags and that there are not many tags. The creation and edition forms for tags are really small and probably don’t need a full page. Besides, it would be useful to keep the list of current tags visible while creating and editing. Indeed, the users would then immediately see why they have a duplicated tag error when they try to enter a new tag with an already used name.
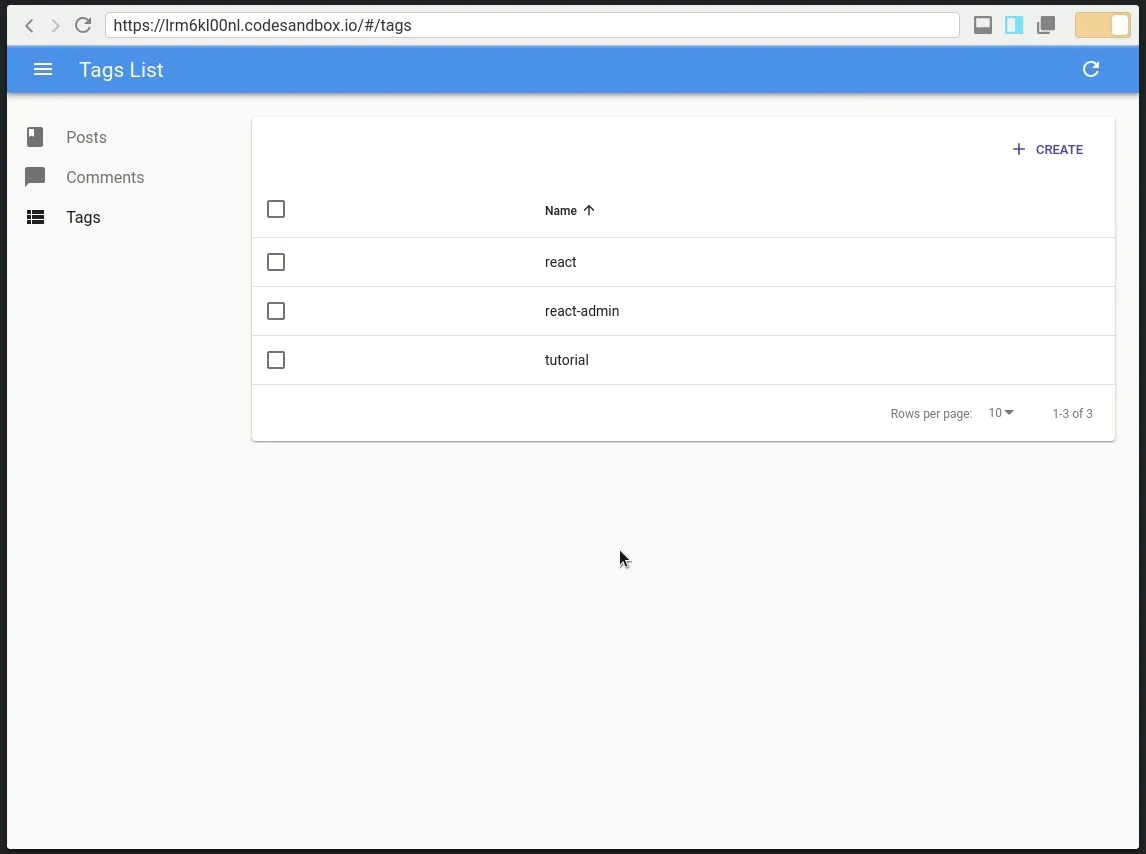
This is the expected result:
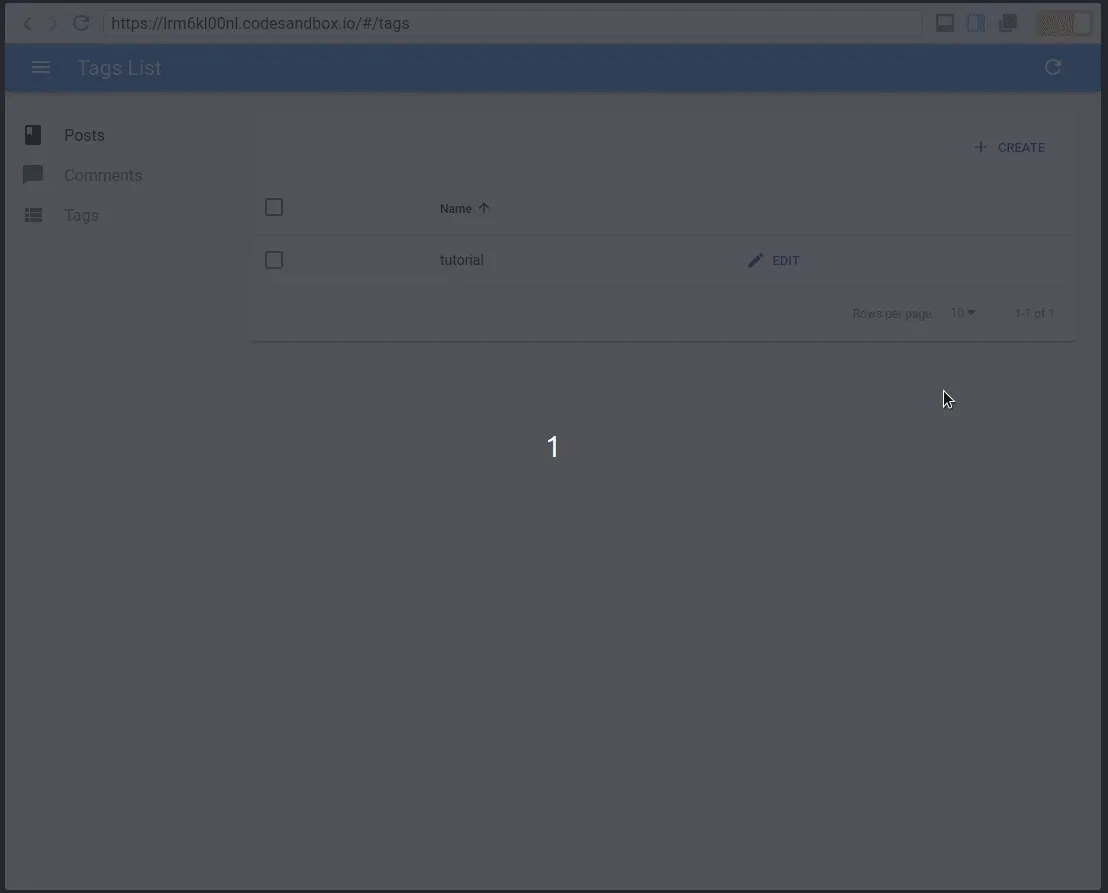
I will work on a fork of the codesandbox that was built in the last article.
Preparation
First, I create simple components for the list and create pages of the tags resource, and export them both:
// in tags/TagList.jsimport React from 'react';import { Datagrid, List, TextField } from 'react-admin';
const TagList = ({ classes, ...props }) => (    <List {...props} sort={{ field: 'name', order: 'ASC' }}>        <Datagrid>            <TextField source="name" />        </Datagrid>    </List>);
export default TagList;
// in tags/TagCreate.jsimport React from 'react';import { Create, TextInput, SimpleForm, required } from 'react-admin';
const TagCreate = props => (    <Create {...props}>        <SimpleForm>            <TextInput source="name" validate={required()} />        </SimpleForm>    </Create>);
export default TagCreate;
// in tags/index.jsimport TagList from './TagList';import TagCreate from './TagCreate';
export default {    list: TagList,    create: TagCreate};
Then, I add theses components to the tags <Resource>:
// in index.jsimport React from 'react';import ReactDOM from 'react-dom';import { Admin, Resource } from 'react-admin';
import dataProvider from './dataProvider';import posts from './posts';import comments from './comments';import tags from './tags';
import './styles.css';
const App = () => (    <Admin dataProvider={dataProvider}>        <Resource name="posts" {...posts} />        <Resource name="comments" {...comments} />       <Resource name="tags" />       <Resource name="tags" {...tags} />    </Admin>);
const rootElement = document.getElementById('root');ReactDOM.render(<App />, rootElement);
Using the object spread operator on {...tags} is just like writing <Resource name="tags" list={TagList} create={TagCreate} />, except it’s shorter.
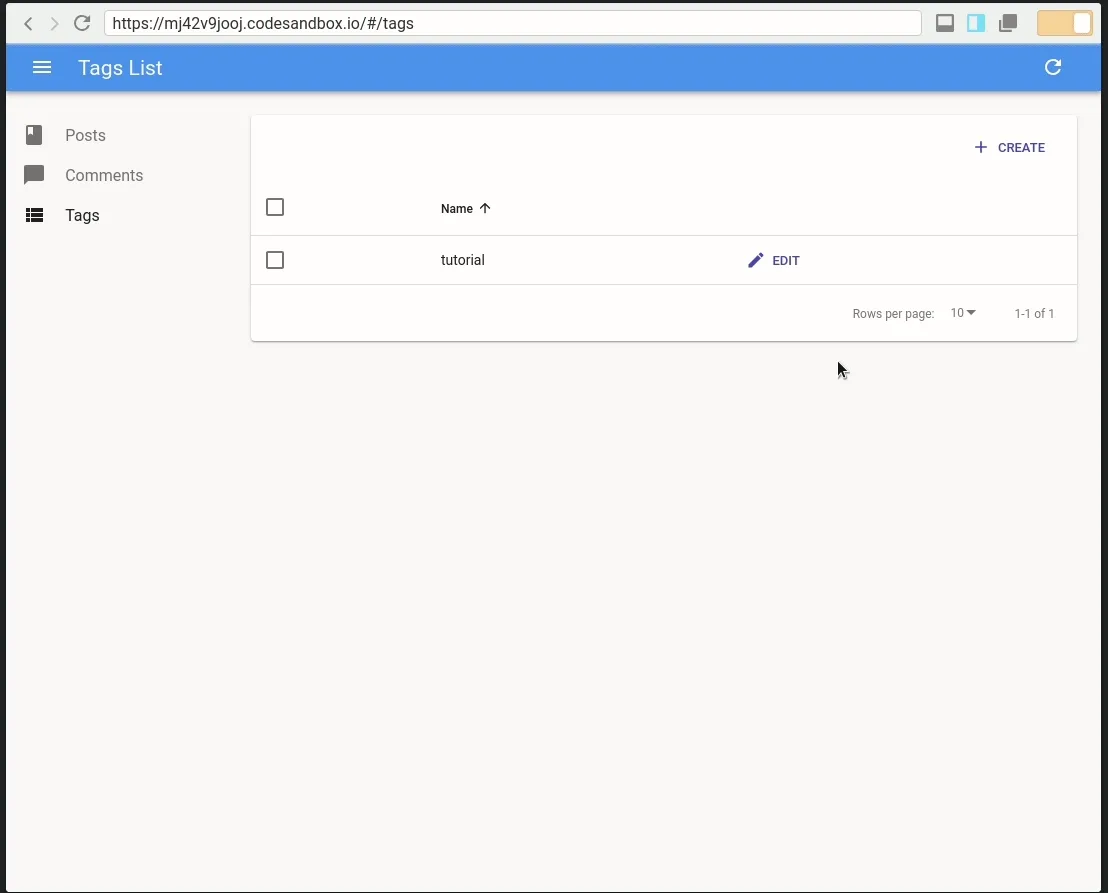
I now have a classic react-admin flow to view and create my tags.
Placing the Create Form Inside The List
Let’s move the create form to the List page!
// in tags/TagList.jsimport React from 'react';import { Datagrid, List, TextField } from 'react-admin';import { Route } from 'react-router';import TagCreate from './TagCreate';
const TagList = props => (   <React.Fragment>        <List {...props} sort={{ field: 'name', order: 'ASC' }}>            <Datagrid>                <TextField source="name" />            </Datagrid>        </List>       <Route           path="/tags/create"           render={() => (               <TagCreate {...props} />           )}       />   </React.Fragment>);
export default TagList;
This won’t work immediately because there are now two competing components for the same /tags/create route: the one I just created in <TagList>, and the one in <Resource>. When I added the create prop to the <Resource name="tags"> component earlier, react-admin created a <Route path="/tags/create"> under the hood. So I must prevent the Resource component to handle the create route:
// in tags/index.jsimport TagList from './TagList';import TagCreate from './TagCreate';
export default {    list: TagList,   create: TagCreate};
It kinda works already as I can see the creation form below the list when I enter the /#/tags/create url.
However, as react-admin is not aware of the create component anymore, it does not include the CreateButton on the list. Let’s fix that:
import React from 'react';import { Datagrid, List, TextField } from 'react-admin';import { Datagrid, List, TextField, CardActions, CreateButton } from 'react-admin';import { Route } from 'react-router';import TagCreate from './TagCreate';
const TagListActions = ({ basePath }) => (   <CardActions>       <CreateButton basePath={basePath} />   </CardActions>);
const TagList = props => (    <React.Fragment>       <List {...props} sort={{ field: 'name', order: 'ASC' }}>       <List {...props} sort={{ field: 'name', order: 'ASC' }} actions={<TagListActions />}>            <Datagrid>                <TextField source="name" />            </Datagrid>        </List>        <Route            path="/tags/create"            render={() => (                <TagCreate {...props} />            )}        />    </React.Fragment>);
export default TagList;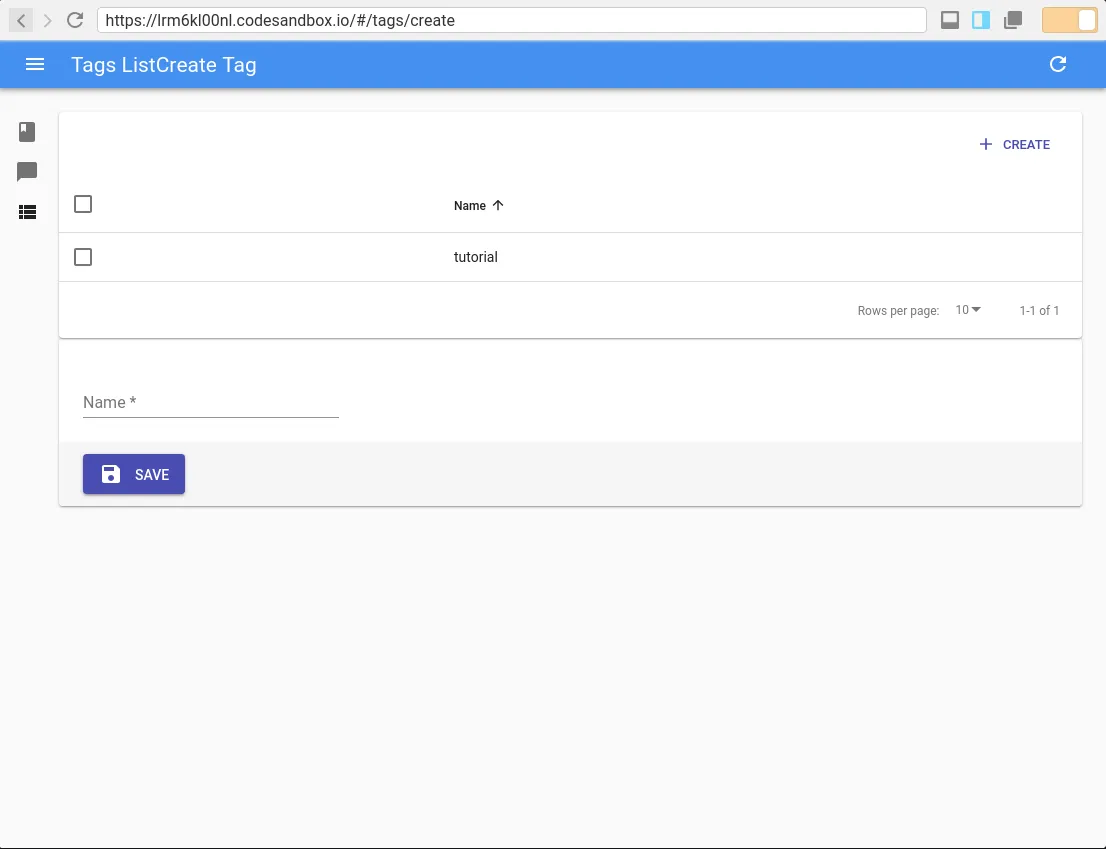
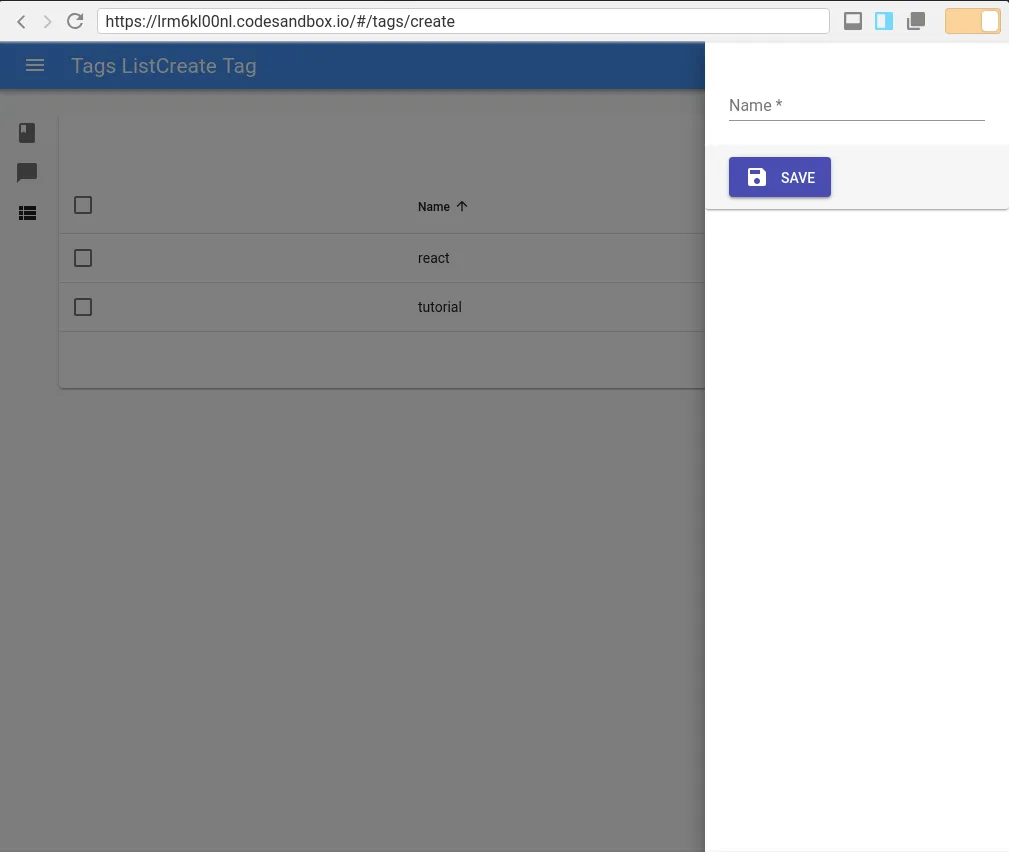
Placing the Create Form Inside a Drawer
Now I have to wrap the creation form inside a Drawer. I chose a drawer here because a dialog would appear on top of the list page and hide at least some of the tags.
I just need to wrap the <TagCreate> component with a material-ui <Drawer> component:
import { Drawer } from '@material-ui/core';
const TagList = props => (    <Fragment>        <List            {...props}            sort={{ field: 'name', order: 'ASC' }}            actions={<TagListActions />}        >            <Datagrid>                <TextField source="name" />            </Datagrid>        </List>        <Route            path="/tags/create"            render={() => (               <Drawer open>                    <TagCreate {...props} />               </Drawer>            )}        />    </Fragment>);
It works, and if I enter a tag name then save it, it actually closes the drawer! That’s because the <Create> component redirects to the list page by default.
Handling Cancellation
Currently, I can’t close the drawer by myself if I want to cancel. Let’s fix that!
First, I have to make the <TagList> a class component and add a handleClose method.
I’ll then use this method to handle the onClose event of the Drawer component.
This will allow me to close it using the Escape key or by clicking the background overlay.
The handleClose method will dispatch the react-router-redux push action to redirect to the list page:
// in tags/TagList.jsimport React, { Fragment } from "react";import { connect } from "react-redux";import { push } from "react-router-redux";
import {  Datagrid,  List,  TextField,  CardActions,  CreateButton,} from "react-admin";import { Route } from "react-router";import { Drawer } from "@material-ui/core";import TagCreate from "./TagCreate";
const TagListActions = ({ basePath }) => (  <CardActions>    <CreateButton basePath={basePath} />  </CardActions>);
class TagList extends React.Component {  render() {    const props = this.props;    return (      <Fragment>        <List          {...props}          sort={{ field: "name", order: "ASC" }}          actions={<TagListActions />}        >          <Datagrid>            <TextField source="name" />          </Datagrid>        </List>        <Route          path="/tags/create"          render={() => (            <Drawer open onClose={this.handleClose}>              <TagCreate {...props} />            </Drawer>          )}        />      </Fragment>    );  }
  handleClose = () => {    this.props.push("/tags");  };}
export default connect(undefined, { push })(TagList);
That’s nice but not very discoverable. It would be better to also include a cancel button. To do that, I override the <TagCreate> component toolbar:
import React from 'react';import { Create, TextInput, SimpleForm, required, SaveButton, Toolbar, translate } from 'react-admin';import Button from '@material-ui/core/Button';
const TagCreateToolbar = translate(({ onCancel, translate, ...props }) => (   <Toolbar {...props}>       <SaveButton />       <Button onClick={onCancel}>{translate('ra.action.cancel')}</Button>   </Toolbar>));
const TagCreate = props => (const TagCreate = ({ onCancel, ...props }) => (    <Create {...props}>       <SimpleForm>       <SimpleForm toolbar={<TagCreateToolbar onCancel={onCancel} />}>            <TextInput source="name" validate={required()} />        </SimpleForm>    </Create>);
export default TagCreate;
Now I can pass the handleClose to the <TagCreate> component:
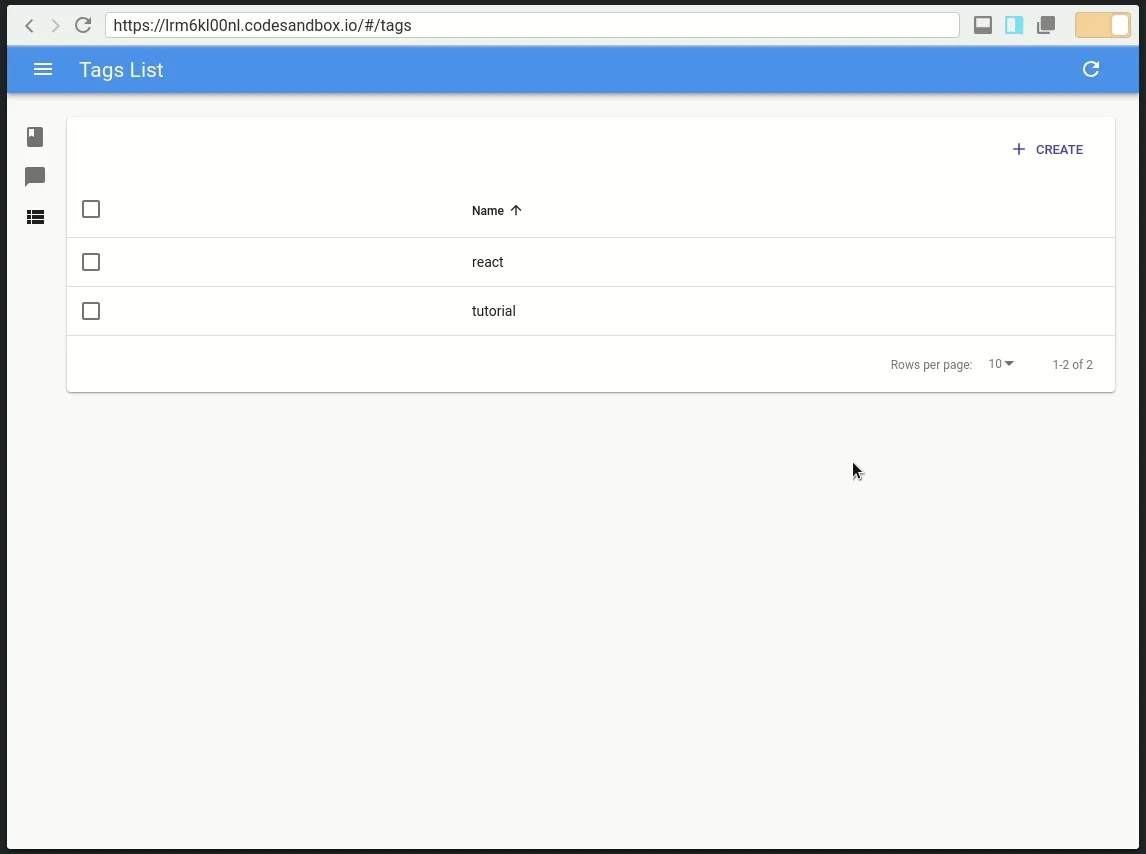
<TagCreate onCancel={this.handleClose} {...props} />And voila!
Adding Polish
Acute observers may notice two small issues though.
The first one is the page title, which can be seen behind the background overlay. It contains the concatenation of the List and Create pages titles.
It’s due to the way <List> and <Create> set the page title - by appending a string to the page title portal. As both <List> and <Create> render on the same page, the resulting title doesn’t make sense. I can fix it by setting the <Create> page title to an empty string:
const TagCreate = ({ onCancel, ...props }) => (   <Create {...props}>   <Create title=" " {...props}>        <SimpleForm toolbar={<TagCreateToolbar onCancel={onCancel} />}>            <TextInput source="name" validate={required()} />        </SimpleForm>    </Create>);
export default TagCreate;
The second issue is that the Drawer open and close sequences are not animated.
What happens is that the Drawer component is only mounted when the create route matches. To fix it, I must always mount this component but only set its open prop to true when the route matches. Fortunately, react-router supports this scenario. All it takes is to move the content of the route render prop inside the children prop and check whether there is a match:
<Route path="/tags/create"> {({ match }) => ( <Drawer open={!!match} anchor="right" onClose={this.handleClose}> <TagCreate onCancel={this.handleClose} {...props} /> </Drawer> )}</Route>This results in a beautifully animated creation process:
Let’s do the same for the tags edition!
Quick Edit Inside a Drawer From the List Page
I add the following route to the <TagList> component, just below the create route:
<Route path="/tags/:id">  {({ match }) => {    const isMatch = match && match.params && match.params.id !== "create";
    return (      <Drawer open={isMatch} anchor="right" onClose={this.handleClose}>        {/* To avoid any errors if the route does not match, we don't render at all the component in this case */}        {isMatch ? (          <TagEdit            id={match.params.id}            onCancel={this.handleClose}            {...props}          />        ) : null}      </Drawer>    );  }}</Route>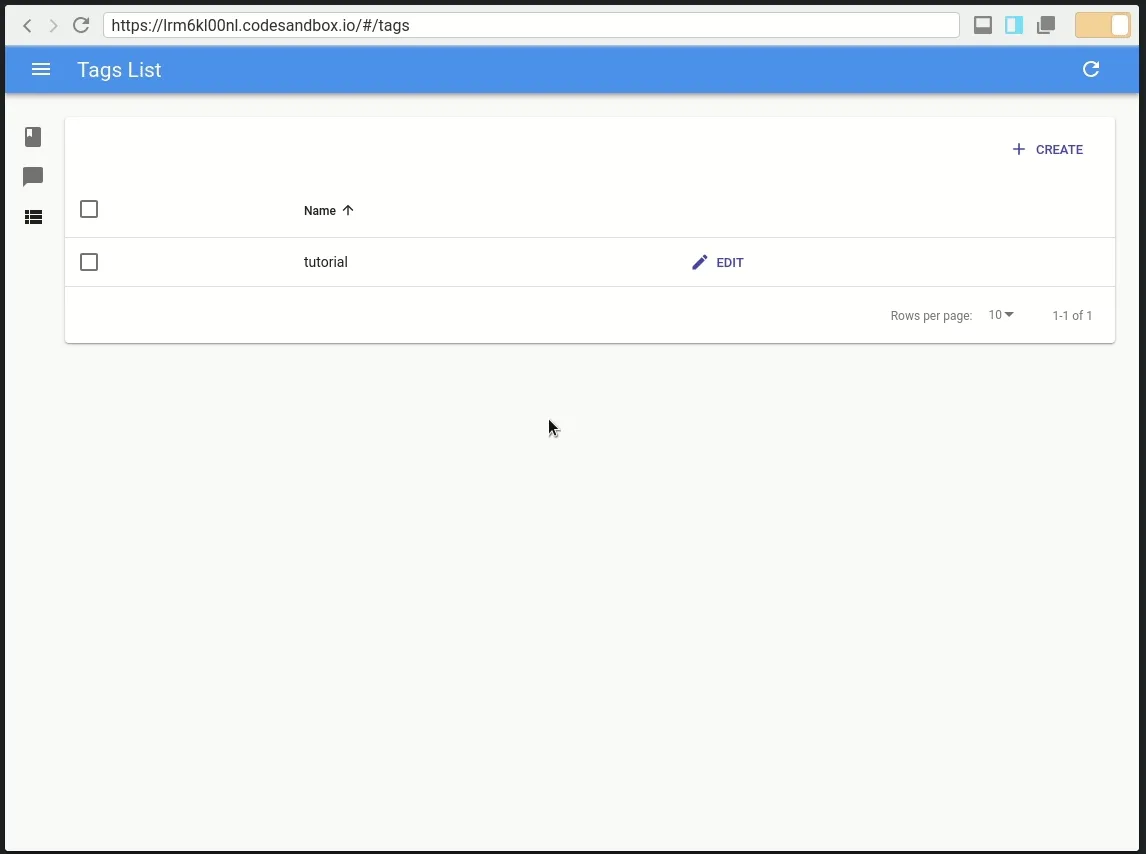
Almost there. You can probably see that while I do have open and close animations for the <Drawer> in creation, I only have the open animation in edition.
This is because I don’t render the <TargetEdit> when there is no match, which happens when I redirect to the list page. With no content, the <Drawer> is empty and has a zero width. The easy fix for this would be to force the width of the <Drawer> content:
import { Drawer } from '@material-ui/core';import { Drawer, withStyles } from '@material-ui/core';import compose from 'recompose/compose';
const styles = {    drawerContent: {        width: 300    }};
class TagList extends React.Component {    render() {        const { push, classes, ...props } = this.props;        return (            <Fragment>                <List                    {...props}                    sort={{ field: 'name', order: 'ASC' }}                    actions={<TagListActions />}                >                    <Datagrid>                        <TextField source="name" />                        <EditButton />                    </Datagrid>                </List>                <Route path="/tags/create">                    {({ match }) => (                        <Drawer                            open={!!match}                            anchor="right"                            onClose={this.handleClose}                        >                            <TagCreate                               className={classes.drawerContent}                                onCancel={this.handleClose}                                {...props}                            />                        </Drawer>                    )}                </Route>                <Route path="/tags/:id">                    {({ match }) => {                        const isMatch =                            match &&                            match.params &&                            match.params.id !== 'create';
                        return (                            <Drawer                                open={isMatch}                                anchor="right"                                onClose={this.handleClose}                            >                                {isMatch ? (                                    <TagEdit                                       className={classes.drawerContent}                                        id={isMatch ? match.params.id : null}                                        onCancel={this.handleClose}                                        {...props}                                    />                               ) : null}                               ) : (                                   <div className={classes.drawerContent} />                               )}                            </Drawer>                        );                    }}                </Route>            </Fragment>        );    }}
export default compose(    connect(        undefined,        { push }    ),    withStyles(styles))(TagList);
This is the end result:
NOTE: If you know react-router, you might wonder why I didn’t use a <Switch> component, and instead manually checked that the route parameter id is not create. That’s because it would break the animations again. Indeed, the <Switch> component will only render the route that matches.
Conclusion
I hope this tutorial has shown how easy customizing react-admin can be. The only difficulty here was actually to understand how to make react-router and material-ui work together.
Note that we could have used a Dialog component with almost the same code.
You can find the complete code in this codesandbox.

Authors
Full-stack web developer at marmelab, Gildas has a strong appetite for emerging technologies. If you want an informed opinion on a new library, ask him, he's probably used it on a real project already.