Custom Fields
You can extend the data model of Atomic CRM by adding custom fields to the existing entities (Contacts, Companies, Deals, Notes, and Tasks).
Updating The Data Model
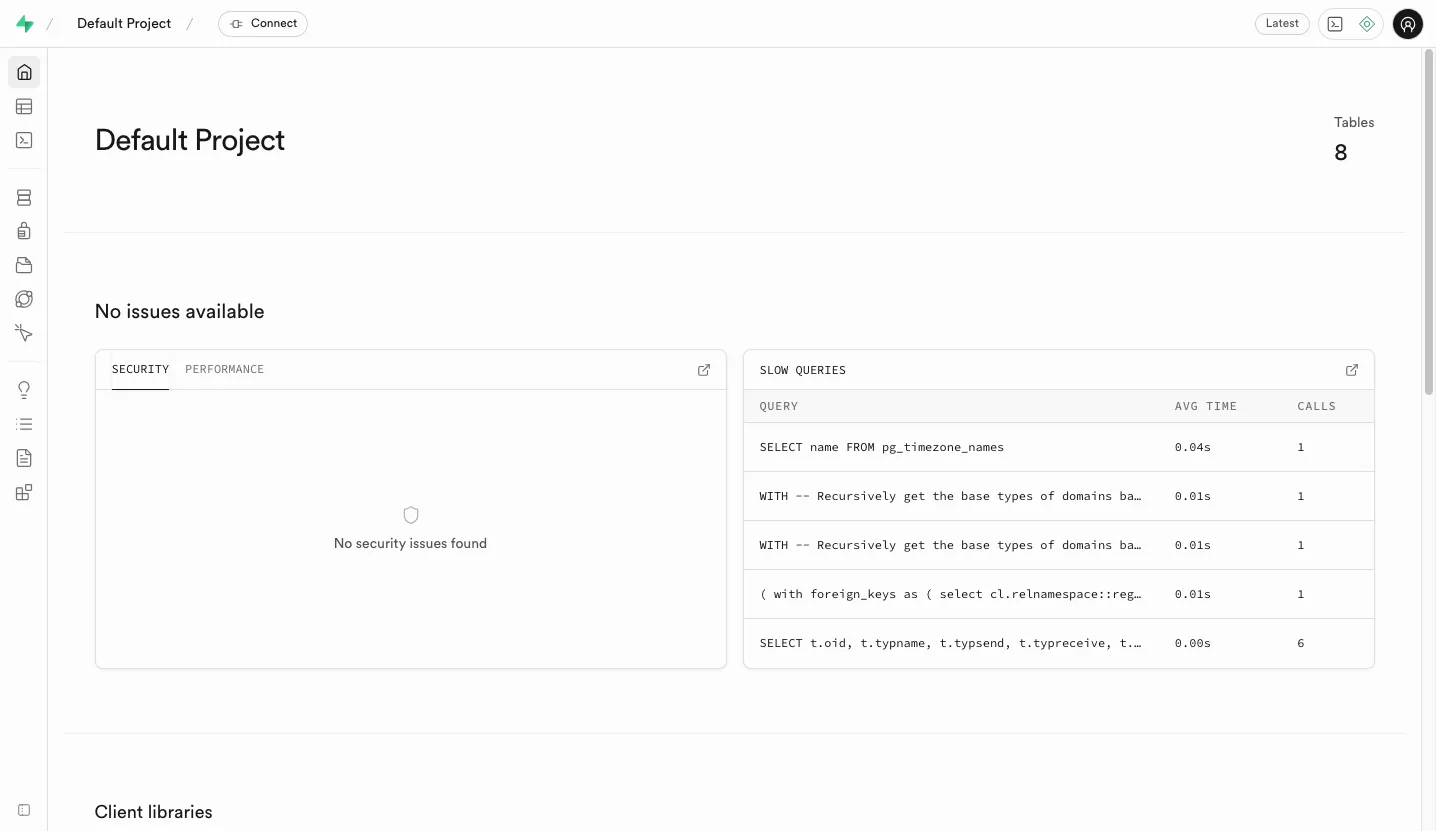
Section titled “Updating The Data Model”The Supabase Studio provides a visual editor for the database schema. To access the Studio, go to http://localhost:54323/.
We’re going to add a custom field to the Contacts table: a “Referred By” text field to store the name of the person who referred the contact.
-
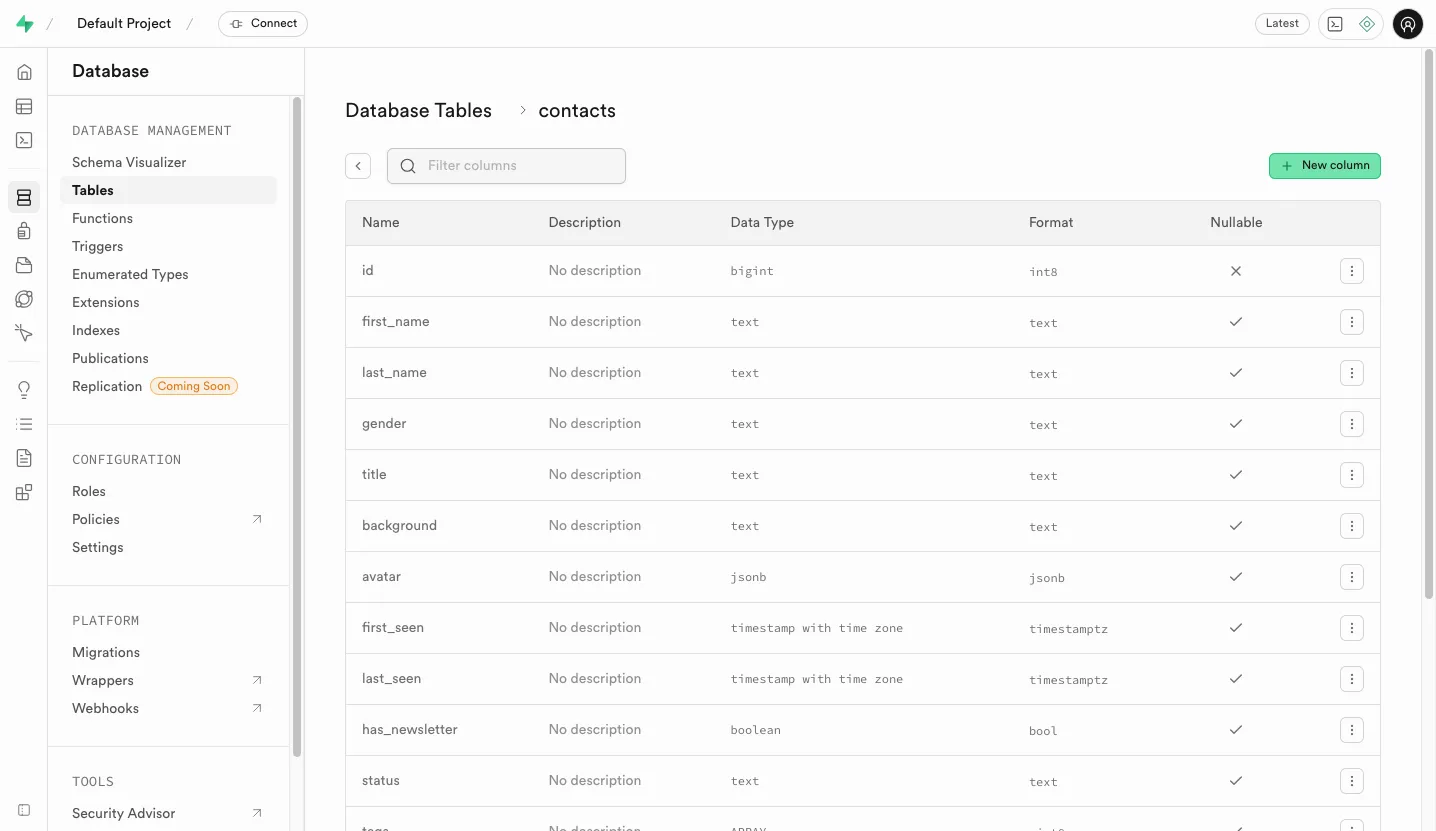
Click on the Database menu
-
Choose the Tables section in the Database management panel. You will see the list of tables used by Atomic CRM.
-
Click on the
contactstable in the list of tables. -
Click on the “New Column” button to add a new column to the table.
-
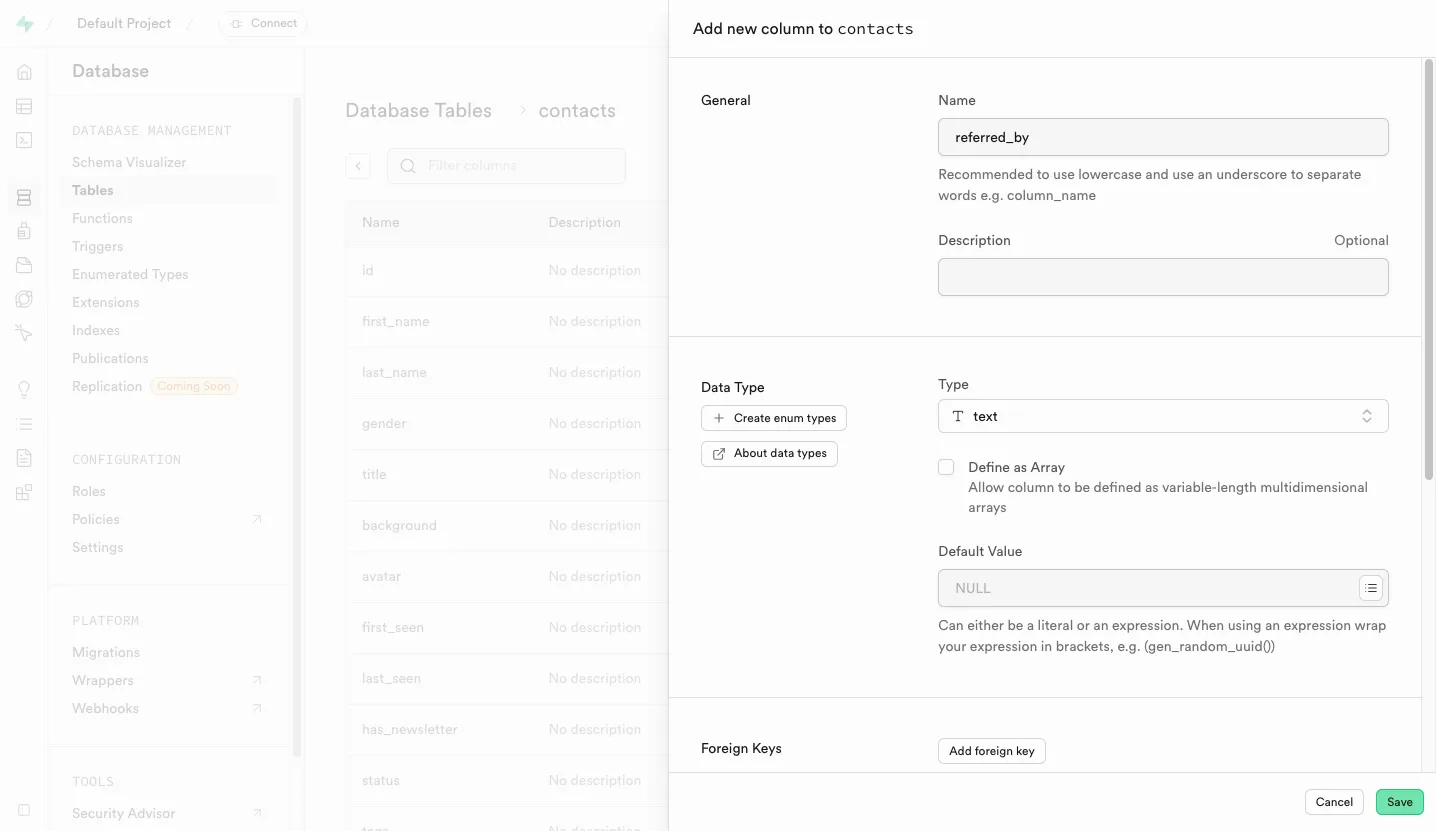
In the “Add new column to contacts” dialog, enter the following details:
- Name:
referred_by - Type:
text - Default value: leave empty
- Allow Nullable: checked
- Name:
-
Finally, click on the “Save” button to add the new column to the table.
Atomic CRM uses views to simplify the queries. You need to update the contacts_summary view to include the new referred_by field.
-
Click on the “SQL Editor” menu in the left sidebar.
-
Enter the following SQL query to update the
contacts_summaryview:drop view "public"."contacts_summary";create view "public"."contacts_summary"with (security_invoker=on)asselectco.*,c.name as company_name,count(distinct t.id) as nb_tasksfrom"public"."contacts" coleft join"public"."tasks" t on co.id = t.contact_idleft join"public"."companies" c on co.company_id = c.idgroup byco.id, c.name;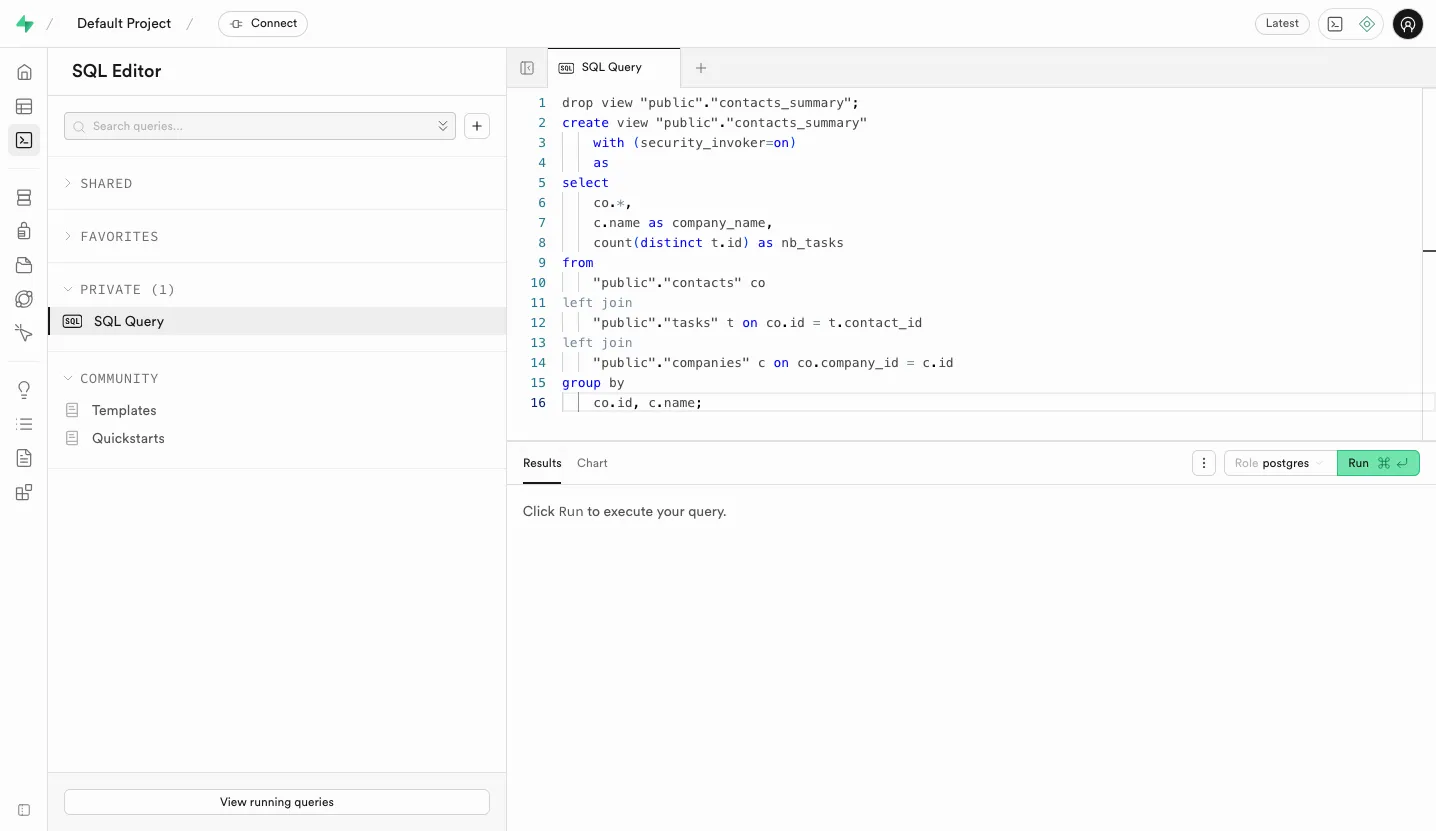
-
Click on the “Run” button to execute the SQL command. You will need to confirm the action since it will drop and recreate the view.
-
Create a migration for these schema changes, to allow them to be replicated in production. Run the following command in your terminal:
Terminal window npx supabase db diff -f create_referred_byThis will create a new migration file in the
supabase/migrationsfolder. Supabase will automatically apply this migration when you deploy to production.
That’s it! You’ve just added a custom field to the Contacts entity. Supabase automatically updates the API to include the new field.
Displaying Custom Fields in the Frontend
Section titled “Displaying Custom Fields in the Frontend”Next, you need to make this new field available in the frontend.
The frontend code lives in the src/components/atomic-crm folder, and is organized by entities. Each entity has its own folder containing all the components related to that entity. Take a few minutes to explore the codebase and familiarize yourself with its structure.
Atomic CRM uses TypeScript to ensure type safety, so you’ll need to modify the Contact type to include the new referred_by field. Open the src/components/atomic-crm/types.ts file and add the referred_by field to the Contact interface.
export type Contact = { first_name: string; last_name: string; title: string; company_id: Identifier; email_jsonb: EmailAndType[]; avatar?: Partial<RAFile>; linkedin_url?: string | null; first_seen: string; last_seen: string; has_newsletter: boolean; tags: Identifier[]; gender: string; sales_id: Identifier; status: string; background: string; phone_jsonb: PhoneNumberAndType[]; referred_by?: string; nb_tasks?: number; company_name?: string;} & Pick<RaRecord, "id">;You will modify the contact creation and edition form to include an input for the referred_by field.
To do so, open the src/components/atomic-crm/contacts/ContactInputs.tsx file to edit the <ContactInputs> component and add a new <TextInput>.
const ContactMiscInputs = () => { return ( <div className="flex flex-col gap-4"> <h6 className="text-lg font-semibold">Misc</h6> <TextInput source="referred_by" helperText={false} /> <TextInput source="background" label="Background info (bio, how you met, etc)" multiline helperText={false} /> <BooleanInput source="has_newsletter" helperText={false} /> <ReferenceInput reference="sales" source="sales_id" sort={{ field: "last_name", order: "ASC" }} filter={{ "disabled@neq": true, }} > <SelectInput helperText={false} label="Account manager" optionText={saleOptionRenderer} validate={required()} /> </ReferenceInput> </div> );};<TextInput> is a Shadcn Admin Kit component that binds a form field to the form state. Upon submission, the form data will include the referred_by field and the Supabase API will store it in the database.
The application will automatically pick up this code change. Go back to http://localhost:5173/ and you can now create or edit a contact and set the “Referred By” field.
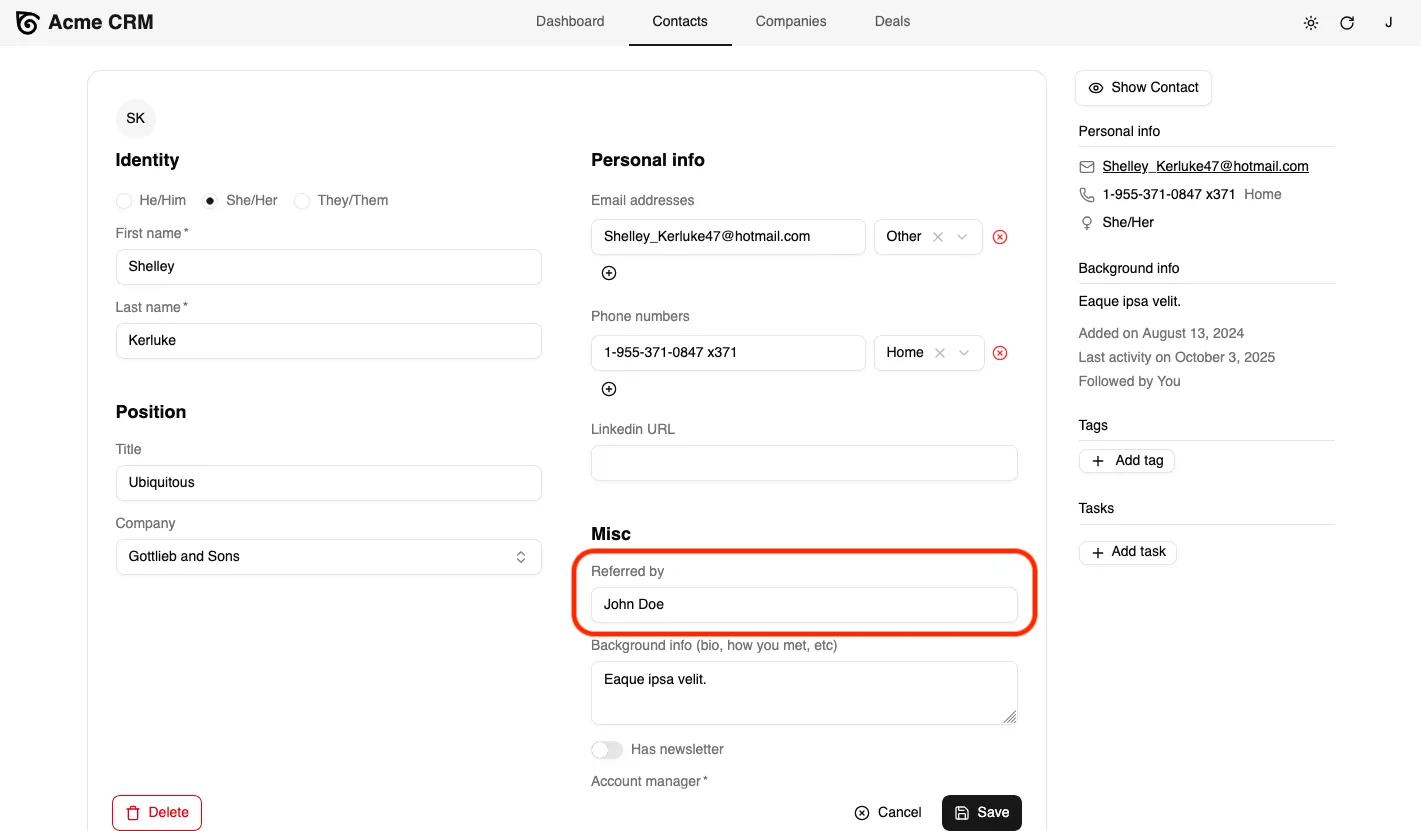
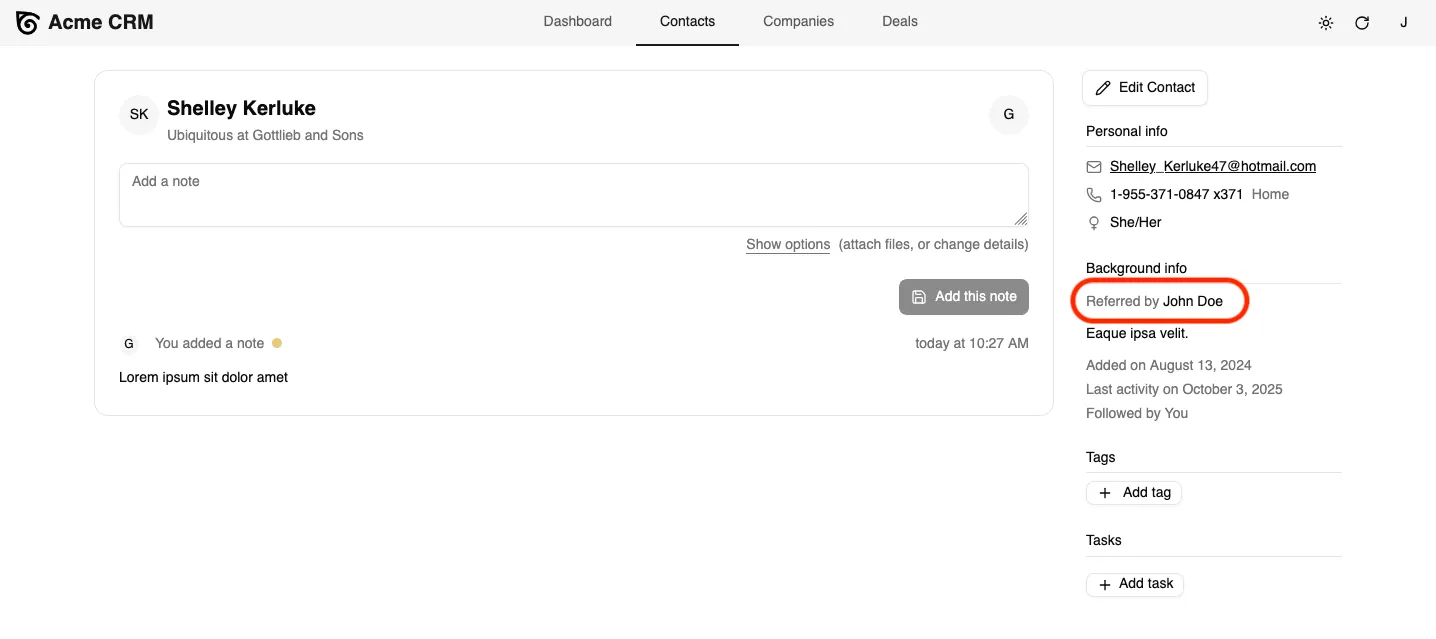
Finally, update the Contacts sidebar to display the referrer when available. Open the src/components/atomic-crm/contacts/ContactAside.tsx file and add a new <TextField> for the referred_by field.
export const ContactAside = ({ link = "edit" }: { link?: "edit" | "show" }) => { // ... <AsideSection title="Background info"> {record.referred_by && ( <div className="pb-2"> <span className="text-sm text-muted-foreground mr-1"> Referred by </span> <TextField source="referred_by" /> </div> )} <WithRecord<Contact> render={(record) => record?.background ? ( <TextField source="background" record={record} className="pb-2" /> ) : null } /> // ...};This will display the “Referred By” information in the contact sidebar when available.