Single Sign-On (SSO) with SAML
Atomic CRM supports SSO (Single Sign-On) authentication through SAML 2.0. This allows your users to authenticate using their existing credentials from an identity provider, such as Google Workspace, Okta, or Microsoft Azure AD.
Setup SSO with Google Workspace
Section titled “Setup SSO with Google Workspace”This section explains how to set up SSO with Google Workspace as the identity provider. The steps are similar for other identity providers, but the exact UI and terminology may differ.
Enable SSO in Supabase
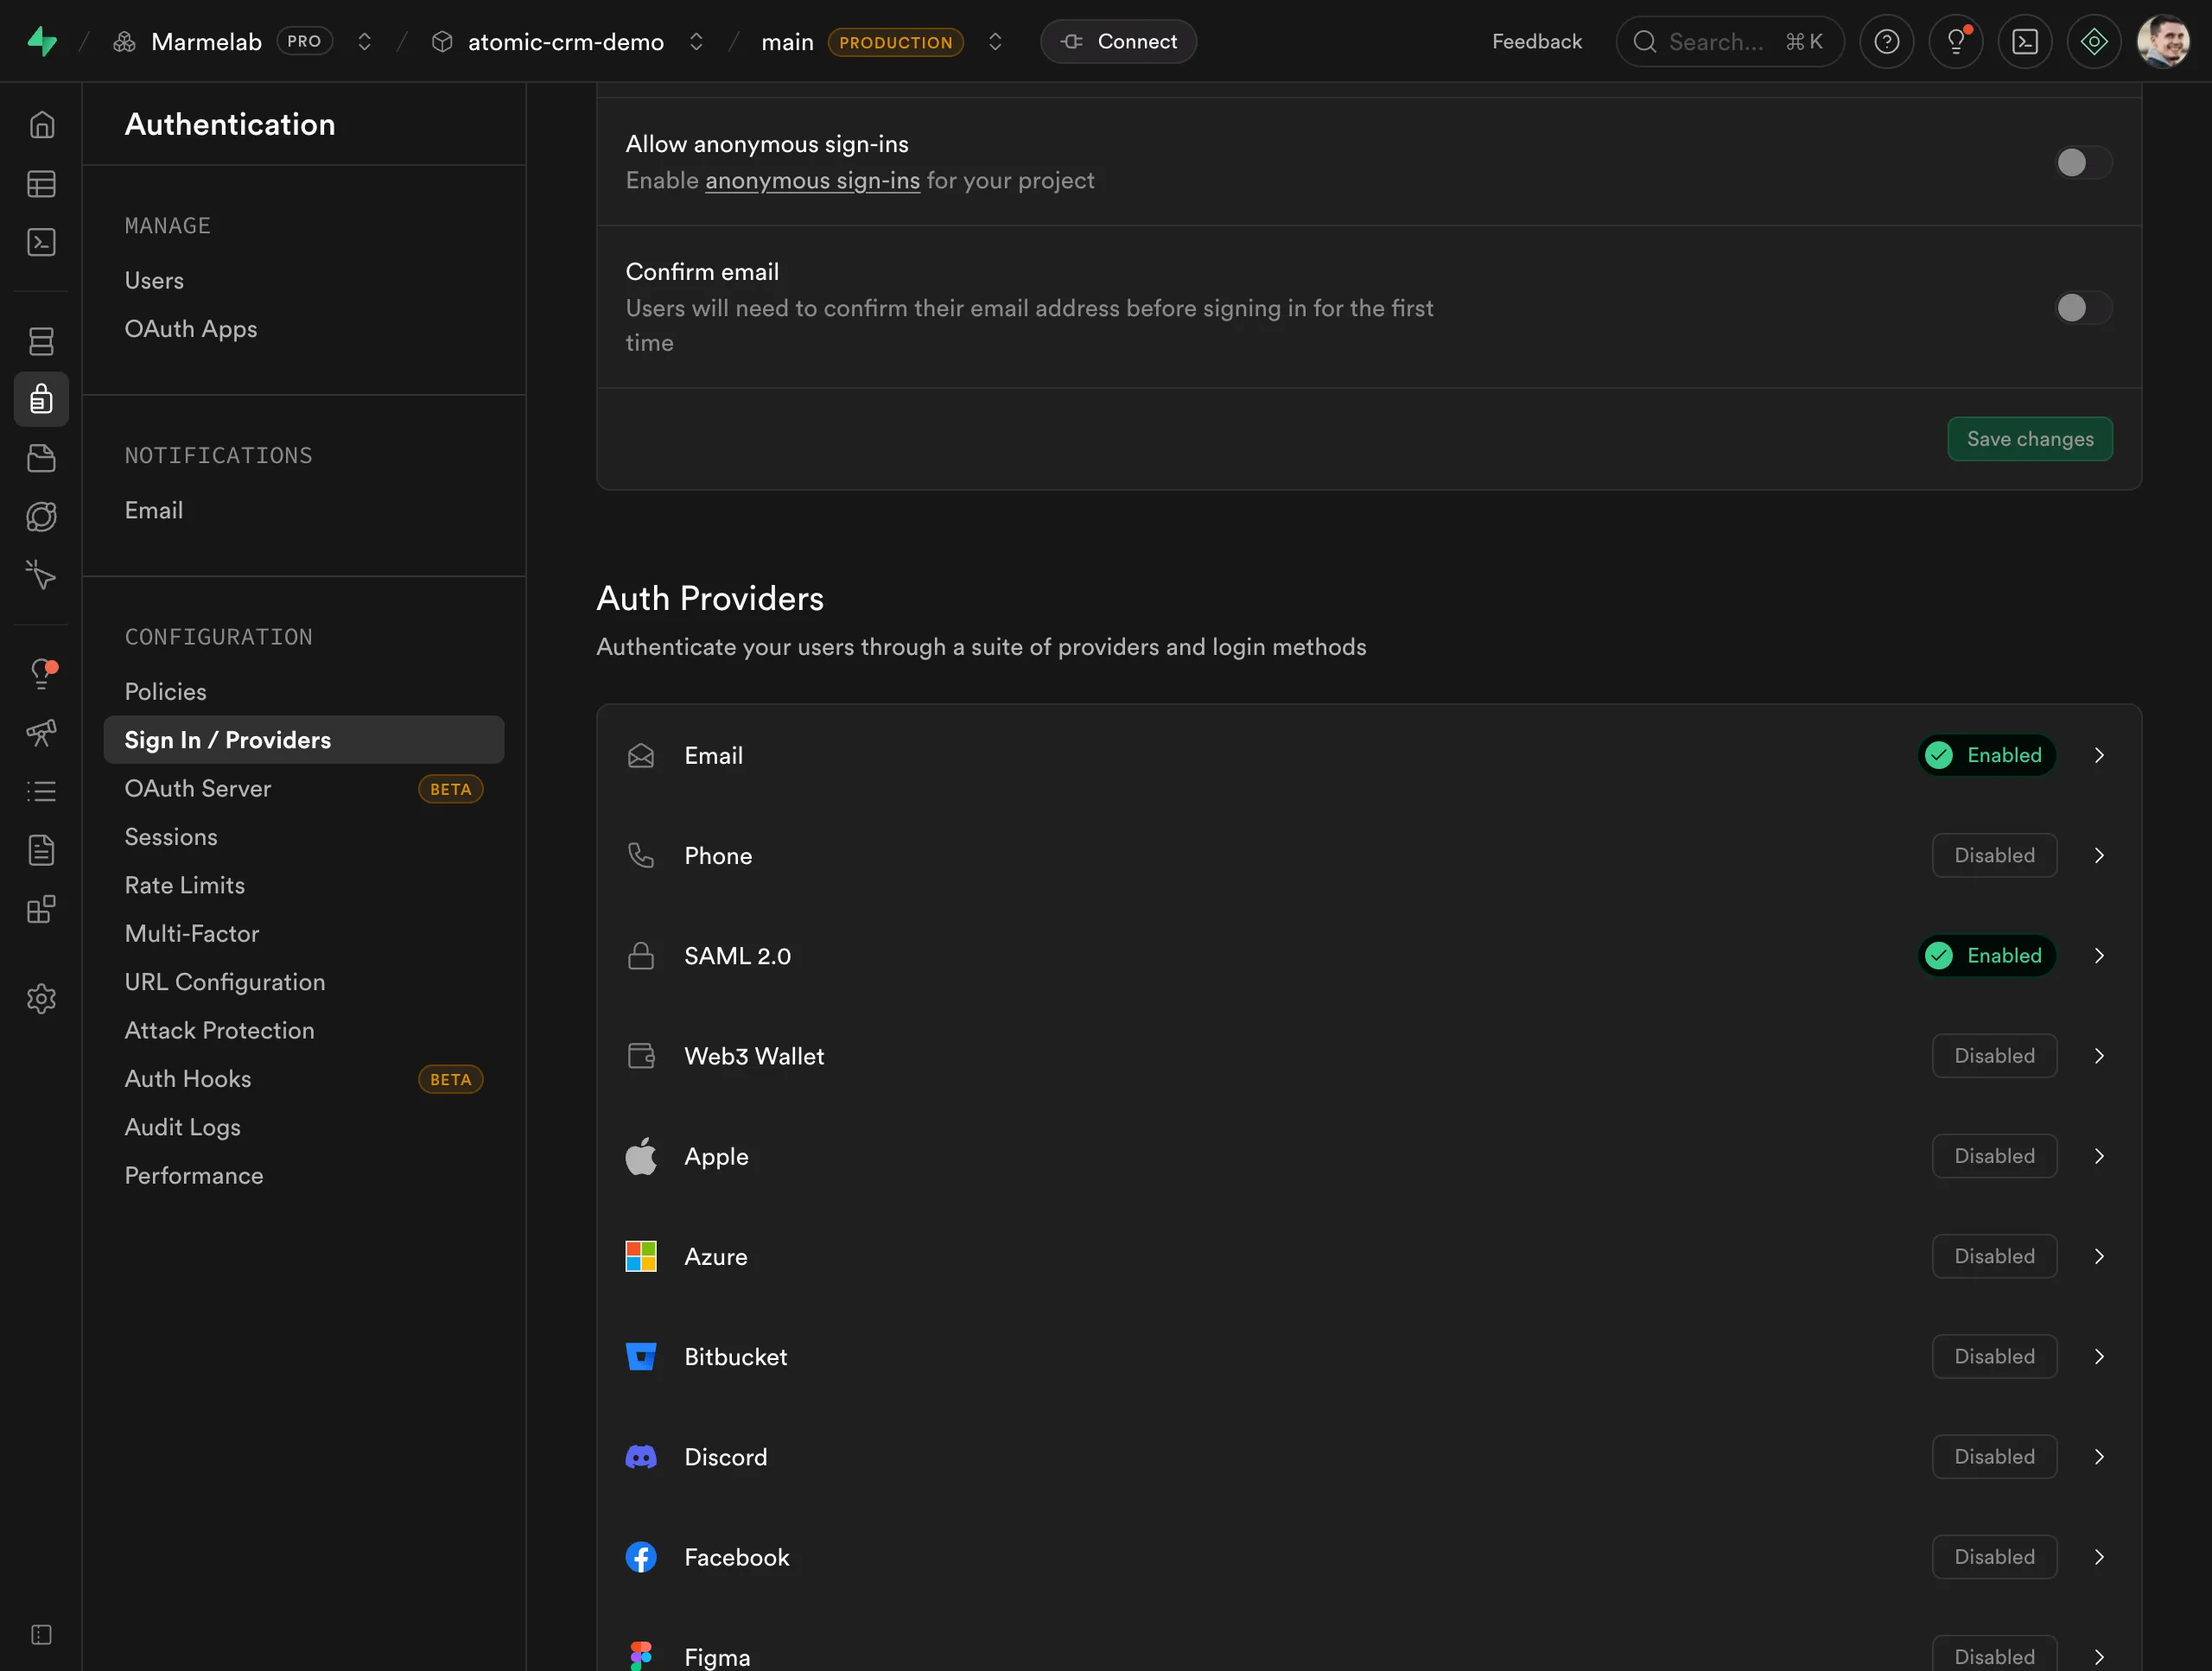
Section titled “Enable SSO in Supabase”In Authentication > Sign in / Providers, enable SAML 2.0:
Create Application in Google Workspace
Section titled “Create Application in Google Workspace”-
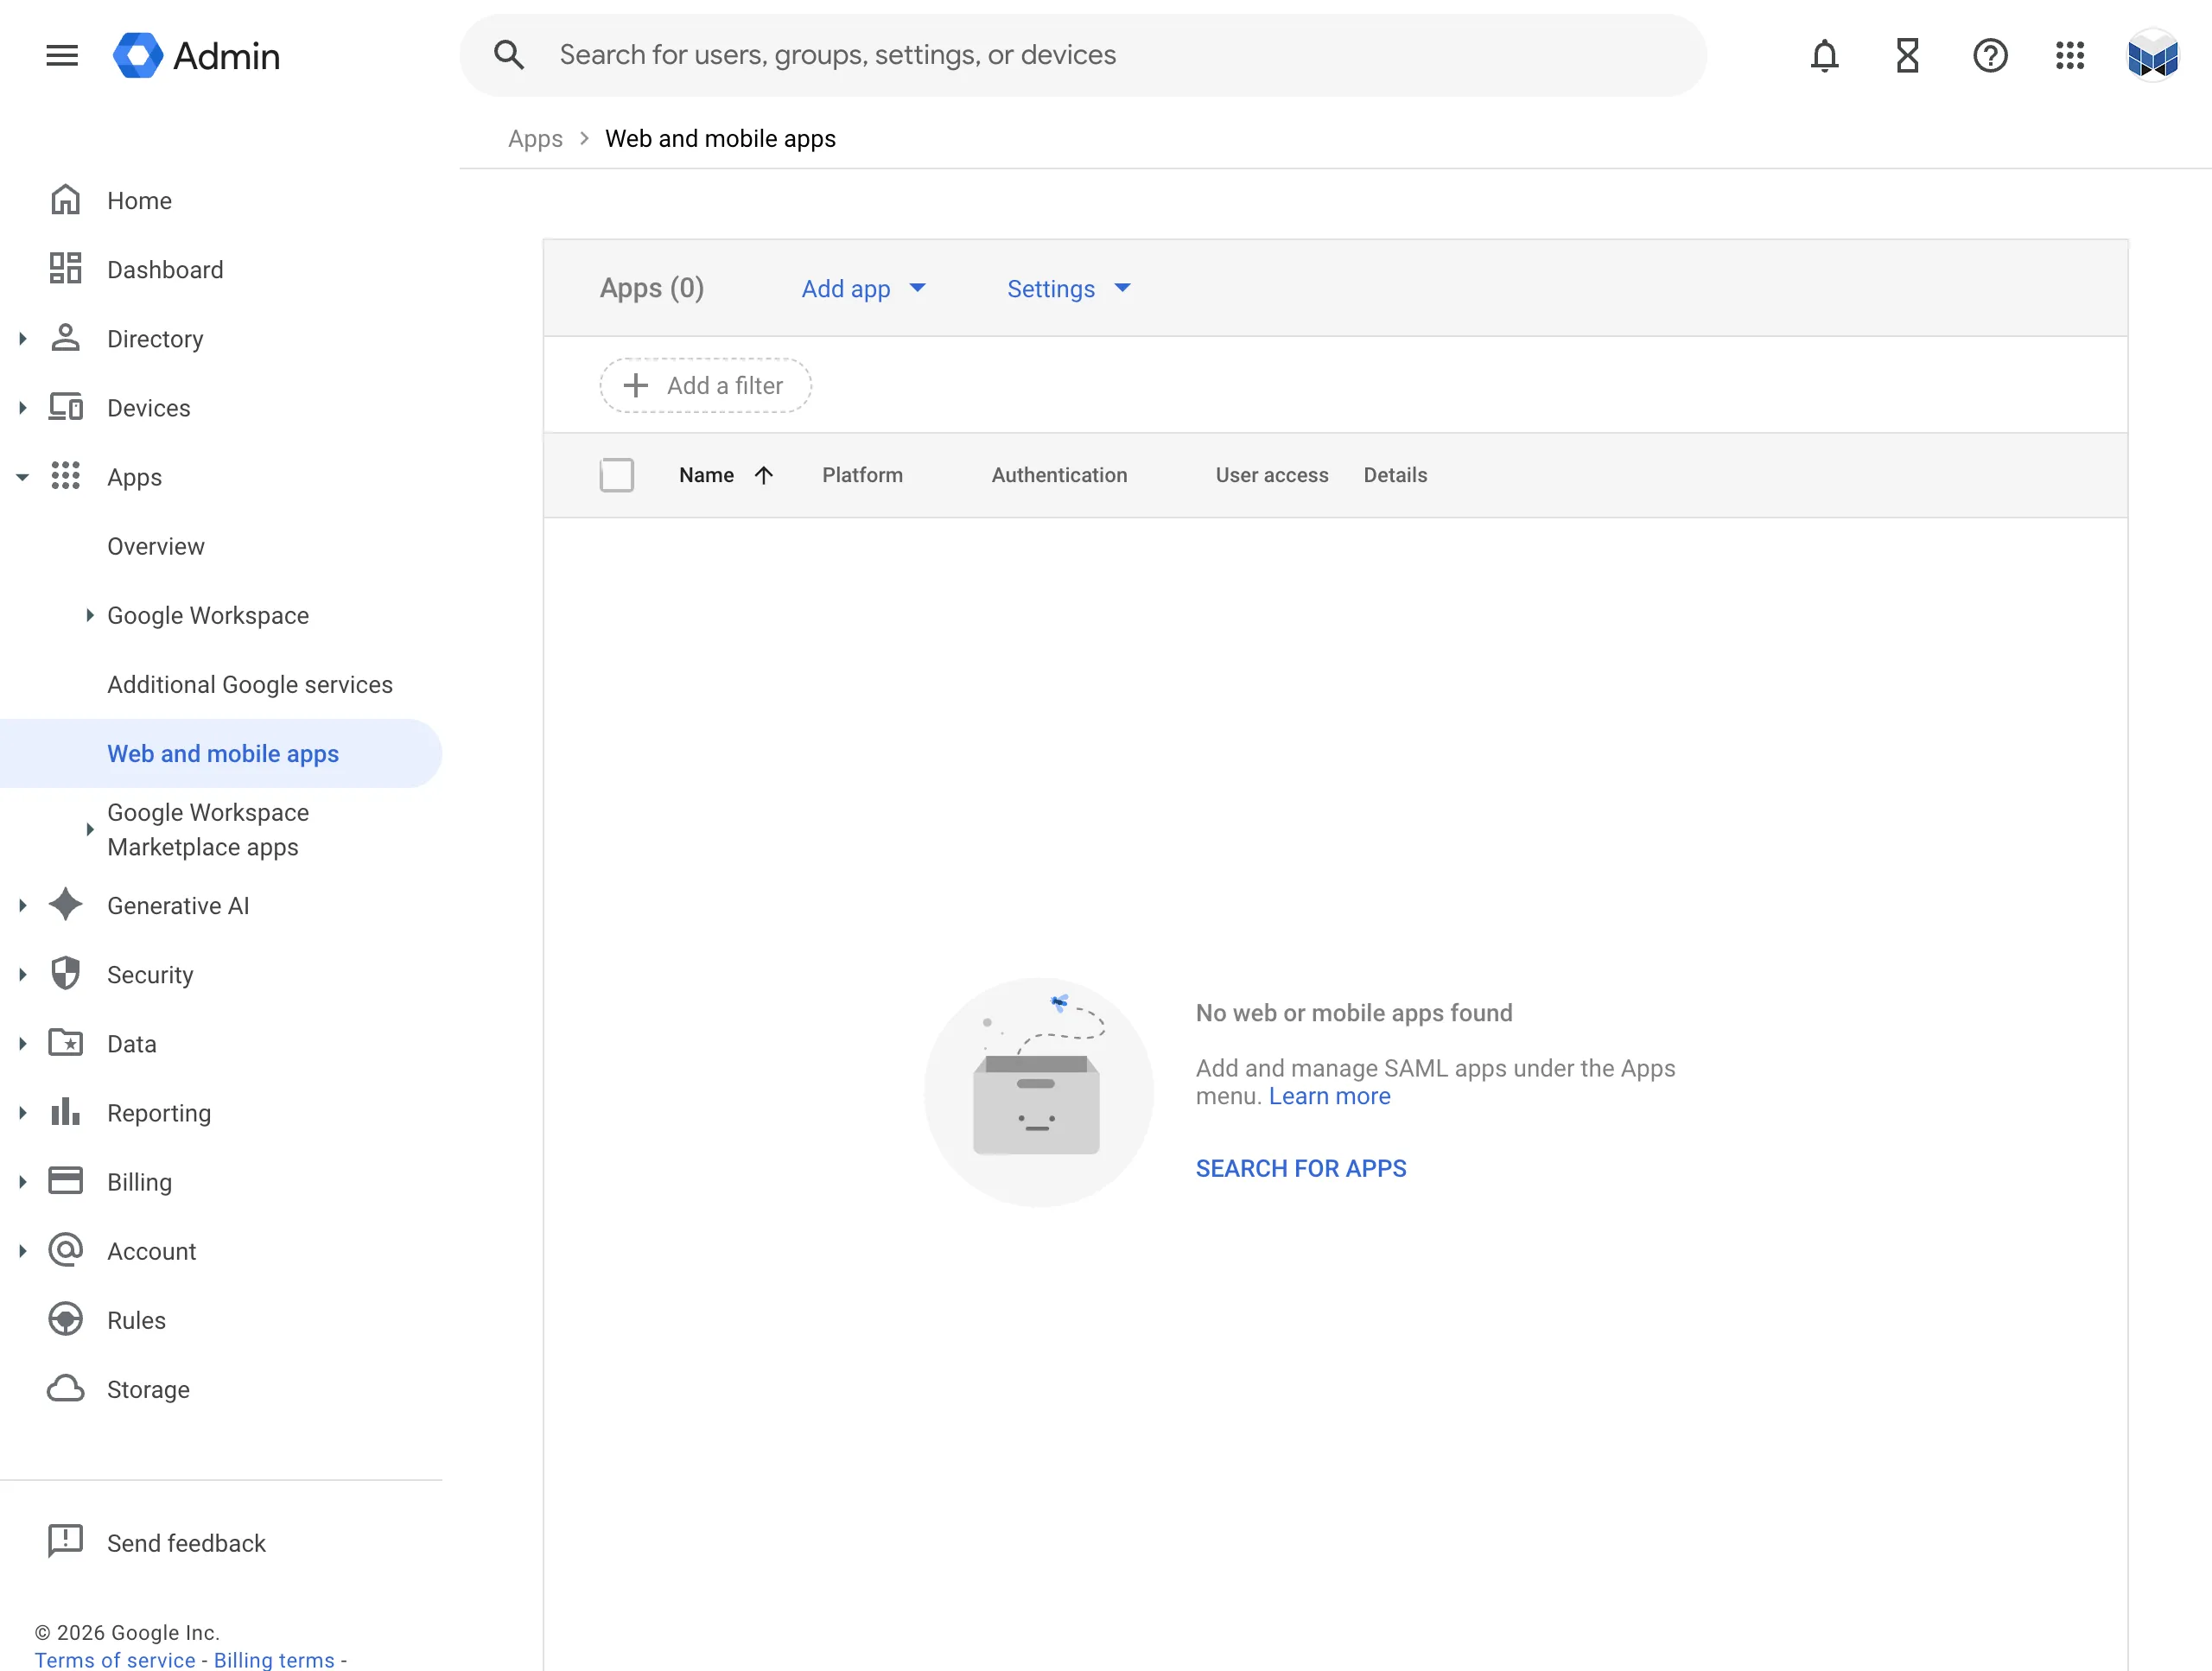
Open your Google Workplace Console and go to Apps > Web and mobile apps
-
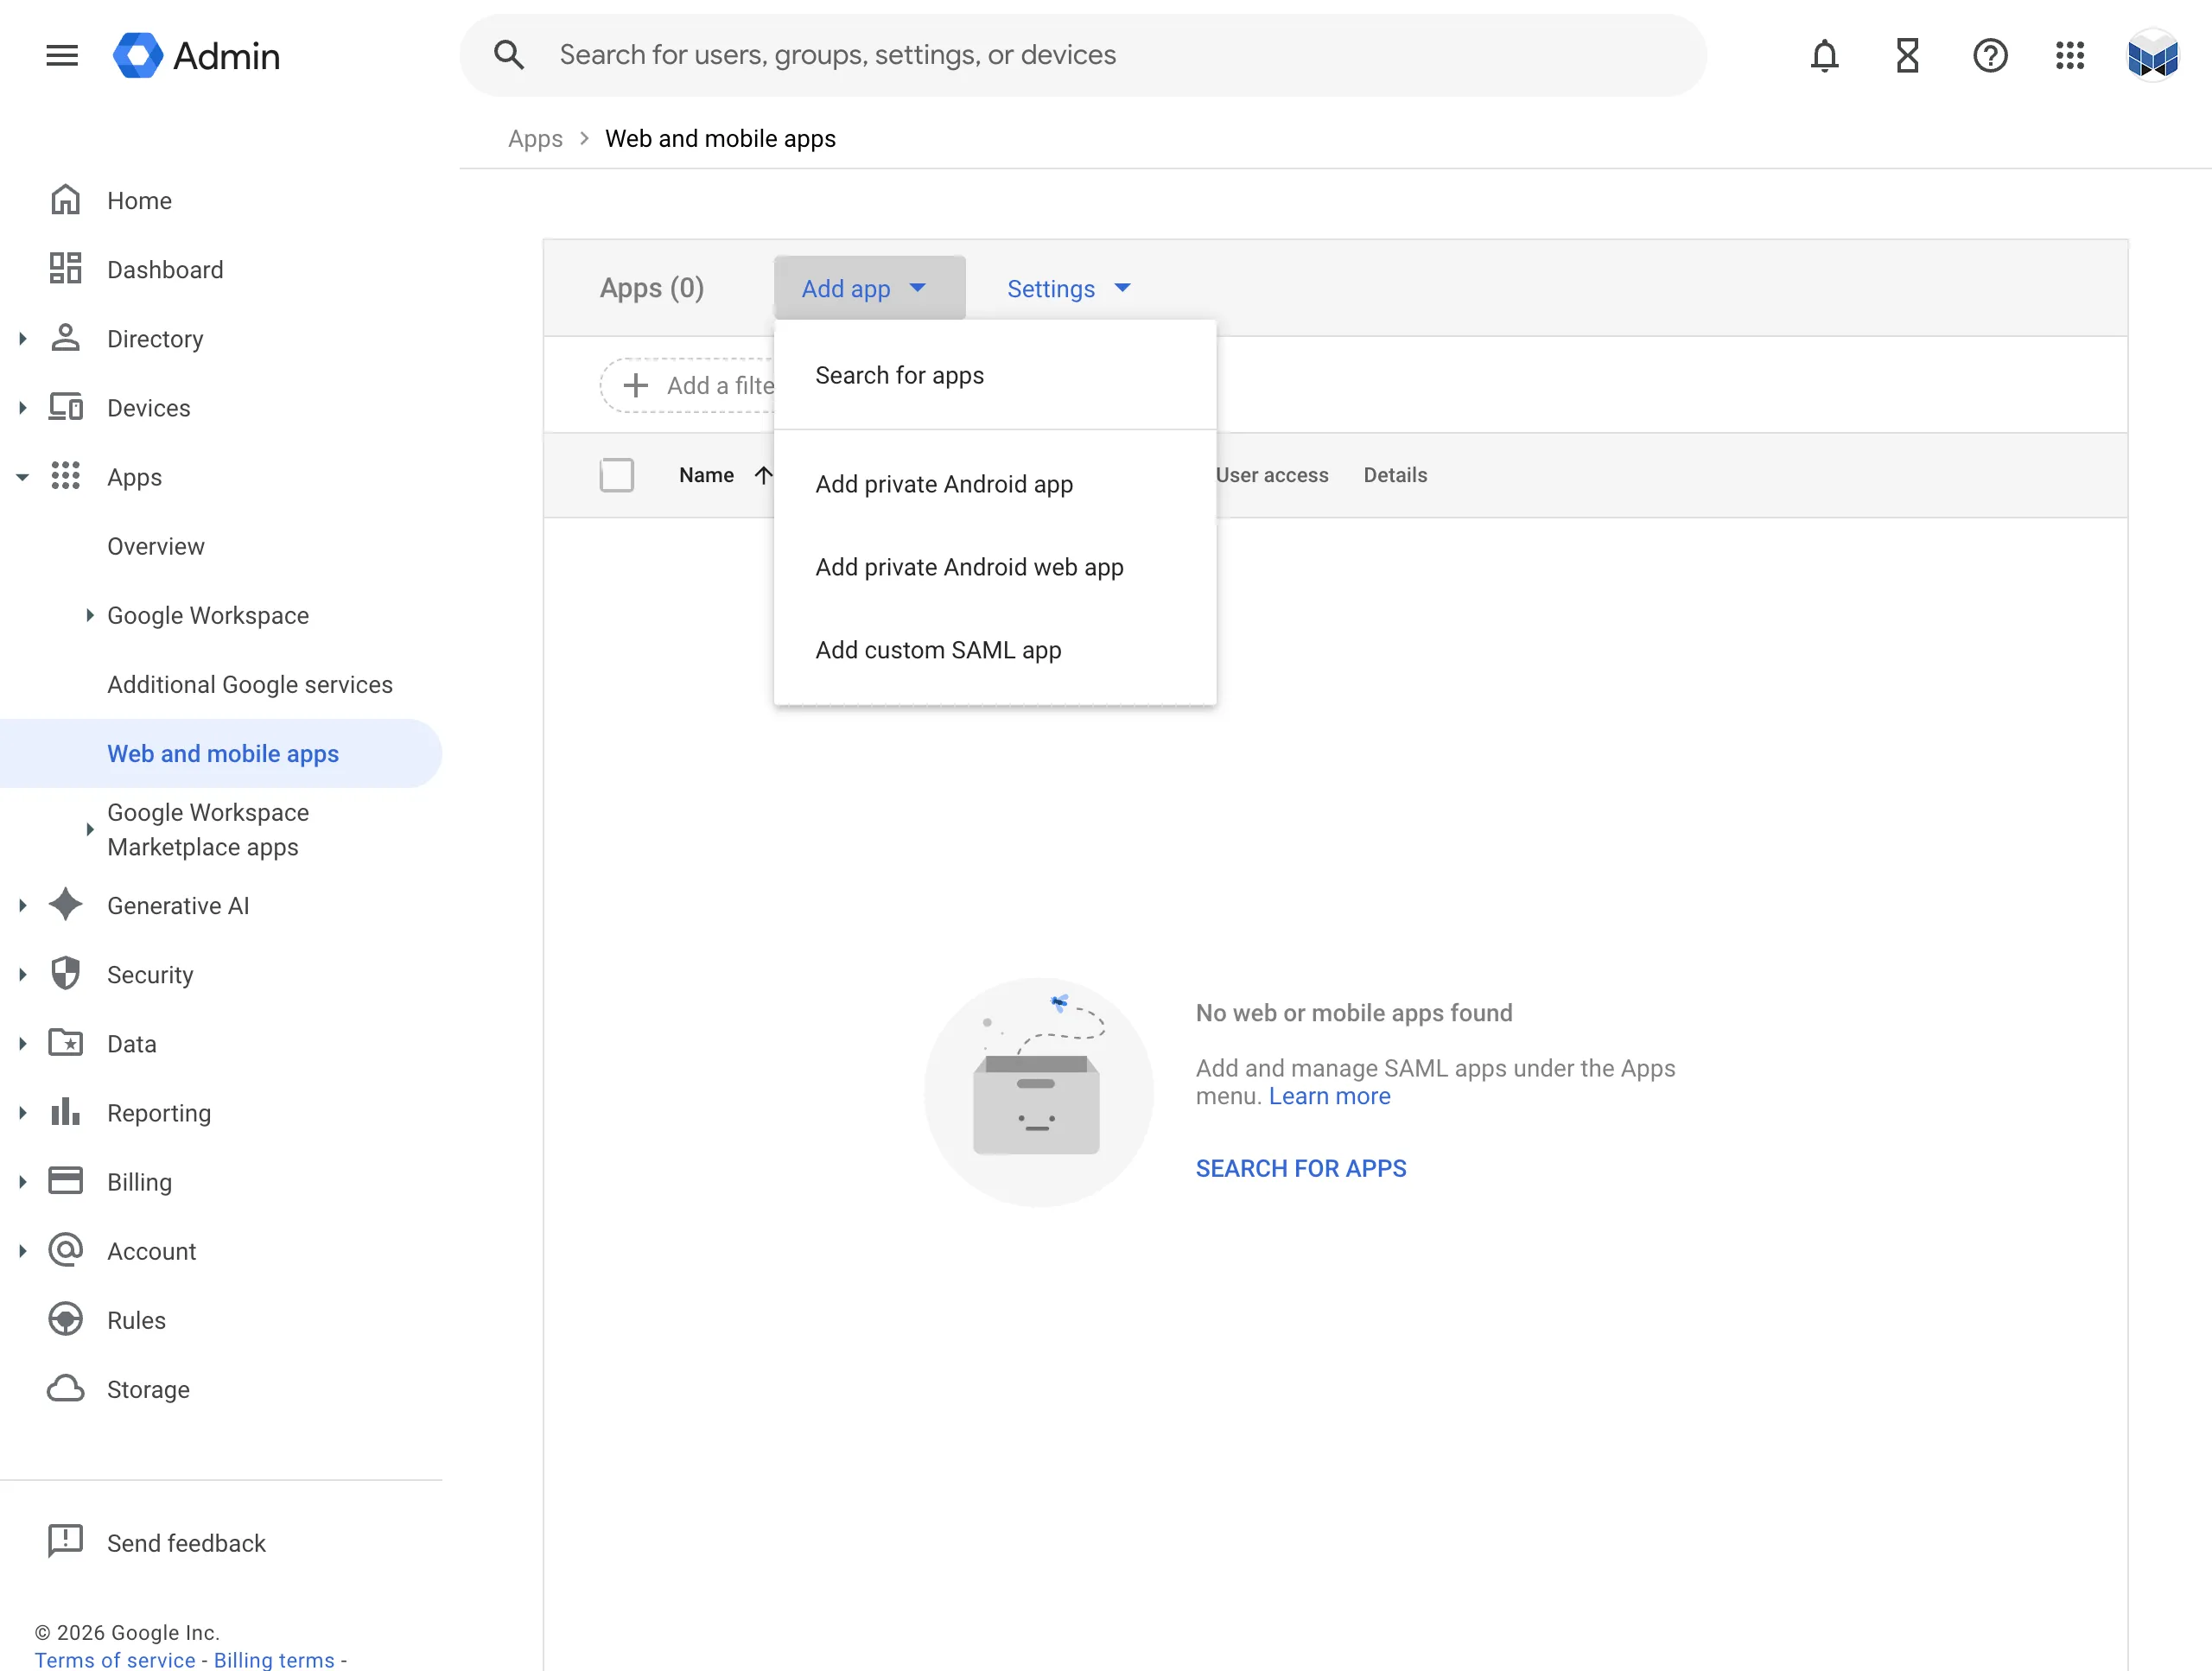
Choose to add custom SAML app
-
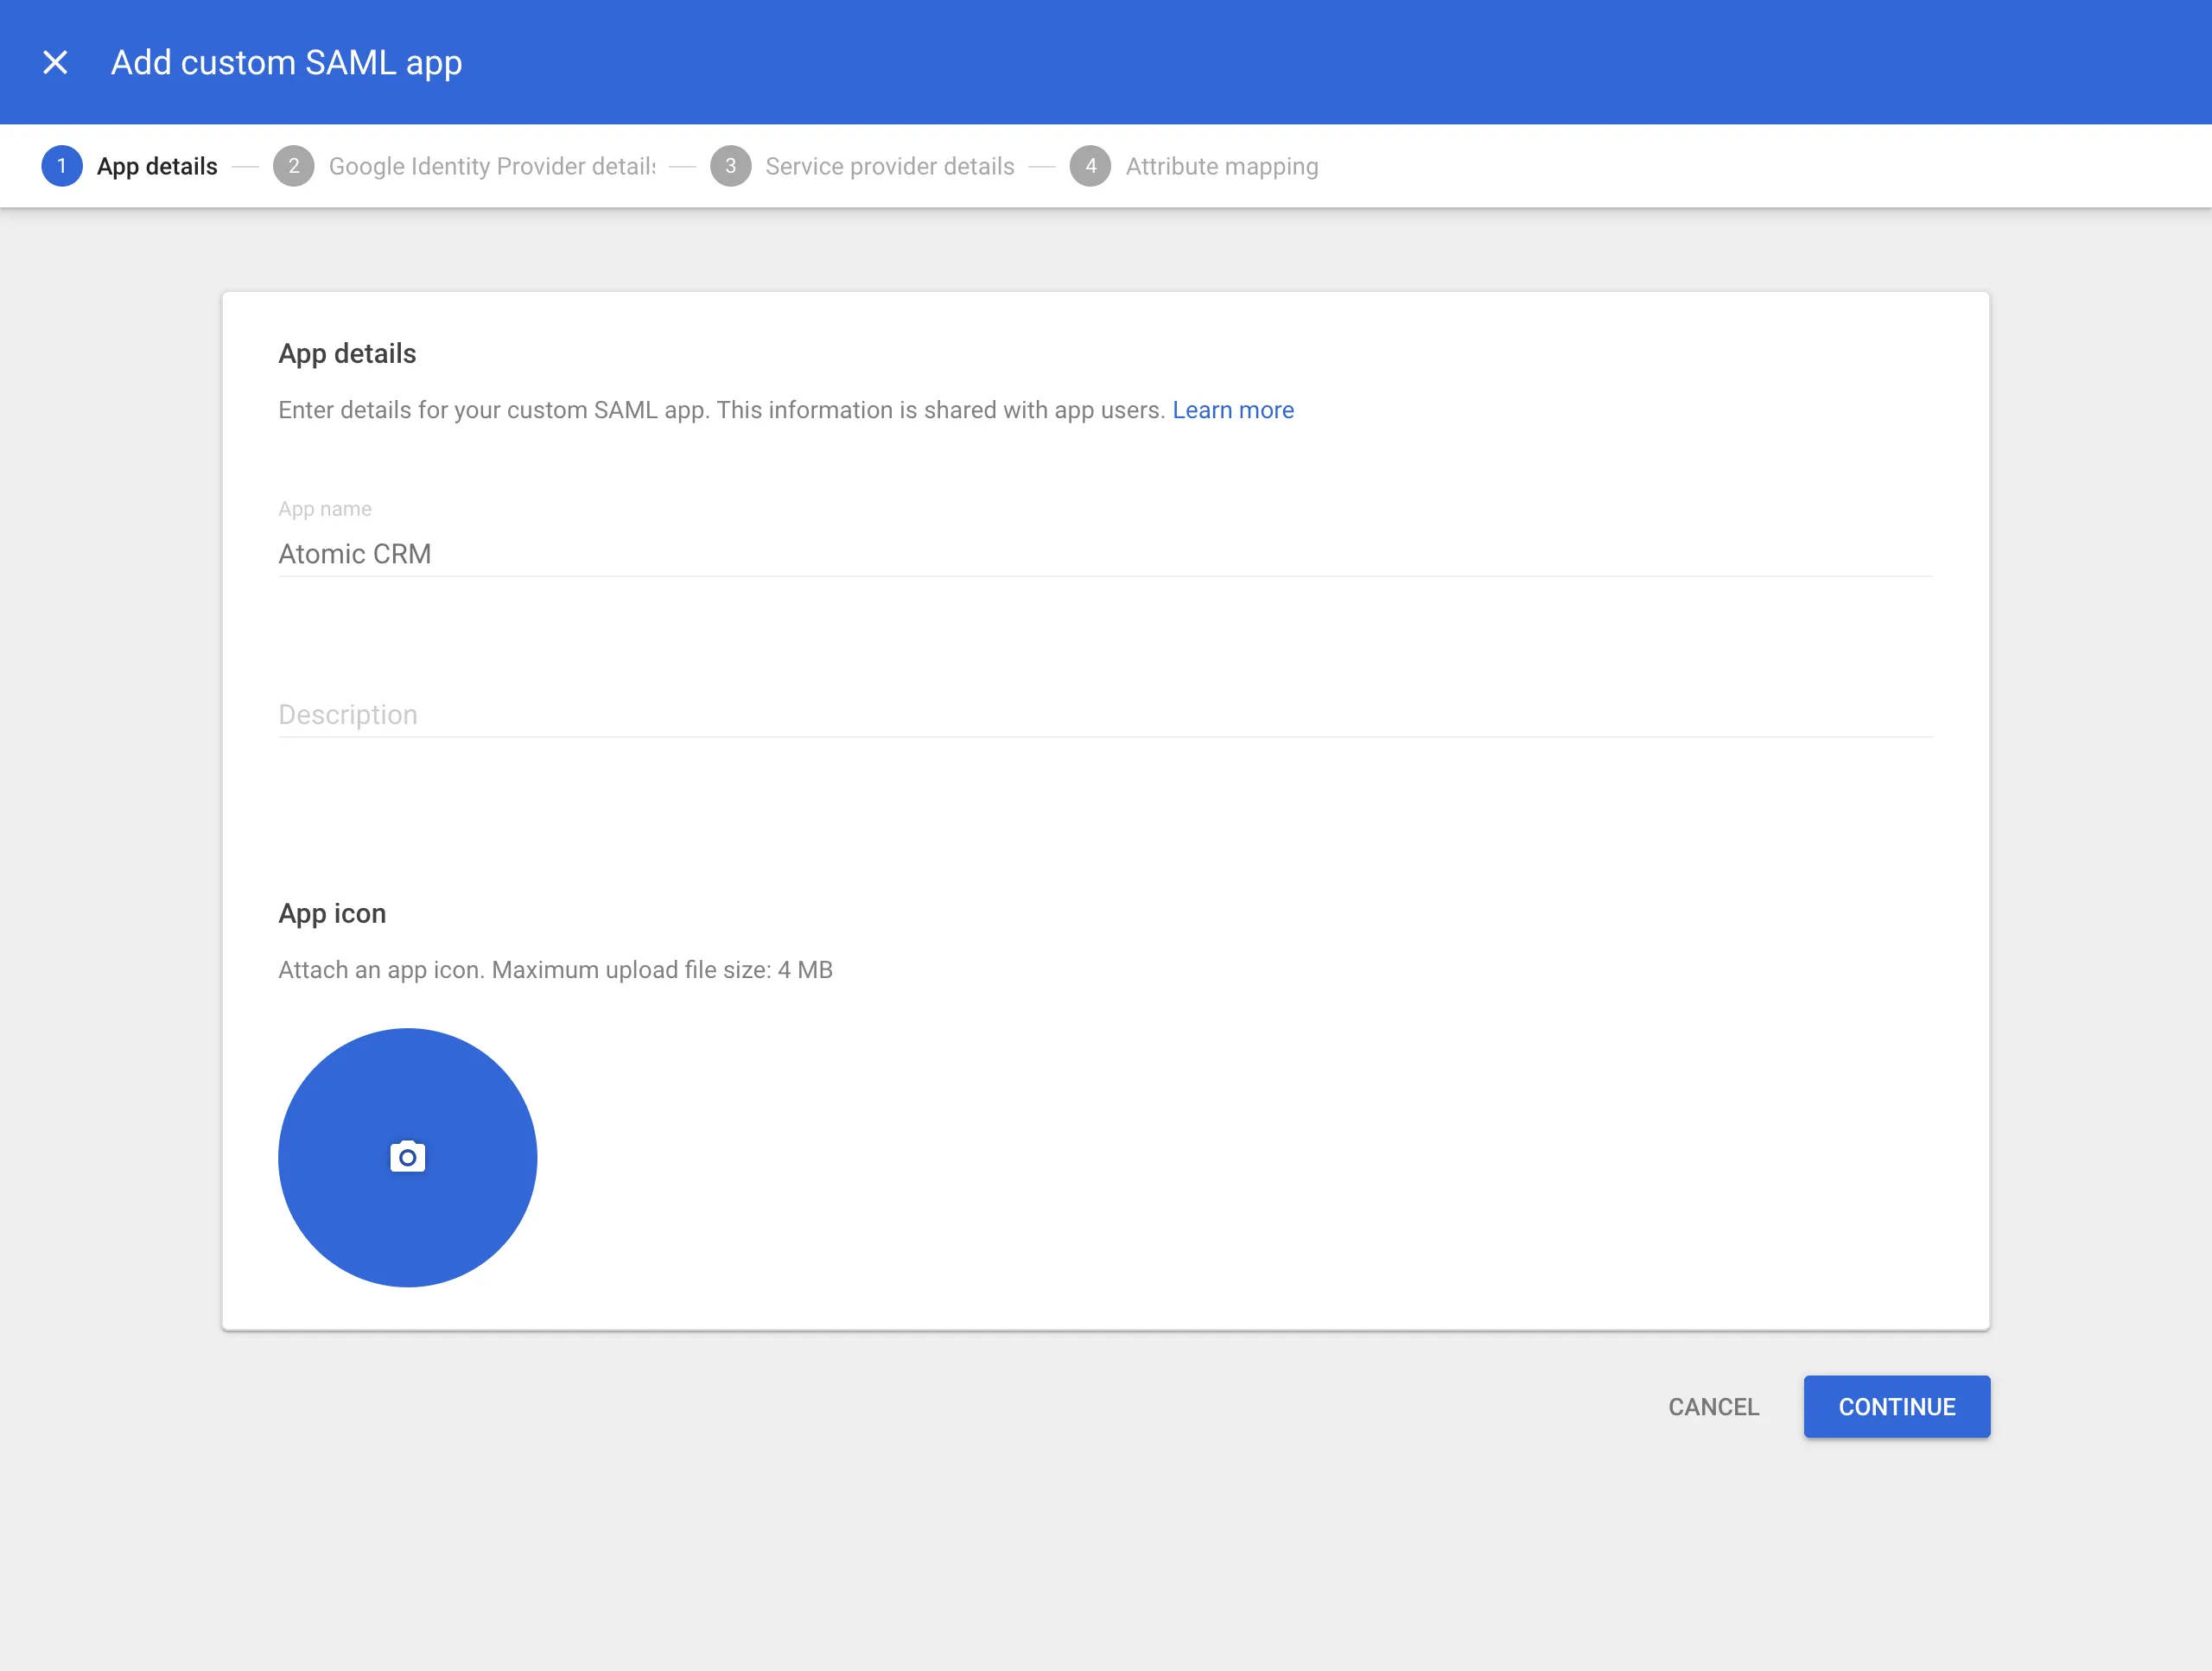
Fill out app details
The information you enter here is for visibility into your Google Workspace. You can choose any values you like. Atomic CRM as a name works well for most use cases. Optionally enter a description and a logo.
-
Download IdP metadata
This is a very important step. Click on DOWNLOAD METADATA and save the file that was downloaded. You will need to upload this file later.
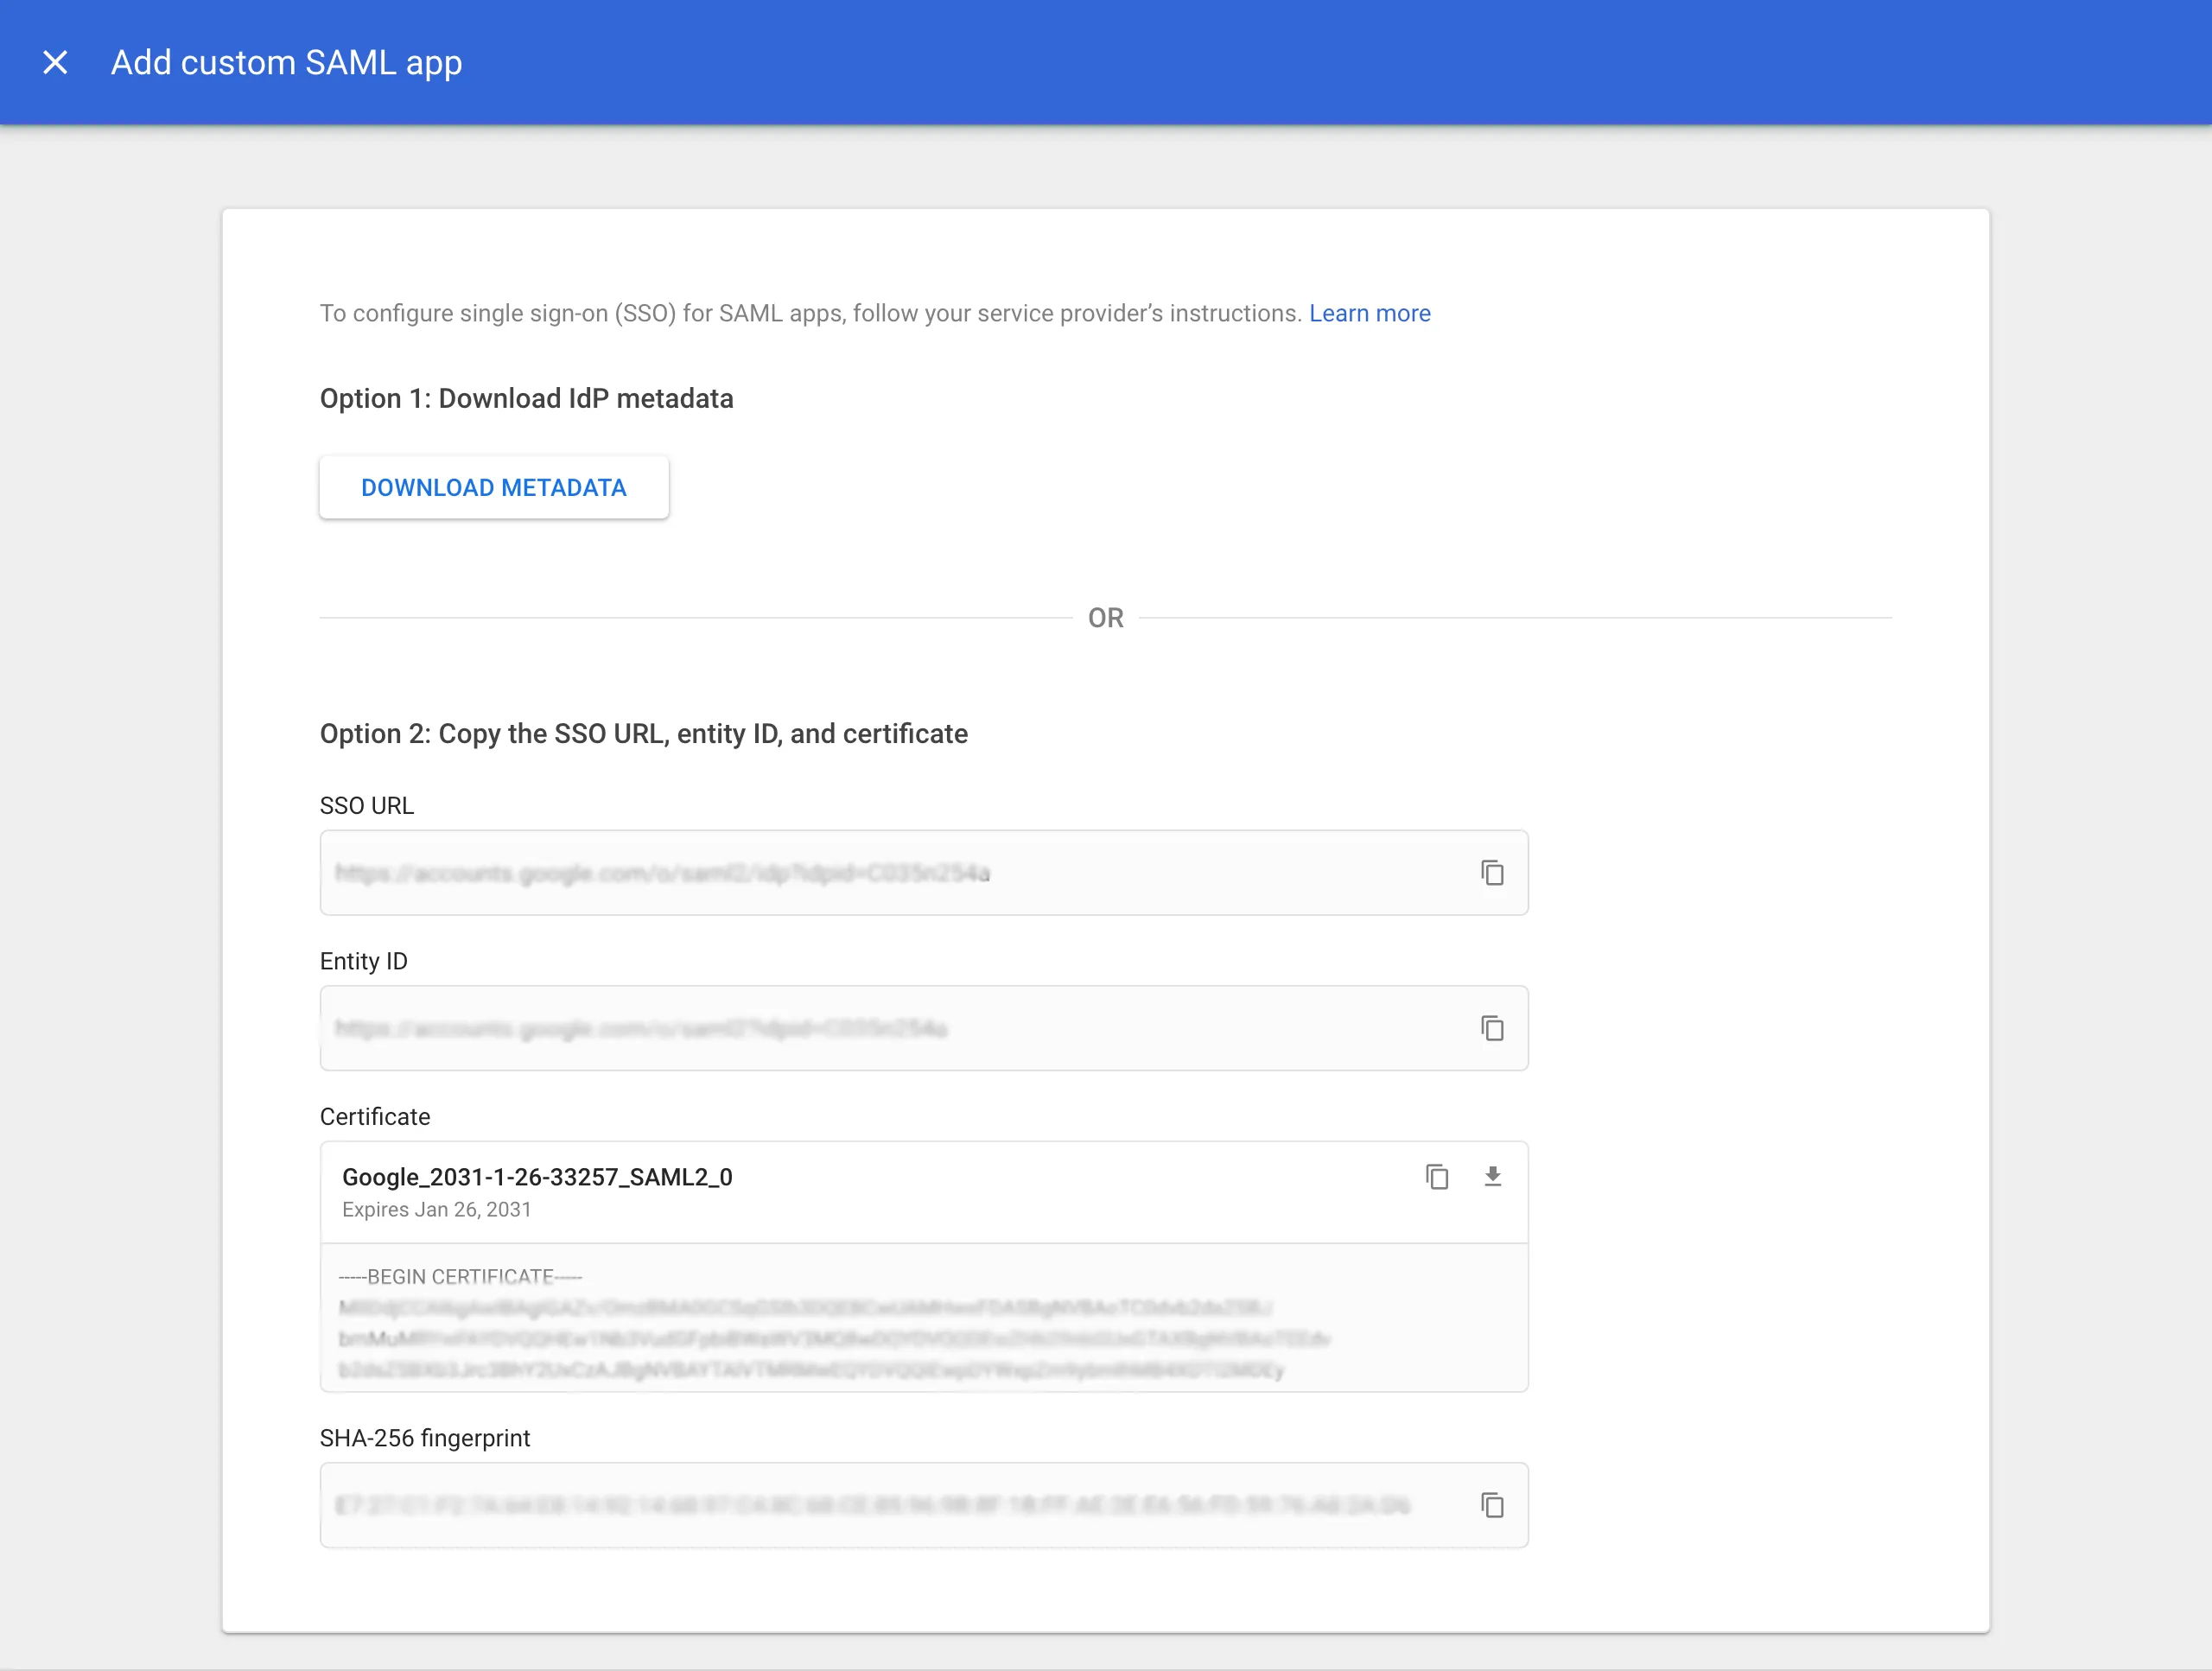
-
Add service provider details
Fill out these service provider details on the next screen. Replace
<project>with your Supabase project identifier in the URLs below.Detail Value ACS URL https://<project>.supabase.co/auth/v1/sso/saml/acs Entity ID https://<project>.supabase.co/auth/v1/sso/saml/metadata Start URL Your application URL (optional) Name ID format EMAIL Name ID Basic Information > Primary email 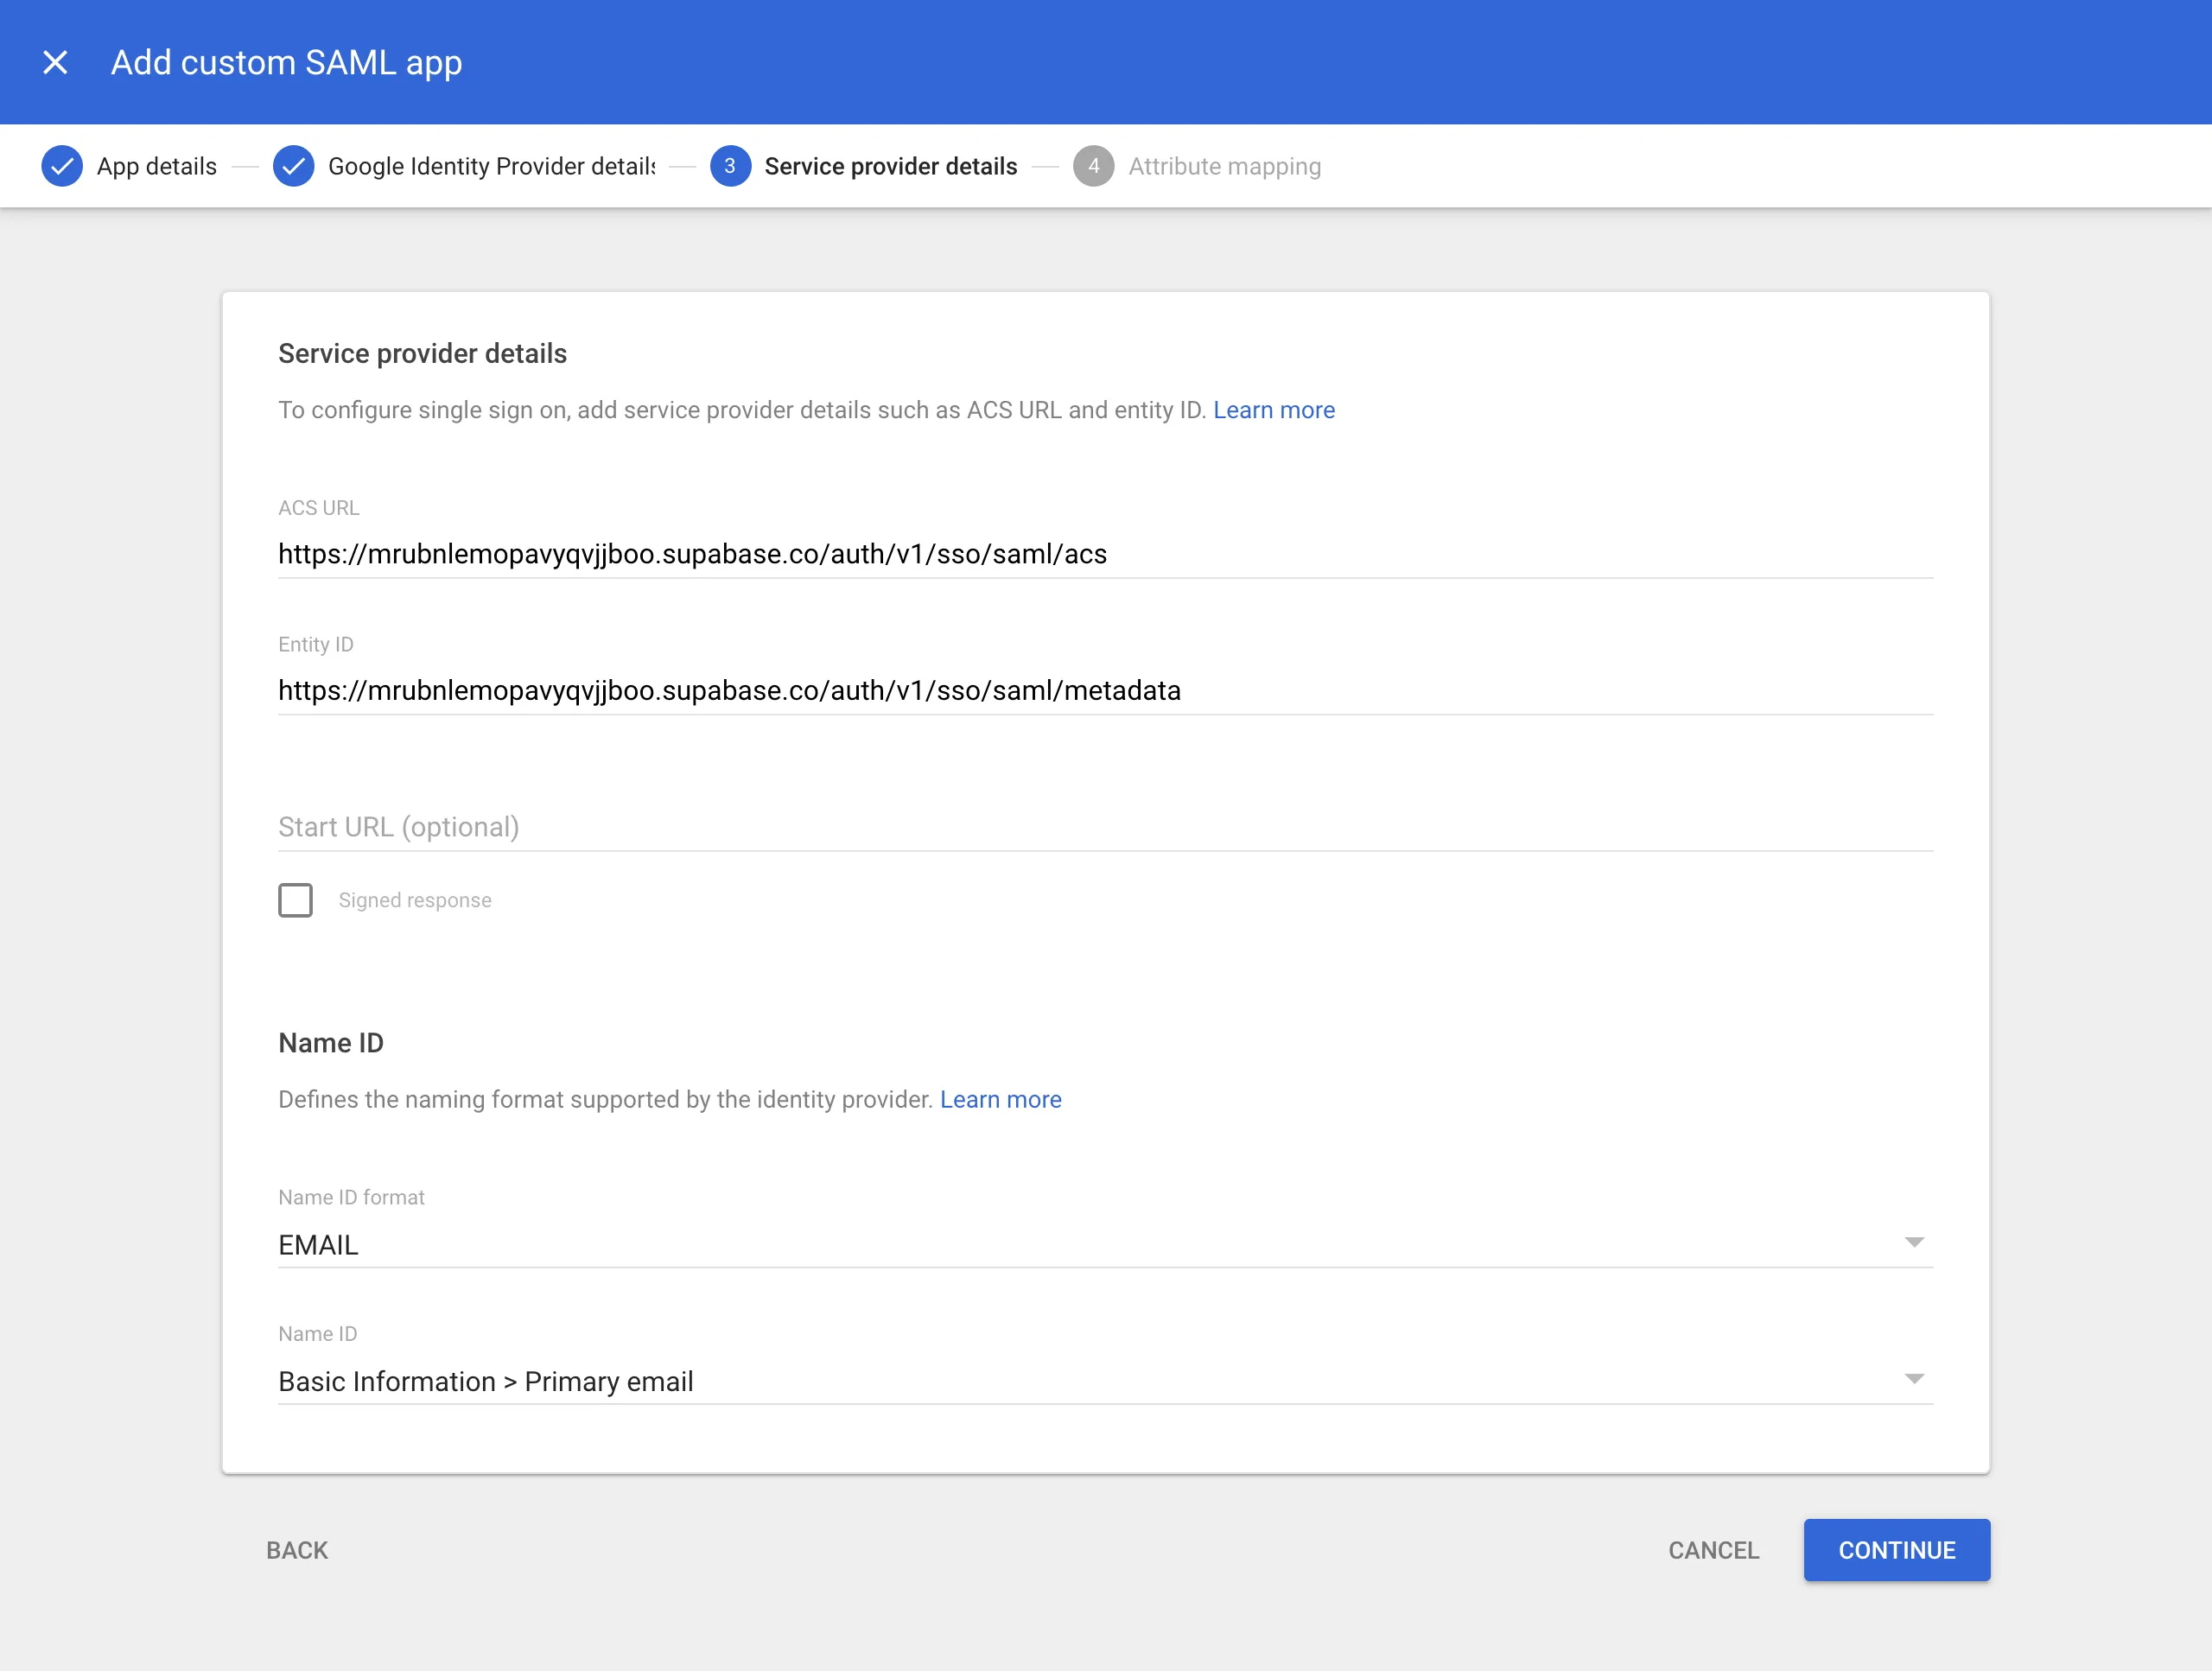
-
Configure attribute mapping
To properly map the identity details to the sales fields in Atomic CRM, add the following mappings:
Google Directory attributes App attributes Primary email emailFirst name first_nameLast name last_name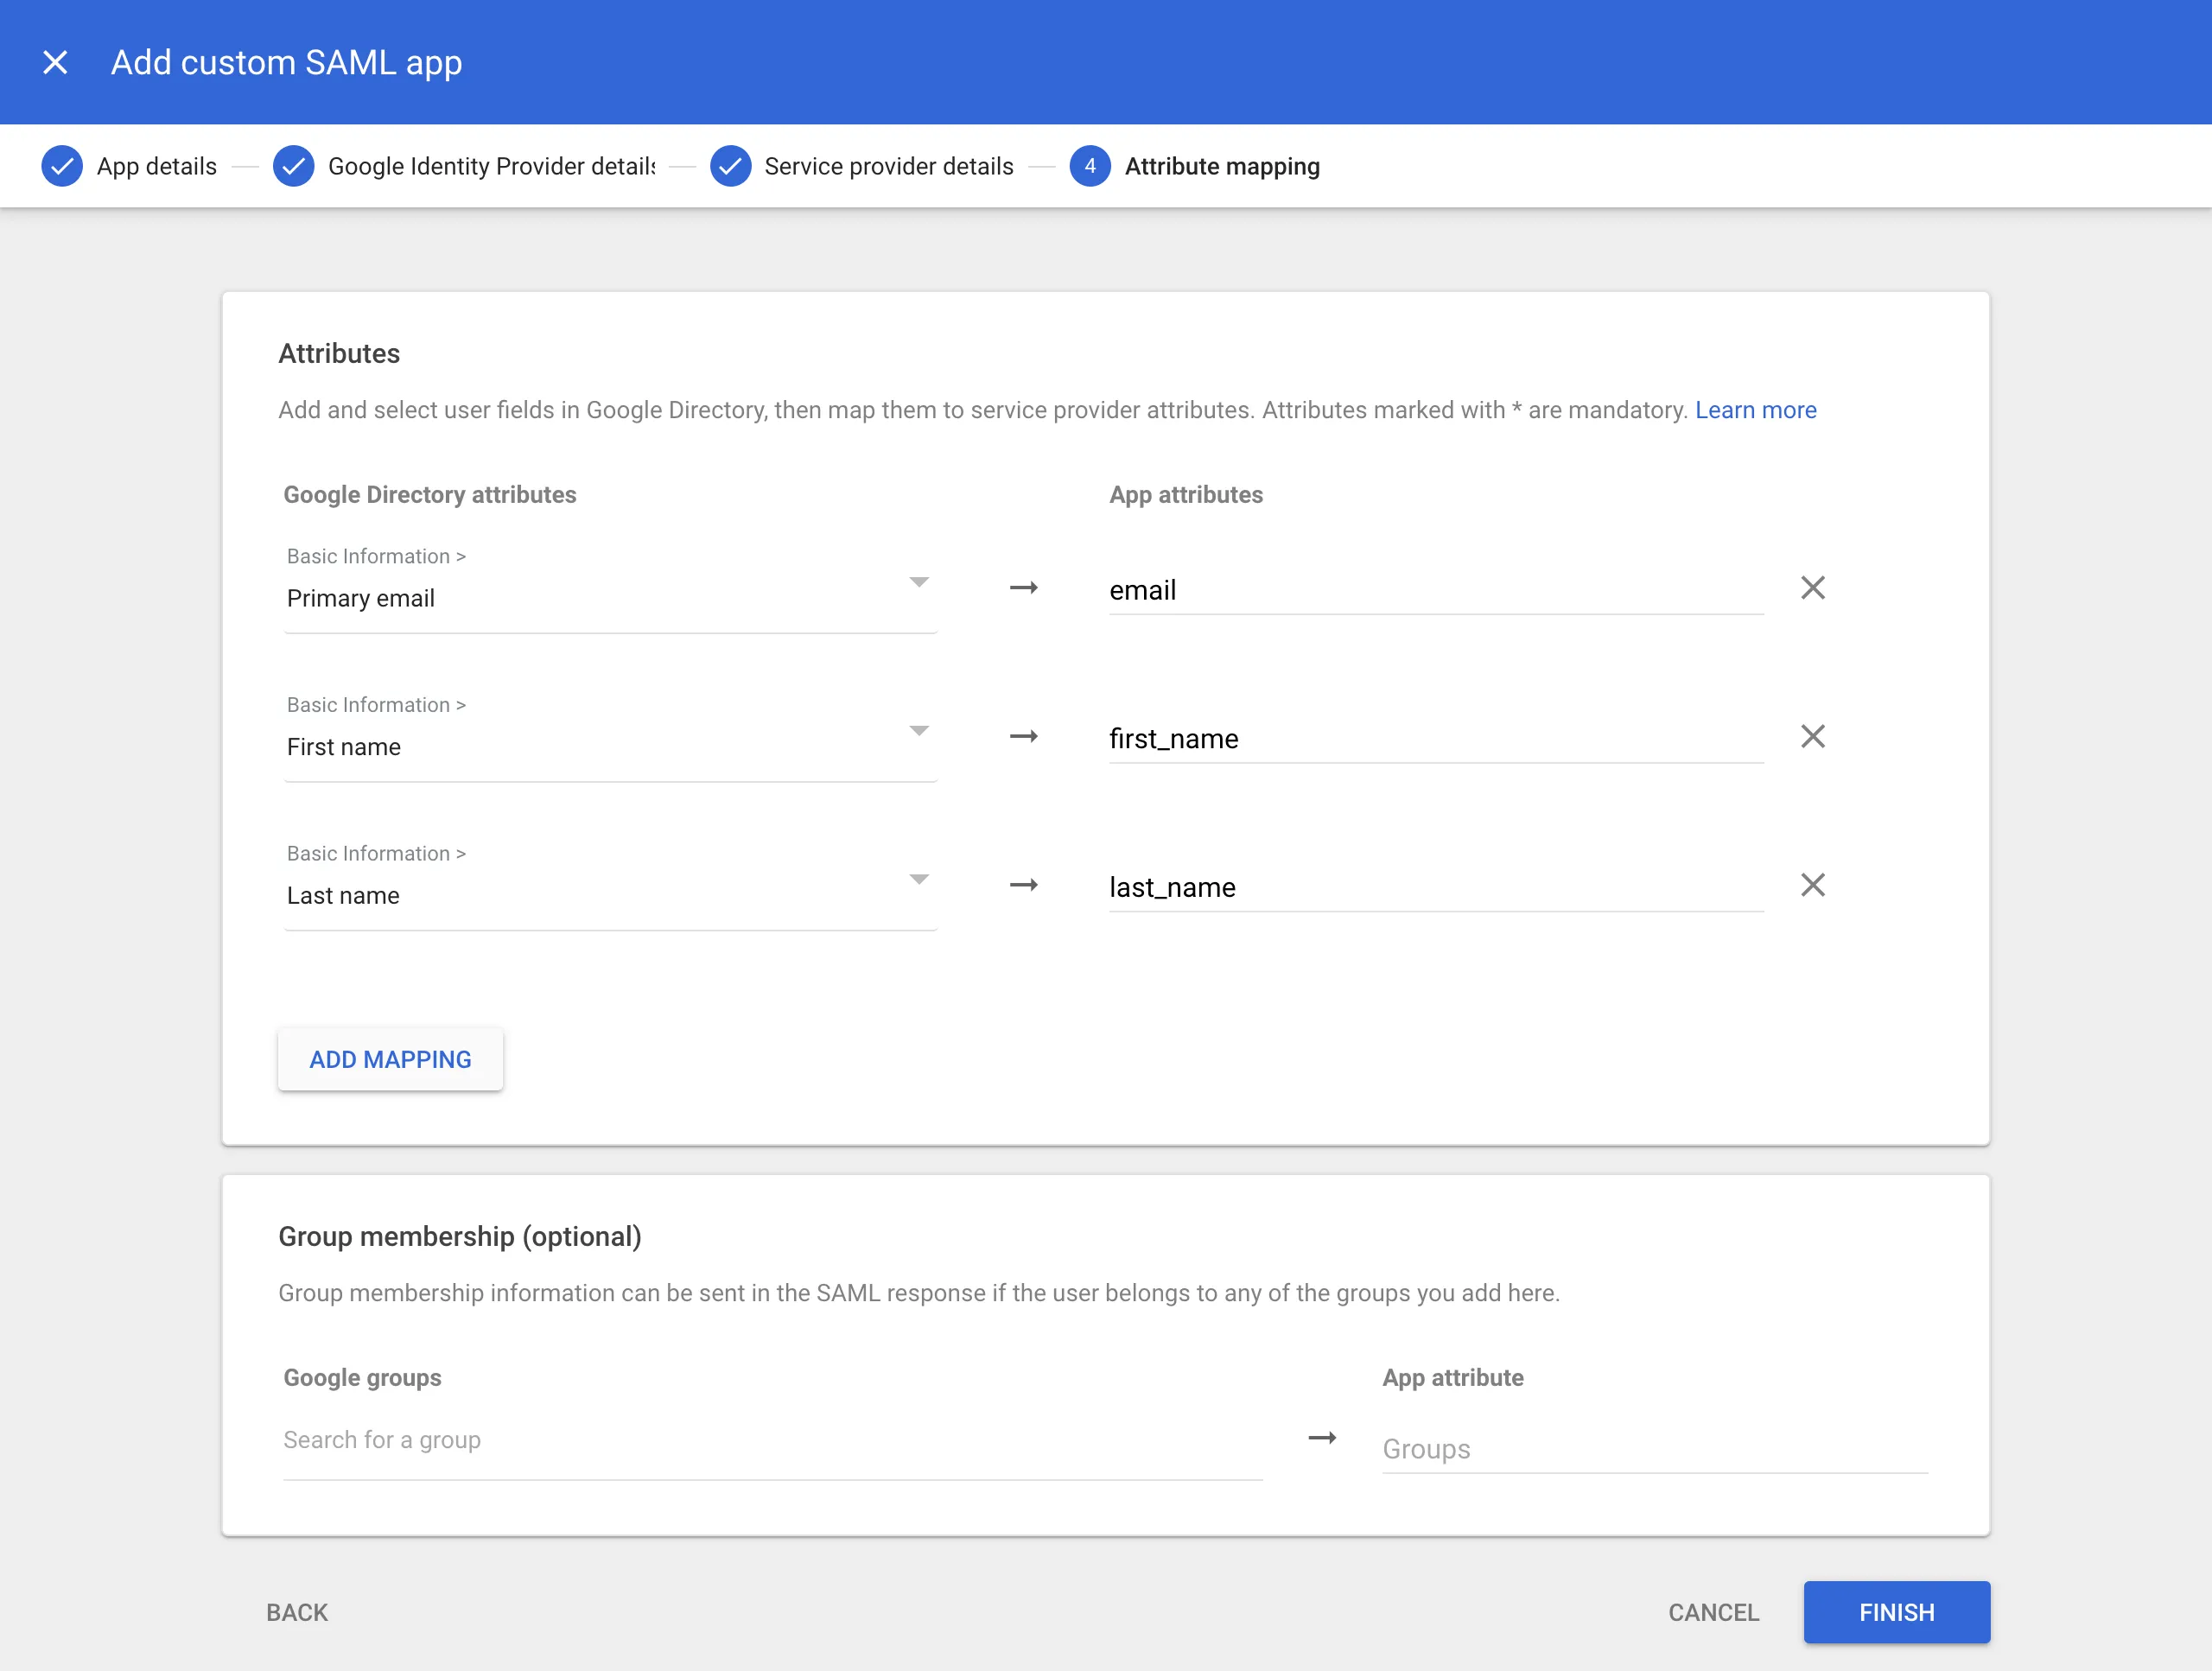
-
Configure user access
You can configure which Google Workspace user accounts will get access to Atomic CRM. This is important if you wish to limit access to your software engineering teams.
You can configure this access by clicking on the User access card (or down-arrow). Follow the instructions on screen.

Register SSO Provider in Supabase
Section titled “Register SSO Provider in Supabase”Save the following JSON in a mapping.json file:
{ "keys": { "email": { "name": "email" }, "first_name": { "name": "first_name" }, "last_name": { "name": "last_name" } }}Then, run the following command where the metadata.xml file is the file you downloaded at step 4 and mapping.json the file you created just now. Replace <your-project> with your Supabase project identifier and company.com with your company domain:
npx supabase sso add --type saml --project-ref <your-project> \ --metadata-file /path/to/saml/metadata.xml \ --attribute-mapping-file /path/to/mapping.json \ --domains company.comEnable Google Workspace SSO in Login Page
Section titled “Enable Google Workspace SSO in Login Page”Provide the VITE_GOOGLE_WORKPLACE_DOMAIN environment variable, for instance by adding it to your .env file:
...VITE_GOOGLE_WORKPLACE_DOMAIN=company.comYou can optionally disable email/password authentication by providing the VITE_DISABLE_EMAIL_PASSWORD_AUTHENTICATION environment variable:
...VITE_DISABLE_EMAIL_PASSWORD_AUTHENTICATION=trueThe login page will now show a button to log in with Google Workspace SSO.
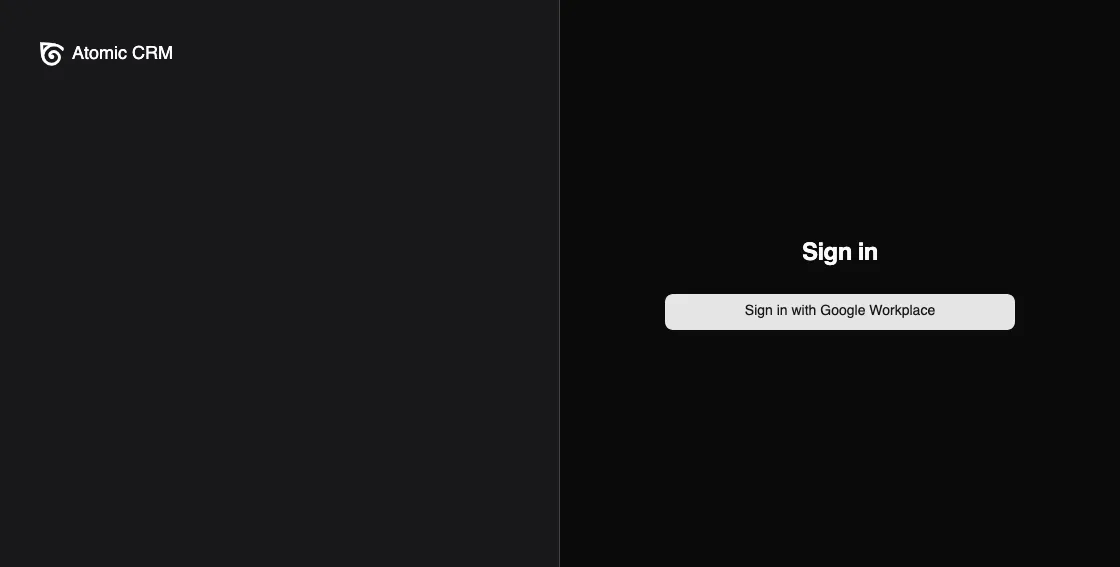
When users click on this button, they will be redirected to the Google login page. After they log in, they will be redirected back to Atomic CRM and logged in automatically.