React Admin Advanced Recipes: Creating a Record Related to the Current One

This is the first article in a new serie of advanced tutorials for React-admin. It assumes you already understand the basics of react-admin and have at least completed the official tutorial.
Today, we’ll see how to add a button on a show or edit page to create a new resource related to the one displayed. For example, a new comment from the post show or edit pages. The create form should have its post already set when coming from the post page and it should redirect to the original post after creation.
Initializing the project
For the purpose of this tutorial, we’ll keep our resources very simple:
- the post resource will only have a title, a teaser and a body
- the comment resource will only have a creation date, a body and a reference to its post
We won’t go into the details of all the components here as they are pretty straightforward but you can explore the code in this codesandbox.
Moreover, as we don’t want to initialize a real API, we’ll be using ra-data-fakerest as our dataProvider. It generates a fake API server from an object containing our data. In our case, this object looks like this:
const data = { posts: [ { id: 1, title: "...", teaser: "...", body: "<p>...</p>" }, ... ], comments: [ { id: 1, post_id: 6, body: "...", created_at: new Date("2012-08-02") }, ... ]}ra-data-fakerest will fake an API returning JSON data for routes such as:
- GET
/posts, - GET
/posts/1 - PUT
/posts/1 - POST
/posts
Setting default values on the CommentCreate component
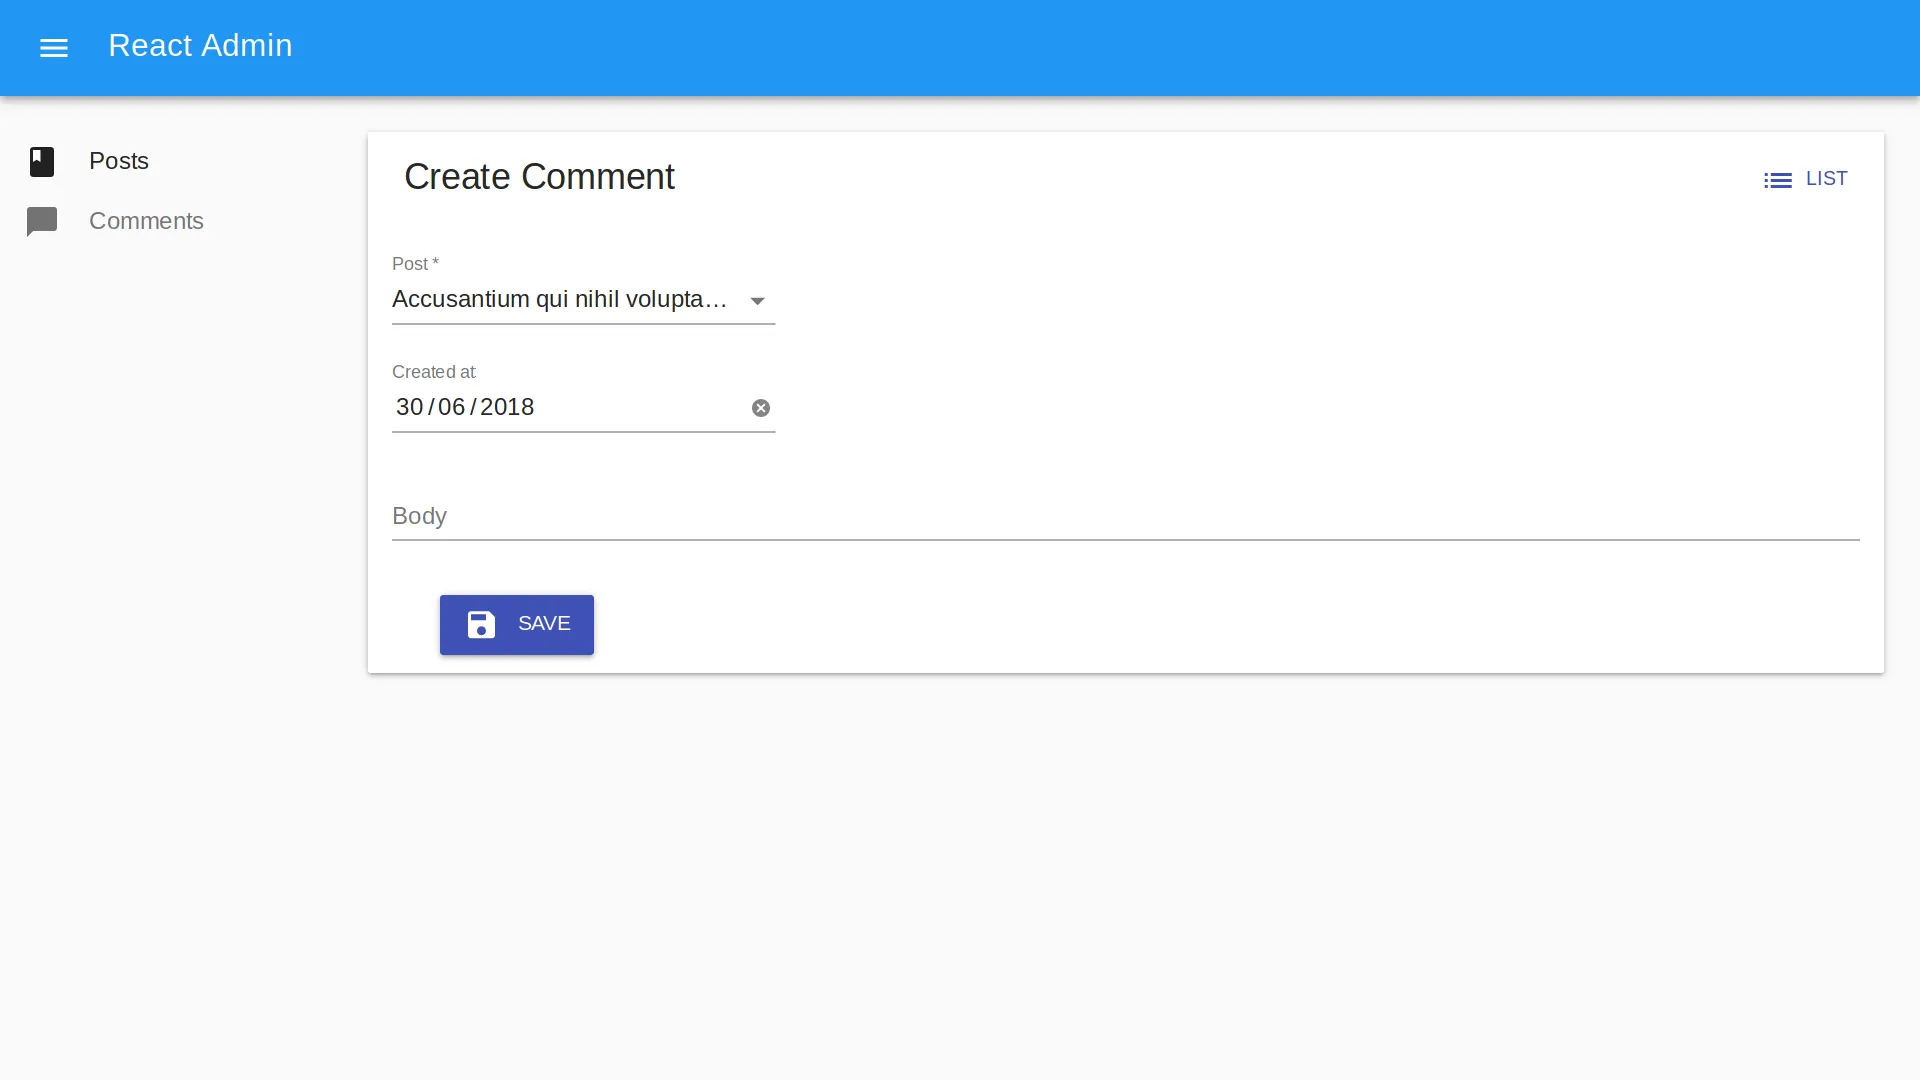
Back to our problem now. How can we set the post when creating a new comment? The answer lies in the code we already have for the CommentCreate component:
const CommentCreate = (props) => { // ... return ( <Create {...props}> <SimpleForm defaultValue={{ created_at: today }} // Spoiler alert! redirect="show" > // ... </SimpleForm> </Create> );};We must set the post_id field default value somehow:
<SimpleForm defaultValue={{ created_at: today, post_id }} redirect="show"> // ...</SimpleForm>One way would be to parse it from the url right?
//...import { parse } from "query-string";
const CommentCreate = (props) => {  // Read the post_id from the location which is injected by React Router and passed to our component by react-admin automatically  const { post_id: post_id_string } = parse(props.location.search);
  // ra-data-fakerest uses integers as identifiers, we need to parse the querystring  // We also must ensure we can still create a new comment without having a post_id  // from the url by returning an empty string if post_id isn't specified  const post_id = post_id_string ? parseInt(post_id_string, 10) : "";
  return (    <Create {...props}>      <SimpleForm defaultValue={{ created_at: today, post_id }}>        // ...      </SimpleForm>    </Create>  );};
Note: We could also have used the location state property instead of search. Same result but the post_id wouldn’t appear in the url.
We should also redirect to the original post page when a comment is created with a post_id already defined. Thanks to react-admin 2.1.0, we can even redirect to the comments tab directly!
//...const CommentCreate = (props) => {  //...  const redirect = post_id ? `/posts/${post_id}/show/comments` : "show";
  return (    <Create {...props}>      <SimpleForm        defaultValue={{ created_at: today, post_id }}        redirect={redirect}      >        // ...      </SimpleForm>    </Create>  );};
That should do it and it’s already testable if you browse to an url like /#/comments/create?post_id=1;
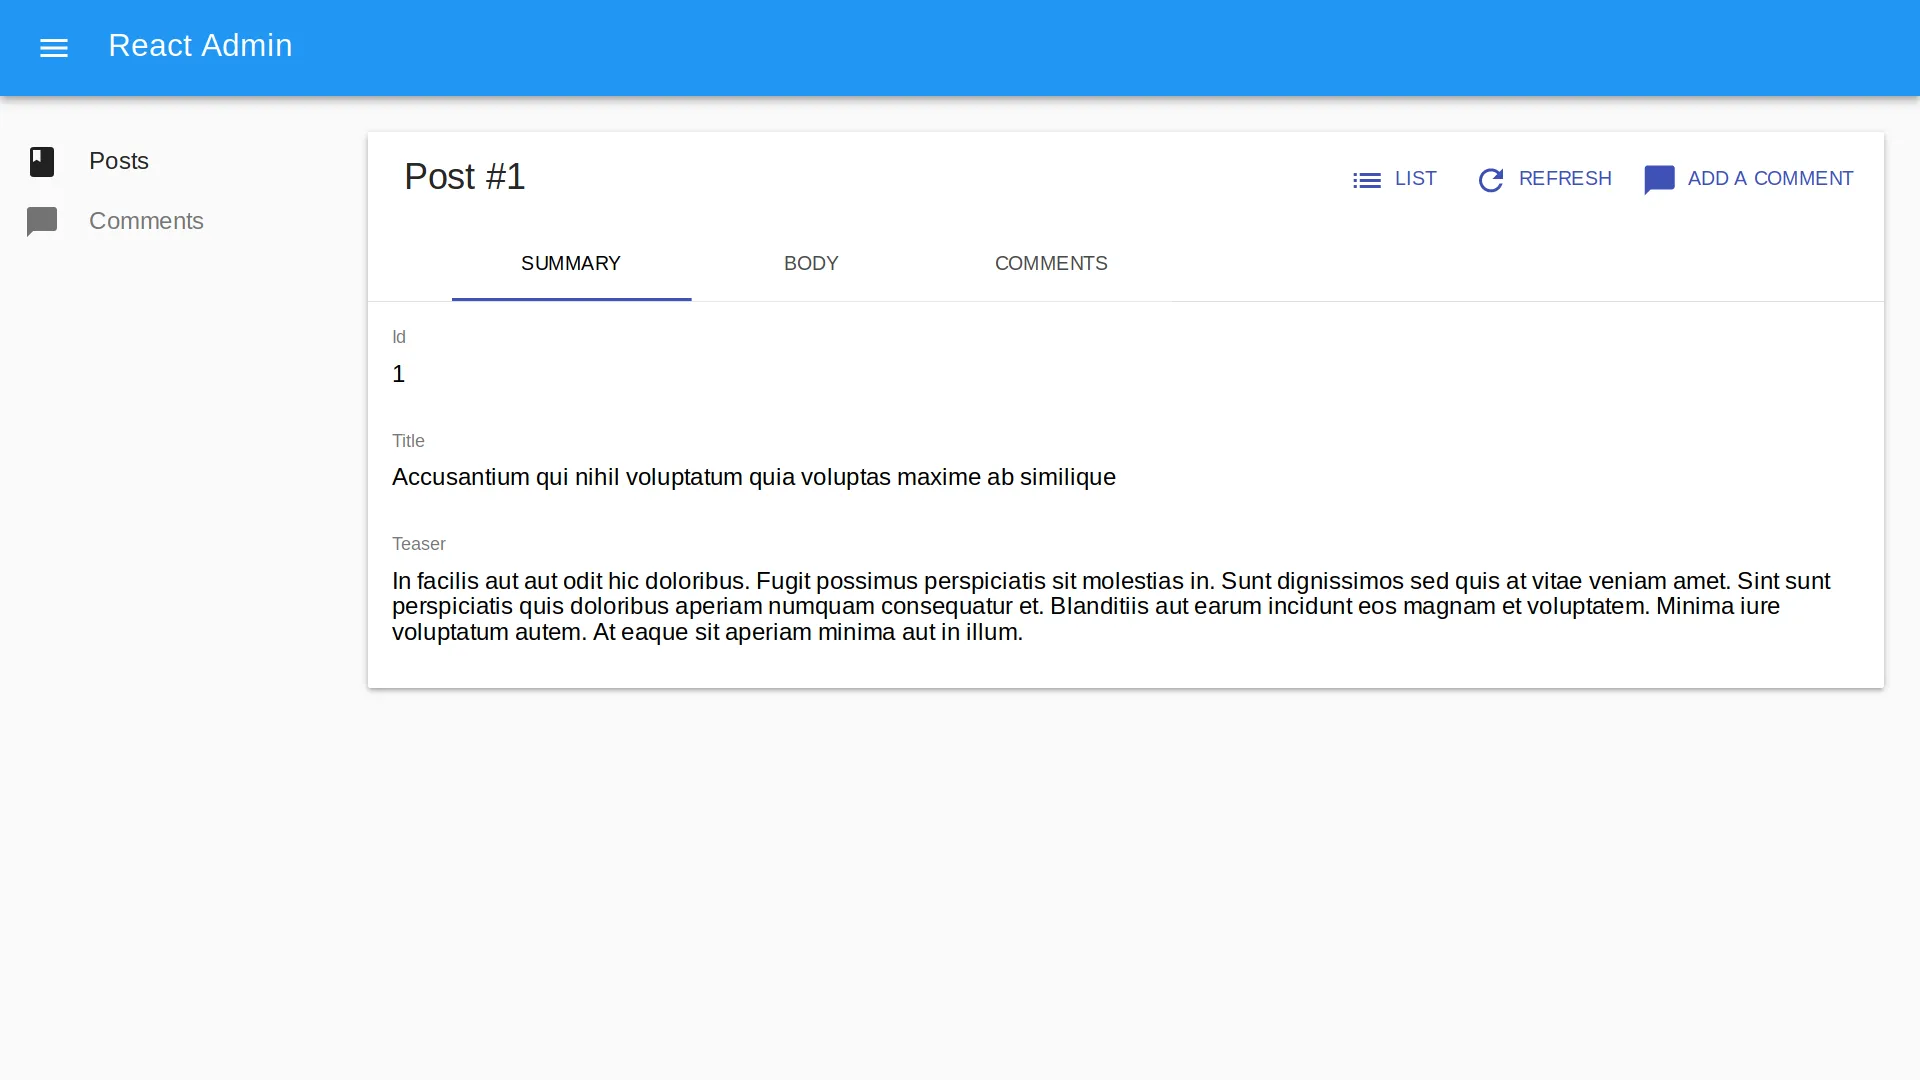
Creating a new comment from the post show page
We must now find a way to call this page from the PostShow component.
Let’s start with the easiest one, using the actions prop of the Show component:
// in src/posts/PostShow.js// ...import CardActions from "@material-ui/core/CardActions";import ChatBubbleIcon from "@material-ui/icons/ChatBubble";import { Button } from "react-admin";
const AddNewCommentButton = ({ record }) => (  <Button    component={Link}    to={{      pathname: "/comments/create",      search: `?post_id=${record.id}`,    }}    label="Add a comment"  >    <ChatBubbleIcon />  </Button>);
const PostShowActions = ({ basePath, data }) => (  <CardActions>    <ListButton basePath={basePath} />    <RefreshButton />    <AddNewCommentButton record={data} />  </CardActions>);
const PostShow = (props) => (  <Show {...props} actions={<PostShowActions />}>    ...  </Show>);
Note: If using the location state property:
// in src/posts/PostShow.js// ...import ChatBubbleIcon from "@material-ui/icons/ChatBubble";import { Button } from "react-admin";
const AddNewCommentButton = ({ record }) => (  <Button    component={Link}    to={{      pathname: "/comments/create",      state: { post_id: record.id },    }}    label="Add a comment"  >    <ChatBubbleIcon />  </Button>);
We now have a button to create a new comment for the current post on our show page. Great! However, this button is displayed on every tab. It would be better to show it only on the comment tab.
We know from the documentation that every field component receives a record prop containing the current record (here our post). Let’s remove the actions prop and add the button below the comment datagrid:
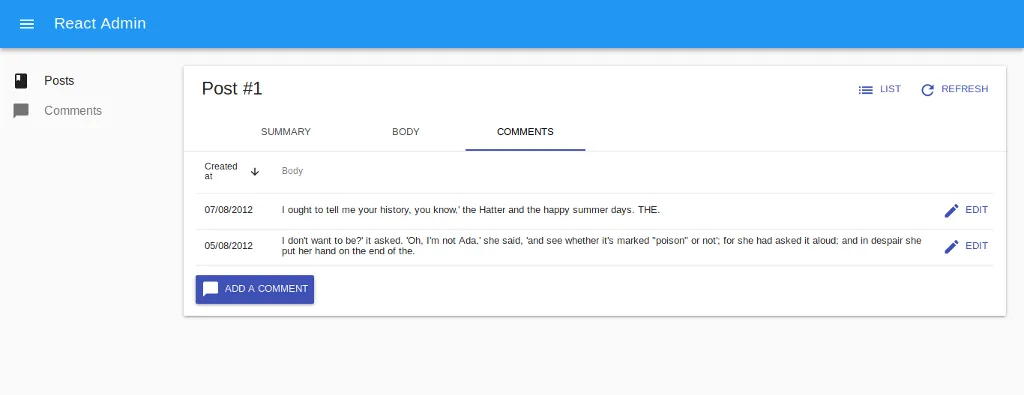
// in src/posts/PostShow.js// ...const PostShow = (props) => ( <Show {...props}> <TabbedShowLayout> ... <Tab label="Comments"> <ReferenceManyField addLabel={false} reference="comments" target="post_id" sort={{ field: "created_at", order: "DESC" }} > <Datagrid> <DateField source="created_at" /> <TextField source="body" /> <EditButton /> </Datagrid> </ReferenceManyField> <AddNewCommentButton /> </Tab> </TabbedShowLayout> </Show>);Now our button is only displayed in the appropriate context which is better for our users. We just need to style it a bit so that it’s not so close to the Datagrid.
// in src/posts/PostShow.js// ...import ChatBubbleIcon from "@material-ui/icons/ChatBubble";import { withStyles } from "@material-ui/core/styles";import { Button } from "react-admin";
const styles = {  button: {    marginTop: "1em",  },};
const AddNewCommentButton = withStyles(styles)(({ classes, record }) => (  <Button    className={classes.button}    variant="raised"    component={Link}    to={{      pathname: "/comments/create",      search: `?post_id=${record.id}`,    }}    label="Add a comment"  >    <ChatBubbleIcon />  </Button>));
Hooray! We’re done!
Conclusion
Hopefully this article proved you that although react-admin is really helping to build admin interfaces quickly, it does not prevent you to customize its features. Morever, It’s just React™, It’s just JavaScript™ !
You might be wondering why the feature we added in this article isn’t simply baked-in react-admin. This is because there are many ways to handle this. Here we redirected from the posts resource page to the comments resource page and vice versa. However it would be possible to open the comments creation form inside a modal, or a sliding panel. Would we implement a baked-in solution, our users would keep asking for more and more options and react-admin would become another unmaintanable bloated framework. Instead, we chose to focus on really core features while ensuring our users can extend or replace complete parts of them, thanks to React.
However, as the automatic population of a creation form from location state or search is a very common need, we decided to support it officialy! In react-admin 2.2, this will be done automatically for you. Adding a link to redirect the user will still be your responsability though.
By the way, having a form inside a modal or sliding panel will be the focus of the next article. Stay tuned !
You can explore the full code for this article in this codesandbox

Authors
Full-stack web developer at marmelab, Gildas has a strong appetite for emerging technologies. If you want an informed opinion on a new library, ask him, he's probably used it on a real project already.