
Internationalization with Polyglot.js and NestJS

In this tutorial, I will show you how we can display a basic user page in French and English with NestJS and Polyglot.js.
Context
A few months ago, I started working for a Canadian company based in Montreal. One of their needs was to serve a basic HTML view using NestJS, in French and English.
For the same customer, we had already developed an administration panel, also available in French and English. We implemented it with React Admin, which uses Polyglot.js for internationalization (i18n).
The easiest choice for their multilingual HTML view was therefore to use the same library, and even to reuse the translation files from the admin.
What Is Polyglot.js?
Polyglot is a small and basic solution for translating text messages, in pure JavaScript. It’s maintained by Airbnb, and less intricate than I18next or Globalize. Polyglot doesn’t perform translations, but it provides a method to manage translation messages. All we have to do is to supply translations in JSON format for each language.
const translations = {  en_US: {    hello: "Hello",  },  fr_FR: {    hello: "Bonjour",  },};
const polyglot = new Polyglot();// locale comes from the user's browserpolyglot.extend(translations[locale]);polyglot.t("hello");// "Hello" or "Bonjour" depending on the locale
Setting Up Our App
For this example, we use a Nest.js app, with Express for the HTTP layer. We also use Handlebars as template engine to render our HTML views.
We need to create a module and a controller to render a handlebar (HBS) view. We can navigate to the src folder and create them with the following commands:
nest g module usernest g controller userWe modify the user.controller.ts as follows:
import {  Controller,  Get,  Logger,  Param,  ParseIntPipe,  Render,} from "@nestjs/common";import fetch from "node-fetch";
@Controller("/users")export class UserController {  @Get("/:id")  @Render("user")  async get(@Param("id", ParseIntPipe) id: number) {    try {      const response = await fetch(        `https://jsonplaceholder.typicode.com/users/${id}`,      );
      const user = await response.json();      return user;    } catch (error) {      Logger.error(error);      throw error;    }  }}
As you can see, to display a basic user page, we choose to use the user endpoint of (JSONPlaceholder)[https://jsonplaceholder.typicode.com/] as a data source. It’s a fake REST API designed for testing and prototyping.
The GET /users/:id JSONPlaceholder endpoint returns a user object:
//user data{ id: 3, name: 'Clementine Bauch', username: 'Samantha', email: 'Nathan@yesenia.net', address: { street: 'Douglas Extension', suite: 'Suite 847', city: 'McKenziehaven', zipcode: '59590-4157', geo: { lat: '-68.6102', lng: '-47.0653' } }, phone: '1-463-123-4447', website: 'ramiro.info', company: { name: 'Romaguera-Jacobson', catchPhrase: 'Face to face bifurcated interface', bs: 'e-enable strategic applications' }}The /users controller needs a user.hbs file to render. We write a basic HTML page to display the user data.
<html> <head> <meta charset="UTF-8" /> <title>{{name}}</title> <link rel="stylesheet" type="text/css" href="/css/user.css" /> </head>
<body> <div id="page"> <h1>Hello {{name}}!</h1>
<h2>Identity</h2> <p><span>Name:</span> {{name}}</p> <p><span>Username: </span>{{username}}</p> <p><span>Email: </span>{{email}}</p> <p><span>Phone: </span>{{phone}}</p> <p><span>Website: </span>{{website}}</p>
<h2>Address</h2> <p><span>Street: </span>{{address.street}}</p> <p><span>City: </span>{{address.city}}</p> <p><span>Zipcode: </span>{{address.zipcode}}</p>
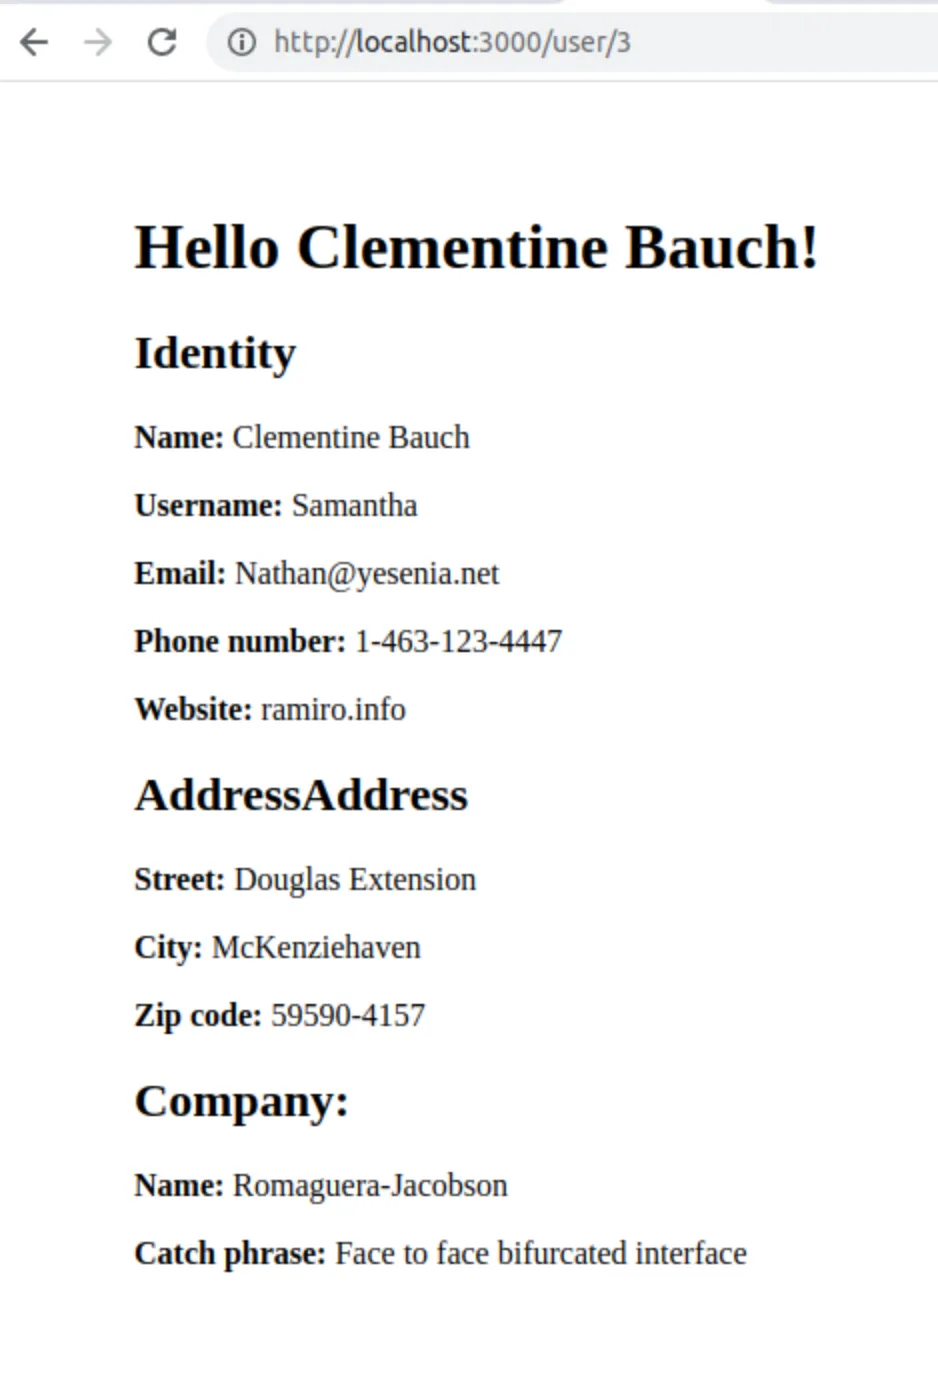
<h2>Company:</h2> <p><span>Name: </span>{{company.name}}</p> <p><span>Catch phrase: </span>{{company.catchPhrase}}</p> </div> </body></html>The result (not yet internationalized) looks like this:
Adding Polyglot.js
Field labels are hardcoded, and we want users to display them in either French or English. For this purpose, we will use Polyglot.js. First, we need to install the package:
yarn add node-polyglotFollowing the Polyglot documentation, we need to instantiate it. Polyglot doesn’t perform translation itself, it relies on a dictionary of translations provided by the developer. Keys are names used to identify a piece of text in our application, and values are the already-translated strings. It also supports nested phrases objects.
Tip: In this blog article, I use the terms “phrases object” and “messages” interchangeably to refer to this translation dictionary.
We create an i18n folder and add an index.ts file to it, which exports a Message interface to match the structure of the dictionary of translations.
export interface Message { [key: string]: Message | string | undefined;}Next, we add englishMessages.ts to the i18n folder.
import { Message } from "./index";
const englishMessages: Message = {  users: {    name: "User",    fields: {      id: "ID",      identity: {        title: "Identity",        name: "Name",        username: "Username",        email: "Email",        phone: "Phone number",        website: "Website",      },      address: {        title: "Address",        street: "Street",        city: "City",        zipcode: "Zip code",      },      company: {        title: "Company",        name: "Name",        catchPhrase: "Catch phrase",      },    },  },};
export default englishMessages;
In main.ts, we add the following code to initialize Polyglot with the English messages:
import englishMessages from "./i18n/englishMessages";
export const polyglot = new Polyglot({  phrases: { "": "", ...englishMessages },});
Using Polyglot in Handlebars Templates
Handlebars allows us to create custom helpers. A helper is a snippet of JavaScript code, where a string (in our case, translate) is mapped to a function.
We add a customHandelbarsHelpers.ts file to the project:
//in utils/customHandelbarsHelpers.tsimport { handlebars } from "hbs";import { polyglot } from "../main";
export function getCustomHandlebarsHelpers() {  handlebars.registerHelper("translate", function (phrase: string) {    return polyglot.t(phrase);  });}
In user.hbs, we can use the translate helper with the key of the dictionary of translations as a parameter.
<html> <head> <meta charset="UTF-8" /> <title>{{name}}</title> <link rel="stylesheet" type="text/css" href="/css/user.css" /> </head> <body> <div id="page"> <h1>Hello {{name}}!</h1> <h2>{{translate 'users.fields.identity.title'}}</h2> <p> <span>{{translate 'users.fields.identity.name'}}:</span> {{name}} </p> <p> <span>{{translate 'users.fields.identity.username'}}: </span >{{username}} </p> <p><span>{{translate 'users.fields.identity.email'}}: </span>{{email}}</p> <p><span>{{translate 'users.fields.identity.phone'}}: </span>{{phone}}</p> <p> <span>{{translate 'users.fields.identity.website'}}: </span>{{website}} </p> <h2>{{translate 'users.fields.address.title'}}</h2> <p> <span>{{translate 'users.fields.address.street'}}: </span >{{address.street}} </p> <p> <span>{{translate 'users.fields.address.city'}}: </span>{{address.city}} </p> <p> <span>{{translate 'users.fields.address.zipcode'}}: </span >{{address.zipcode}} </p> <h2>{{translate 'users.fields.company.title'}}:</h2> <p> <span>{{translate 'users.fields.company.name'}}: </span>{{company.name}} </p> <p> <span>{{translate 'users.fields.company.catchPhrase'}}: </span >{{company.catchPhrase}} </p> </div> </body></html>So now, the user page looks the same, still in English.
Letting Users Choose Another Language
We want to let end users display this page in English, but also in French.
First, we create another dictionary of translations to support French. We use the exact same keys.
import { Message } from "./index";
const frenchMessages: Message = {  users: {    name: "Utilisateur ",    fields: {      id: "ID",      identity: {        title: "Identité",        name: "Nom",        username: "Prénom",        email: "Email",        phone: "Numéro de téléphone",        website: "Site web",      },
      address: {        title: "Adresse",        street: "Rue",        city: "Ville",        zipcode: "Code postal",      },      company: {        title: "Entreprise",        name: "Nom",        catchPhrase: "Phrase d'accroche",      },    },  },};
export default frenchMessages;
In i18n/index.ts, we add a few lines of code to associate a locale key with its corresponding messages value.
import englishMessages from "./englishMessages";import frenchMessages from "./frenchMessages";
const messages: { [key: string]: Message } = {  en: englishMessages,  fr: frenchMessages,};
export default messages;
All we have to do is pass a locale to Polyglot to retrieve the appropriate translations.
For example, we can append the locale as a path parameter like GET /users/:locale/:id.
To use it, we instantiate Polyglot differently in main.ts.
We create a polyglot module and a polyglot service. We go to the src folder and create using the following commands.
nest g module polyglotnest g service polyglotHere is the initialization code:
import { Module } from "@nestjs/common";import { PolyglotService } from "./polyglot.service";
@Module({  providers: [PolyglotService],  exports: [PolyglotService],})export class PolyglotModule {}
The polyglot service requires a polyglot and a messages property, as well as a default locale in case the locale is not specified. With all that, we set a default constructor to instantiate Polyglot.
The user controller needs to set Polyglot with the actual locale that it received, so we append a setter. We also create a getter for the handlebars helper translate.
import { Injectable } from "@nestjs/common";import Polyglot from "node-polyglot";import messages, { Message } from "src/i18n";
@Injectable({ scope: Scope.REQUEST })export class PolyglotService {  messages: { [key: string]: Message };  polyglot: Polyglot;  defaultLocale = "en";  constructor() {    this.messages = messages;    this.polyglot = new Polyglot({      locale: this.defaultLocale,      phrases: { "": "", ...this.messages[this.defaultLocale] },    });  }
  public getLocale = () => {    return this.polyglot.locale();  };
  public setLocale = (locale: string) => {    if (this.polyglot.locale() !== locale) {      this.polyglot = new Polyglot({        locale,        phrases: {          "": "",          ...this.messages[this.messages[locale] ? locale : this.defaultLocale],        },      });    }  };
  public getPolyglot = () => {    return this.polyglot;  };}
We want the locale to only apply to this specific request, so we added a request scope to the @Injectable annotation.
To be able to use the polyglot getter, we remove getCustomHandlebarsHelpers file and create the HandlebarsHelpers module and service.
nest g module handlebarsHelpersnest g service handlebarsHelpers//handlebars-helpers.moduleimport { Module } from "@nestjs/common";import { PolyglotModule } from "../polyglot/polyglot.module";import { HandlebarsHelpersService } from "./handlebars-helpers.service";
@Module({ imports: [PolyglotModule], providers: [HandlebarsHelpersService], exports: [HandlebarsHelpersService],})export class HandlebarsHelpersModule {}//handlebars-helpers.serviceimport { Injectable } from "@nestjs/common";import { handlebars } from "hbs";import { PolyglotService } from "../polyglot/polyglot.service";
@Injectable()export class HandlebarsHelpersService { constructor(private readonly polyglotService: PolyglotService) { handlebars.registerHelper("translate", (phrase: string) => { return polyglotService.getPolyglot().t(phrase); }); }}Lastly, we update the user module and the user controller. We create a constructor to instantiate polyglot and handlebar services, and set polyglot with the locale parameter.
import { Controller, Get, Logger, Param, ParseIntPipe, Render,} from "@nestjs/common";import fetch from "node-fetch";import { HandlebarsHelpersService } from "src/handlebars-helpers/handlebars-helpers.service";import { PolyglotService } from "src/polyglot/polyglot.service";
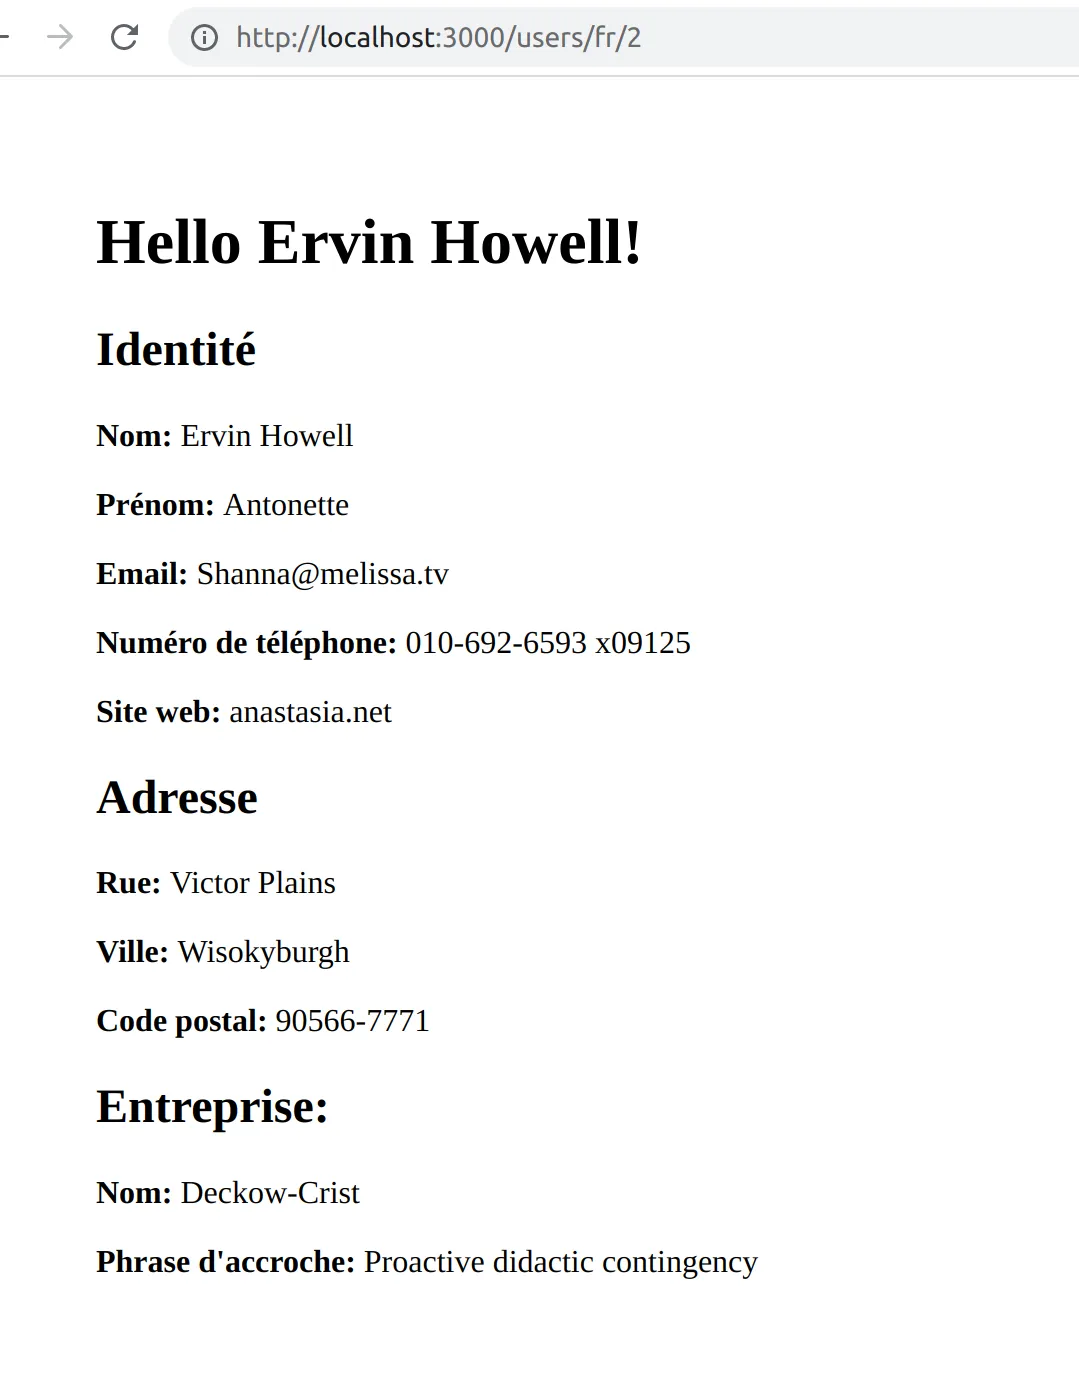
@Controller("/users")export class UserController { constructor( private readonly polyglotService: PolyglotService, private readonly handelbarsHelpersService: HandlebarsHelpersService, ) {} @Get("/:locale/:id") @Render("user") async get( @Param("id", ParseIntPipe) id: number, @Param("locale") locale: string, ) { try { const response = await fetch( `https://jsonplaceholder.typicode.com/users/${id}`, ); if (this.polyglotService.getLocale() !== locale) { this.polyglotService.setLocale(locale); } const user = await response.json(); return user; } catch (error) { Logger.error(error); throw error; } }}Congrats! We can now see our web page translated.

Or almost…
The title is still in English. And it’s tricky to translate, as it contains dynamic data. For this purpose, Polyglot.js provides a feature called interpolation.
Handling Dynamic Translations With Interpolation
To be able to translate the title, we need to pass the name of the user to the translation function. We can pass an object with key-value pairs of interpolation arguments as the second parameter of the translate function of polyglot.
In our translation files, we can add a new key with this syntax:
hello_name: 'Bonjour %{name}!',With Handlebars, we need to pass the value of the name to the translate helper.
<h1>{{translate 'users.hello_name' name=name}}</h1>In the helper, we can get this value from the options hash:
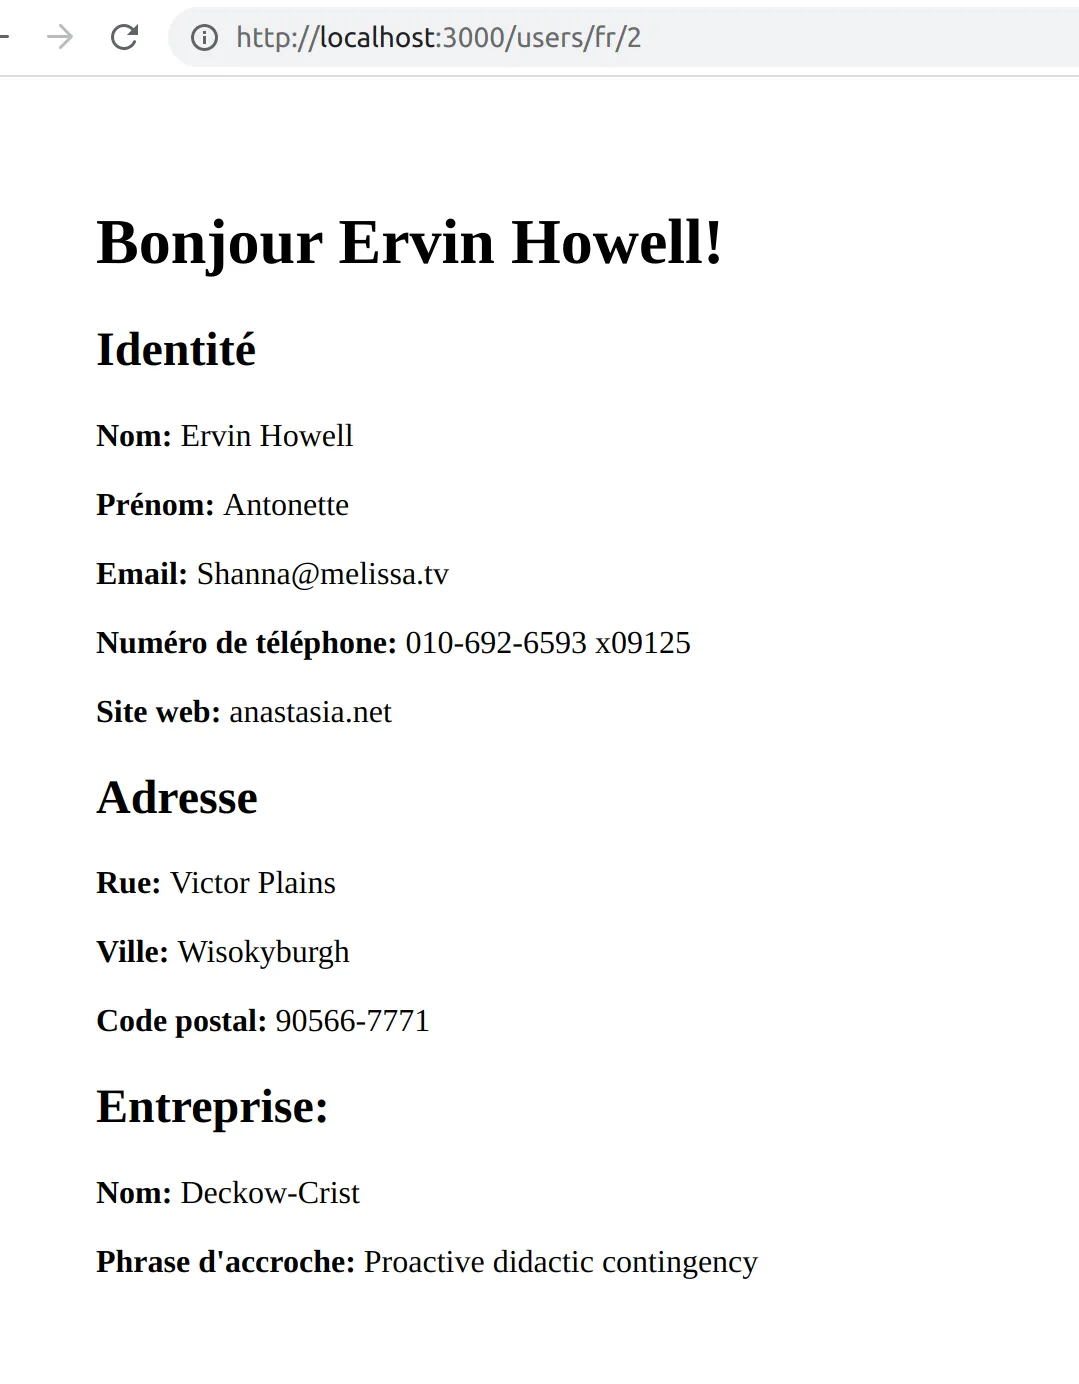
handlebars.registerHelper( 'translate', (phrase: string, options: HelperOptions) => { return this.polyglotService.getPolyglot().t(phrase, options.hash); },);Tada!
Handling Pluralization
Polyglot.js also provides a easy way to deal with pluralization.
Let’s modify our user controller and add some pets to show you a quick example:
return { ...user, pets: ["Cookie", "Chocolat"] };We add this in our hbs file:
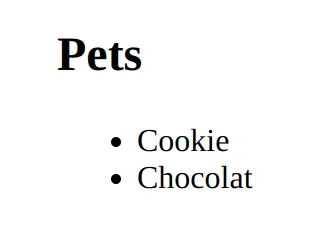
//user.hbs<h2>{{translate 'users.fields.pets.title' smart_count=pets.length}}</h2><ul> {{#each pets}} <li>{{this}}</li> {{/each}}</ul>As you can see, we have a new message key, and we add a smart_count option, whose value is a number.
We modify our message files with the delimiter |||| to separate the plural forms:
// in englishMessages.ts{  // ...  pets: {    title: 'Pet |||| Pets',  },}
  // in frenchMessages.ts
{  // ...  pets: {    title: 'Animal domestique |||| Animaux domestiques',  },}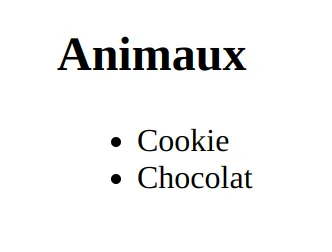
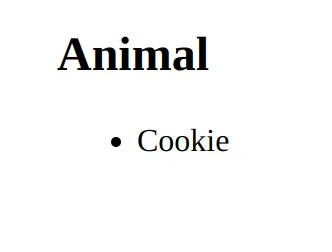
And this is the result if we only have one pet:
Conclusion
We have explored how to use Polyglot.js to implement internationalization in a Nest.js project.
By following a few steps, we were able to create a polyglot module and service, to establish the locale based on a route parameter, and to leverage Polyglot’s interpolation and pluralization features. Furthermore, we developed a Handlebars Helpers module and service to enable the usage of Polyglot’s translation helper in our Handlebars templates. These additions enabled us to create a multilingual web page and share translation files between our Nest.js backend and React-Admin frontend.
Polyglot.js has proven to be a valuable library for incorporating internationalization into our project. I highly recommend it if you are searching for a lightweight library with essential yet powerful functions and comprehensive documentation. However, if you would like to explore more options, you can refer to this informative comparison of I18n libraries.
Authors
Before choosing full-stack development, Cindy was a dentist. No kidding. You can imagine that she's a fast learner.