Build Augmented Reality Applications With React-Native
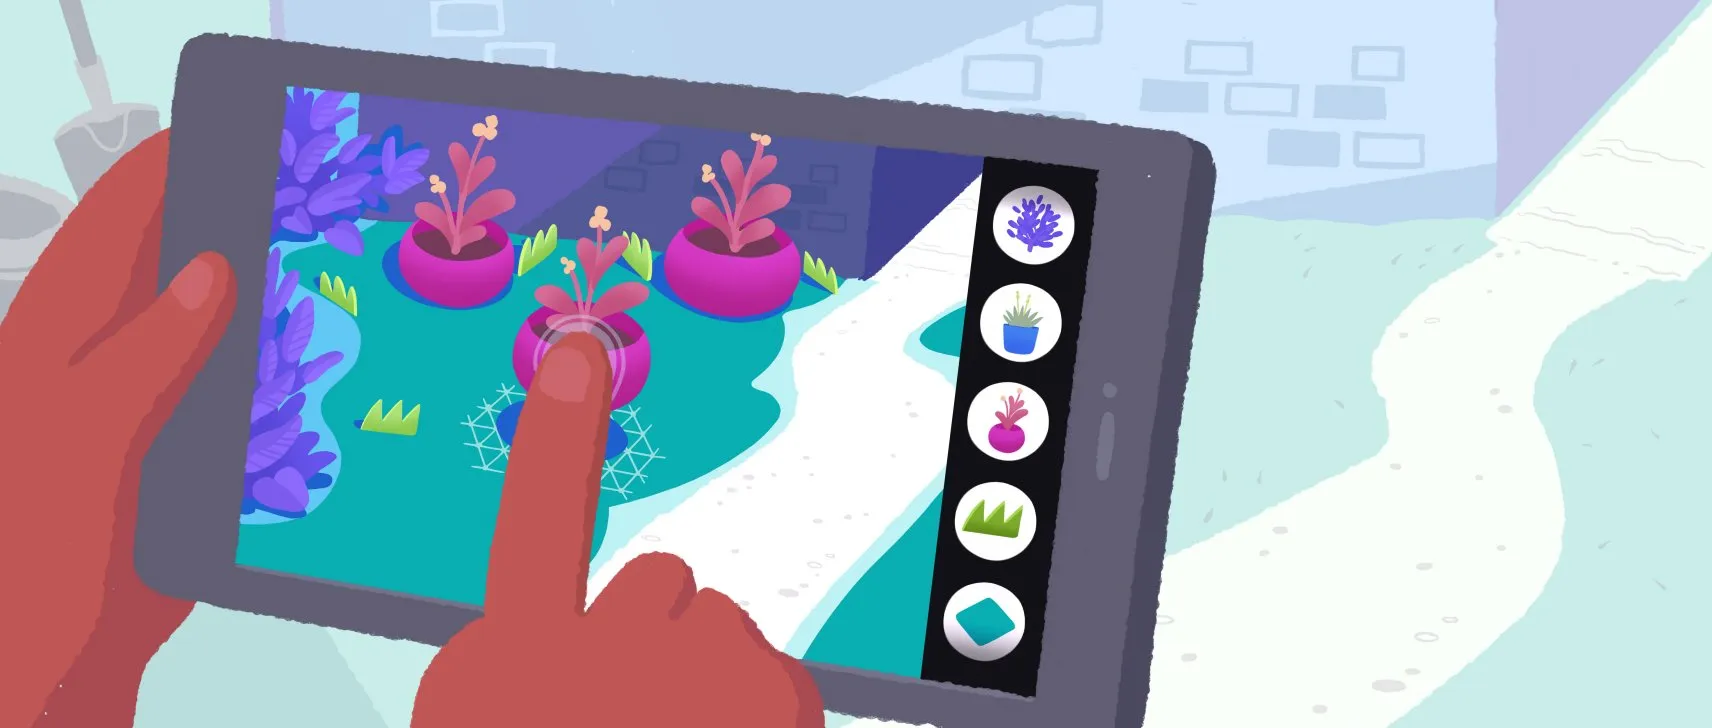
Augmented Reality is one of the most important trends currently. So, after our trial using the browser over 1 year ago, I wanted to test a framework offering the possibility to create native augmented reality experiences. Read on to see how I developed a reversi game application on mobile using React-Native.
Vimeo might track you and we would rather have your consent before loading this video.
What is Augmented Reality?
As the “Artificial Intelligence” term can be mixed up with other related concepts, Augmented Reality (AR) is quite often mistaken with Virtual Reality (VR). In fact, VR and AR are not the same at all. While VR is a projection of a virtual world to our eyes, AR is a blended projection of a virtual object in the real world.
I invite you to check a more detailed description of these concepts in our previous blog post about AR in the browser.
Augmented Reality In Javascript With Native Performance
At Marmelab, we are absolute fans of React and its ecosystem. That’s why we develop a lot of open-source tools and projects for our customers using this technology.
I don’t pretend to be a good Java, Kotlin, CSharp or Swift developer. But I also want to have good performance on mobile, so using a web framework like React is out of the question. So I started looking for a native framework which lets me develop iOS and Android apps with both Javascript and React.

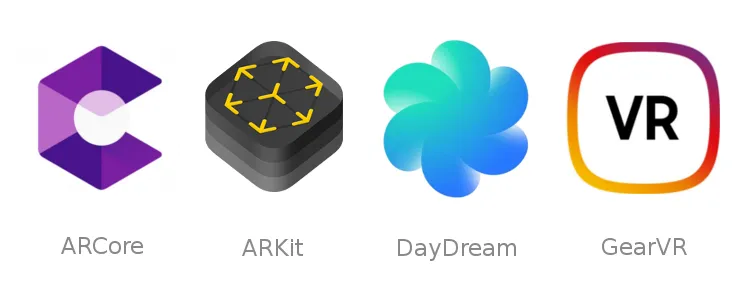
After several minutes of research, the only obvious choice was to use ViroReact. Under the hood, this framework is based on two APIs that dominate the world of Augmented and Virtual Reality for mobile phones: ARKit for iOS and ARCore for Android.
ARKit is actually the biggest existing AR platform. It allows to develop rich immersive experiences on Apple devices having at least an A9 chip and iOS 11.
ARCore is more or less the same, except that it supports a short list of devices that are considered to be powerful enough to run the API at its best. And also iOS devices, apparently?.
The rather limited support of devices is the major weakness of these APIs for the moment. Over time, phones will become more and more powerful, which will make it possible to use them more often.
Viro, The Outsider
Viro is a free AR/VR development platform that allows building cross-platform applications using React-Native, and fully native Android applications using Java. It supports multiple platforms and APIs such as ARKit, ARCore, Cardboard, Daydream or GearVR.

As previously said, Viro allows building both fully native application and React-Native ones. That’s why Viro provides two distinct packages: ViroCore and ViroReact.
To use it, you’re still required to sign up. The API key which is provided following registration is mandatory to be able to use the platform.
Sadly, Viro is not open-source but (only) free to use with no limits on distribution. According to the ViroMedia CEO, the API key is used for internal analytics and to guard against possible license violations.
VIRO reserves the right, at any time, to modify, suspend, or discontinue the Software, or change access requirements, with or without notice.
Regarding the license note above, it is therefore necessary to remain vigilant regarding its use since we have no guarantee on the evolution of the platform.
Edit: Since the 16 Oct 2019, Viro is becoming open-source! No need to register a special API Key to use it. Feel free to contribute, this project is great and we must maintain it anyway.
First Contact With ViroReact
In this section, I’ll cover the major parts of the Viro Framework with a simple use case: a 3D projection of the Marmelab logo !
YouTube might track you and we would rather have your consent before loading this video.
First, we need to create a 3D mesh to be able to include it in our project. Special thanks to @jpetitcolas who created the Marmelab logo using blender a few years ago.
Installation
Before using Viro, we need to install some npm dependencies. Viro requires react-native-cli and react-viro-cli as global packages.
npm install -g react-native-clinpm install -g react-viro-cliThen, we can initialize a Viro project using the special command react-viro init, followed by the project name. A folder with the same name is then created.
react-viro init marmelab_for_realSo, what can we see in this project? Well, the folder structure is quite similar to the usual ones we encounter with React-Native, no surprise on this point.
├── android├── bin├── ios├── js├── node_modules├── App.js├── app.json├── index.android.js├── index.ios.js├── index.js├── metro.config.js├── package.json├── rn-cli.config.js├── setup-ide.sh└── yarn.lockDeveloper Experience
Once the project is initialized, we just have to launch it using the npm start command. Viro will automatically create an ngrok tunnel, which can be used by any phone connected to the internet around the globe.
julien@julien-laptop /tmp/foo $ npm start
> foo@0.0.1 prestart /tmp/foo> ./node_modules/react-viro/bin/run_ngrok.sh
 ----------------------------------------------------------|                                                          || NGrok Packager Server endpoint: http://32a5a3d7.ngrok.io ||                                                          | ----------------------------------------------------------
> foo@0.0.1 start /tmp/foo> node node_modules/react-native/local-cli/cli.js start
┌──────────────────────────────────────────────────────────────────────────────┐│                                                                              ││  Running Metro Bundler on port 8081.                                         ││                                                                              ││  Keep Metro running while developing on any JS projects. Feel free to        ││  close this tab and run your own Metro instance if you prefer.               ││                                                                              ││  https://github.com/facebook/react-native                                    ││                                                                              │└──────────────────────────────────────────────────────────────────────────────┘
To access the application, we just have to use the special TestBed application from Viro with the corresponding tunnel or local ip (if you’re connected locally). On those aspects, Viro reminds me of Expo. Then, we’re able to access the test application:
Vimeo might track you and we would rather have your consent before loading this video.
In addition to these running facilities, Viro also offers hot-reloading, live-reloading, error messages & warnings directly on the device, just like any React-Native application does.
Initializing a Scene Navigator
Depending on the type of project you want, Viro provides 3 distinct SceneNavigator components which are the following:
- ViroVRSceneNavigator: For VR Applications
- ViroARSceneNavigator: For AR Applications
- Viro3DSceneNavigator: For 3D (not AR/VR) Applications
This components are used as entry points for our application. You must choose one depending on what you want to do, in our case ViroARSceneNavigator for Augmented Reality.
Each SceneNavigator requires two distinct props which are apiKey and initialScene. The first one comes from your registration on the Viro website, the second one is an object with a scene attribute with our scene component as value.
import React from "react";import { View, StyleSheet } from "react-native";import { ViroARSceneNavigator } from "react-viro";import { VIROAPIKEY } from "react-native-dotenv";
import PlayScene from "./src/PlayScene";
const styles = StyleSheet.create({  root: {    flex: 1,    backgroundColor: "#fff",  },});
const App = () => (  <View style={styles.root}>    <ViroARSceneNavigator      apiKey={VIROAPIKEY}      initialScene={{ scene: PlayScene }}    />  </View>);
export default App;
Since we want to keep our Viro apiKey private, we use the react-native-dotenv package in conjunction with a .env file at the root of our project folder.
To make it psosible, just install this package with yarn add -D react-native-dotenv and create a .env file with VIROAPIKEY=<YOUR-VIRO-API-KEY> in it.
The last step is to add the preset to babel has described below.
{ "presets": [ "module:metro-react-native-babel-preset", "module:react-native-dotenv" ]}Adding a Scene
Now that the bootstrap is done, it’s time to develop our first scene!
Viro Scenes act as containers for all our UI Objects, Lights and 3D objects. There are 2 types of Scene components: ViroScene and ViroARScene.
Each Scene contains a hierarchical tree structure of nodes that are managed by a full-featured 3D scene graph engine. ViroScene children are positioned through ViroNode components that represent positions and transformations in 3D space.
So, almost every object under the tree has a position, rotation and scale prop that accept an array of coordinates/vector (x, y, z) as described below.
<ViroNode position={[2.0, 5.0, -2.0]} rotation={[0, 45, 45]} scale={[2.0, 2.0, 2.0]}/>Now that we know how it works, we can create our first ViroARScene (aka PlayScene).
import React from "react";
import { ViroARScene, Viro3DObject, ViroAmbientLight } from "react-viro";
const MarmelabLogo = () => (  <Viro3DObject    source={require("../assets/marmelab.obj")}    resources={[require("../assets/marmelab.mtl")]}    highAccuracyEvents={true}    position={[0, 0, -1]} // we place the object in front of us (z = -1)    scale={[0.5, 0.5, 0.5]} // we reduce the size of our Marmelab logo object    type="OBJ"  />);
const PlayScene = () => (  <ViroARScene displayPointCloud>    <ViroAmbientLight color="#fff" />    <MarmelabLogo />  </ViroARScene>);
export default PlayScene;
In the previous code, we’ve introduced 2 new Viro Components that are Viro3DObject and ViroAmbiantLight.
The Viro3DObject allows creating 3D objects from 3D structure / textures files that can be placed on our Viro Scene. In our case, we declare a component using our previously blended Marmelab logo object.
The ViroAmbientLight introduce some lighting in our Scene. Without that light, no object is visible.
Vimeo might track you and we would rather have your consent before loading this video.
The final result is really amazing, especially since we spent very little time on it.
Level Up: Developing A Reversi In AR
After this little exploration, it’s time for us to develop a more tangible application using this technology. Since I don’t want to do modeling or coding business logic this time, I’ll reuse an existing codebase and blended objects (disks) from a previous projects I worked on during a hackday. It’s a Reversi Game using ThreeJS.

The Reversi PlayScene
According to our previous experiment, we’re going to replace our PlayScene to include a new Game component that contains a Board that itself contains Disk object components.
import React from "react";
import { ViroARScene, ViroAmbientLight } from "react-viro";
import Game from "./components/Game";import { create as createGame } from "./reversi/game/Game";import { create as createPlayer } from "./reversi/player/Player";import { TYPE_BLACK, TYPE_WHITE } from "./reversi/cell/Cell";
const defaultGame = createGame([  createPlayer("John", TYPE_BLACK),  createPlayer("Charly", TYPE_WHITE),]);
const PlayScene = () => {  const [game] = useState(defaultGame);
  return (    <ViroARScene displayPointCloud>      <ViroAmbientLight color="#fff" />      <Game game={game} />    </ViroARScene>  );};
export default PlayScene;import React, { Component } from "react";
import Board from "./Board";import { getCurrentPlayer } from "../reversi/game/Game";
class Game extends Component { // ...
render() { const { game } = this.state;
return ( <Board board={game.board} currentCellType={getCurrentPlayer(game).cellType} onCellChange={this.handleCellChange} /> ); }}
export default Game;The Game relies on a Board and a Disk component:
import React, { Component } from "react";import PropTypes from "prop-types";import { ViroNode } from "react-viro";
import Disk from "./Disk";import { TYPE_WHITE, TYPE_EMPTY } from "../reversi/cell/Cell";
class Board extends Component {  // ...
  renderCellDisk = (cell) => (    <Disk      key={`${cell.x}${cell.y}`}      position={[0.03 * cell.x, 0, -0.3 - 0.03 * cell.y]}      rotation={[cell.type === TYPE_WHITE ? 180 : 0, 0, 0]}      opacity={cell.type === TYPE_EMPTY ? 0.15 : 1}      onClick={this.handleClick(cell)}    />  );
  render() {    const { board } = this.props;
    return (      <ViroNode position={[0.0, 0.0, 0.5]}>        {board.cells          .reduce(            (agg, row, y) => [              ...agg,              ...row.map((type, x) => createCell(x, y, type)),            ],            [],          )          .map(this.renderCellDisk)}      </ViroNode>    );  }}
Board.propTypes = {  onCellChange: PropTypes.func.isRequired,  currentCellType: PropTypes.number.isRequired,  board: PropTypes.shape({    cells: PropTypes.array,    width: PropTypes.number,    height: PropTypes.number,  }),};
export default Board;import React from "react";import { Viro3DObject } from "react-viro";
const Disk = (props) => ( <Viro3DObject source={require("../assets/disk.obj")} resources={[require("../assets/disk.mtl")]} highAccuracyEvents={true} position={[0, 0, -1]} scale={[0.0007, 0.0007, 0.0007]} type="OBJ" {...props} />);
export default Disk;It’s working! However, I think we all agree that it is not possible to play Reversi on a floating board… That’s why we’re going to define an Anchor on which we can place our Game / Board.
Placing Objects in Real-World
In Augmented Reality terminology, the concept of attaching virtual objects to a real-world point is called Anchoring. According to that word, Anchors are used to achieve this task.
Anchors are vertical or horizontal planes, or images (often markers) found in the real world by the AR system (ARCore or ARKit) on which we can rely to build a virtual world.
With Viro, Anchors are represented by an Anchor object which can be found through Targets using different detection methods, as described below.
ViroARPlane: This component allows to use either “manual” (though an “anchorId”) or “automatic” detection of a plane in the real-world to place objects on it.ViroARPlaneSelector: This component shows all the available planes discovered by the system and allows the user to select one.ViroARImageMarker: This component allows to use an illustrated piece of paper as a physic anchor for our virtual objects.
In my case, I’ve chosen the ViroARImageMarker anchoring system because it seems more stable and performs better (at first glance).
ViroARImageMarker has a mandatory prop called target. This prop which must contain the name of a registered target which has previously been declared using ViroARTrackingTargets module.
The first thing to do is to create our target using the createTargets function. In our case, we declare an image target named marmelabAnchor (yes, I’m very corporate…) because I used the Marmelab logo as an anchor.
Then, we can use this anchor name directly as anchor prop value of our new ViroARImageMarker element around our Game.
import React from 'react';
import {    ViroARScene,    ViroAmbientLight,   ViroARTrackingTargets,   ViroARImageMarker,} from 'react-viro';
import Game from './components/Game';import { create as createGame } from './reversi/game/Game';import { create as createPlayer } from './reversi/player/Player';import { TYPE_BLACK, TYPE_WHITE } from './reversi/cell/Cell';
const defaultGame = createGame([    createPlayer('John', TYPE_BLACK),    createPlayer('Charly', TYPE_WHITE),]);
const PlayScene = () => {    const [game] = useState(defaultGame);
    return (        <ViroARScene displayPointCloud>            <ViroAmbientLight color="#fff" />           <ViroARImageMarker target={'marmelabAnchor'}>                <Game game={game} />           </ViroARImageMarker>        </ViroARScene>    );};
 ViroARTrackingTargets.createTargets({     marmelabAnchor: {         type: 'Image',         source: require('./assets/target.jpg'), // source of the target image         orientation: 'Up', // desired orientation of the image         physicalWidth: 0.1, // with of the target in meters (10 centimeters in our case)     }, });
export default PlayScene;
All children that are declared under the ViroARImageMarker element in the tree are placed relatively to it. In our case, the Game component is then placed over the ViroARImageMarker target.
Animating The Scene
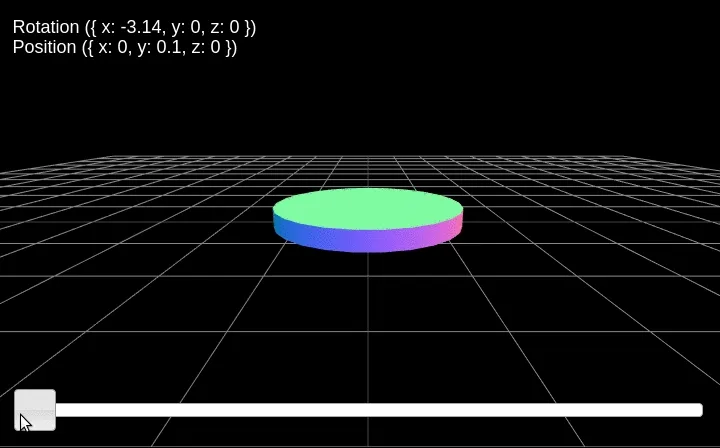
Now the AR reversi game is working better. But it lacks a little bit of animation. So, how can we add the same disk flip effects as we made in our previous ThreeJS project?

To fill this usual need, ViroReact provides a global animation registry called ViroAnimations that can be used everywhere in conjunction with any component that accepts an animation prop.
In our case, we’re gonna compose transformations together to create a complete disk flipping effect. Here is the desired scenario over time:
0 - 300ms | Move Up |
300 - 600ms | Move Down |
150 - 350ms | Rotate (during disk reaches the top) |
First, we’re gonna register an animation according to this transformation timeline.
import { ViroAnimations } from "react-viro";
// ...
ViroAnimations.registerAnimations({  moveUp: {    properties: { positionY: "+=0.03" },    duration: 300,    easing: "EaseInEaseOut",  },  moveDown: {    properties: { positionY: "-=0.03" },    duration: 300,    easing: "EaseInEaseOut",  },  flip: {    properties: { rotateX: "+=180" },    duration: 300,    easing: "EaseInEaseOut",    delay: 150,  },  flipDisk: [["moveUp", "moveDown"], ["flip"]],});
As you see, we declare 3 distinct animations, and compose them using the fourth one, flipDisk. moveUp and moveDown are in the same array because they are executed one after the other. flip runs in parallel to these two transformations.
Secondly, we just need to use this registered animation in our Disk component using the animation prop, as follows:
// ...
renderCellDisk = (cell) => {  const { flipping } = this.state;
  return (    <Disk      key={`${cell.x}${cell.y}`}      position={[0.03 * cell.x, 0, -0.3 - 0.03 * cell.y]}      rotation={[cell.type === TYPE_WHITE ? 180 : 0, 0, 0]}      opacity={cell.type === TYPE_EMPTY ? 0.15 : 1}      onClick={this.handleClick(cell)}      animation={{        name: "flipDisk",        run: !!flipping.find(hasSamePosition(cell)),        onFinish: this.handleEndFlip(cell),      }}    />  );};
// ...
The animation prop accepts an object of the following structure:
{ name: string // name of the animation delay: number // number of ms before animation starts loop: bool // animation can loop? onFinish: func // end callback of the animation onStart: func // start callback of the animation run: bool // animation is active or not? interruptible: bool // can we change animation when running?}In our case, we’ve just used name, run, and onFinish attributes to define which disk is currently flipping, and remove it from the flipping list when the animation ends.
Conclusion
Using ViroReact for building an Augmented Reality project was a great choice for many reasons. Whereas it was my first experience in this domain, I haven’t faced any difficulties at any time. Quite the contrary, Viro has helped me to explore this world with confidence.
The developer experience is rich as it offers ReactJS binding, hot-reload and unambiguous documentation. Nevertheless, I don’t recommend to use it for complex / performance-based applications because of the React-Native javascript thread which can lead to event congestion and lags. So, in case performance matters, I’d recommend full-native solutions instead.
By the way, Google is constantly adding augmented reality features within its applications, like on Google Map. Augmented Reality has never been so expanding. So, don’t miss it.
Many other features remain to be explored, such as Skeletal animations, particles effects, physics, video and sounds. Don’t be shy, share your experiences though comments ;)
You can find the final code on GitHub, in the marmelab/virothello repository.
Authors

Full-stack web developer at marmelab, Julien loves to try and use new exotic programming languages. Proficient with Symfony, Node.js, and React, he manages to keep a quiet temper even when the web is on fire.