

Installation
shadcn-admin-kit is a React library of components for admin apps. You can install it with any React framework:


Every command below passes --preset vega. Keep it: it produces the base-vega style that the kit’s own components.json declares. The shadcn CLI can generate its components on top of Base UI, React Aria or Radix primitives, and this version of shadcn-admin-kit is built on the Base UI ones; the preset name carries that choice, so there is no separate flag to pass. Drop it and the CLI stops twice, to ask which library and which preset. The command otherwise asks no questions, and signs off with a reminder to wrap your app in a TooltipProvider that you can ignore, since the components that use tooltips provide their own.
Install with Next.js
Section titled “Install with Next.js”Create the project and pull the shadcn-admin-kit components in one command:
npx shadcn@latest init \ --template next \ --preset vega \ --name my-app \ https://marmelab.com/shadcn-admin-kit/r/admin.jsonThis will add some components to the components/admin and components/ui directories, as well as some utilities inside the hooks/ and lib/ directories.
cd my-appYou’re ready to bootstrap your app. Create an app/admin directory and an app/admin/App.tsx component file that will contain the admin app.
"use client";
import { Admin } from "@/components/admin";
const App = () => <Admin></Admin>;
export default App;
Expose that admin app at the /admin URL by adding a app/admin/page.tsx file. this page should dynamically import the admin component and render it with SSR disabled:
"use client";
import dynamic from "next/dynamic";
const App = dynamic(() => import("./App"), {  ssr: false, // Required to avoid react-router related errors});
export default function Page() {  return <App />;}
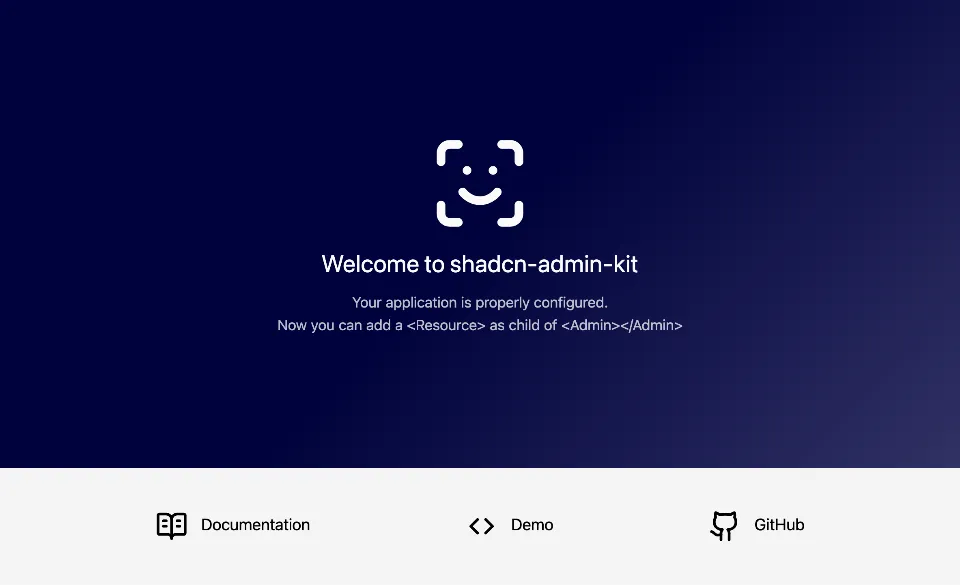
Finally, run npm run dev and go to http://localhost:3000/admin to access your admin app.
Next step: Read the Quick Start Guide to learn how to use the components in your admin app.
Install with Vite.js
Section titled “Install with Vite.js”Create the project and pull the shadcn-admin-kit components in one command:
npx shadcn@latest init \ --template vite \ --preset vega \ --name my-app \ https://marmelab.com/shadcn-admin-kit/r/admin.jsonThis will add some components to the src/components/admin and src/components/ui directories, as well as some utilities inside the src/hooks/ and src/lib/ directories.
cd my-appThe template leaves src/App.tsx rendering a “Project ready!” placeholder page with a single button. Replace all its content by the following to serve your new shadcn-admin-kit application.
import { Admin } from "@/components/admin";
const App = () => <Admin></Admin>;
export default App;
Shadcn Admin Kit reads process.env.NODE_ENV, so node must be among the TypeScript types your app loads. The types array of tsconfig.app.json already contains vite/client; add node next to it, or npm run build fails with Cannot find name 'process'.
{ "compilerOptions": { "types": ["vite/client", "node"] }}It’s time to test! Run the following command to run your project.
npm run dev# oryarn devYou should see this:
Next step: Read the Quick Start Guide to learn how to use the components in your admin app.
Install with React-Router
Section titled “Install with React-Router”You can setup a Shadcn Admin Kit application with React-Router v7 (a.k.a. Remix v3). Create the project and pull the shadcn-admin-kit components in one command:
npx shadcn@latest init \ --template react-router \ --preset vega \ --name my-app \ https://marmelab.com/shadcn-admin-kit/r/admin.jsonThis will add some components to the app/components/admin and app/components/ui directories, as well as some utilities inside the app/hooks/ and app/lib/ directories.
cd my-appThe React Router framework pins @react-router/dev, @react-router/node and @react-router/serve to one exact react-router version, so the newer react-router-dom that the registry pulls in brings a second copy of react-router along, and the app then fails to render server side. Read the @react-router/dev version from your package.json and use the exact same version for react-router-dom. At the time of writing this tutorial, it is 7.15.1.
npm add --save-exact react-router-dom@7.15.1Next, add a /admin route to your application by editing the app/routes.ts file and adding the following route:
import { type RouteConfig, index, route } from "@react-router/dev/routes";
export default [  index("routes/home.tsx"),  route("/admin/*", "routes/admin.tsx"),] satisfies RouteConfig;
Now create the app/routes/admin.tsx file:
import AdminApp from "~/admin/App";
export default function App() {  return <AdminApp />;}
Then, create the app/admin/App.tsx file that will contain the admin app:
import { Admin } from "~/components/admin";
const App = () => <Admin basename="/admin"></Admin>;
export default App;It’s time to test! Run the following command to run your project.
npm run dev# oryarn devNow go to http://localhost:5173/admin in your browser. You should see this:
Next step: Read the Quick Start Guide to learn how to use the components in your admin app.
Install with Tanstack Start
Section titled “Install with Tanstack Start”You can setup a Shadcn Admin Kit application with Tanstack Start. Create the project and pull the shadcn-admin-kit components in one command:
npx shadcn@latest init \ --template start \ --preset vega \ --name my-app \ https://marmelab.com/shadcn-admin-kit/r/admin.jsonThis will add some components to the src/components/admin and src/components/ui directories, as well as some utilities inside the src/hooks/ and src/lib/ directories.
cd my-appYou need to add ra-router-tanstack to your project, so that your shadcn-admin-kit application can make use of the tanstack router:
npm install ra-router-tanstackYou’re ready to bootstrap your app! The template already ships a src/routes/index.tsx route rendering a placeholder page. Replace all its content by the following:
import { createFileRoute } from "@tanstack/react-router";import { tanStackRouterProvider } from "ra-router-tanstack";import { Admin } from "@/components/admin";
export const Route = createFileRoute("/")({ component: App });
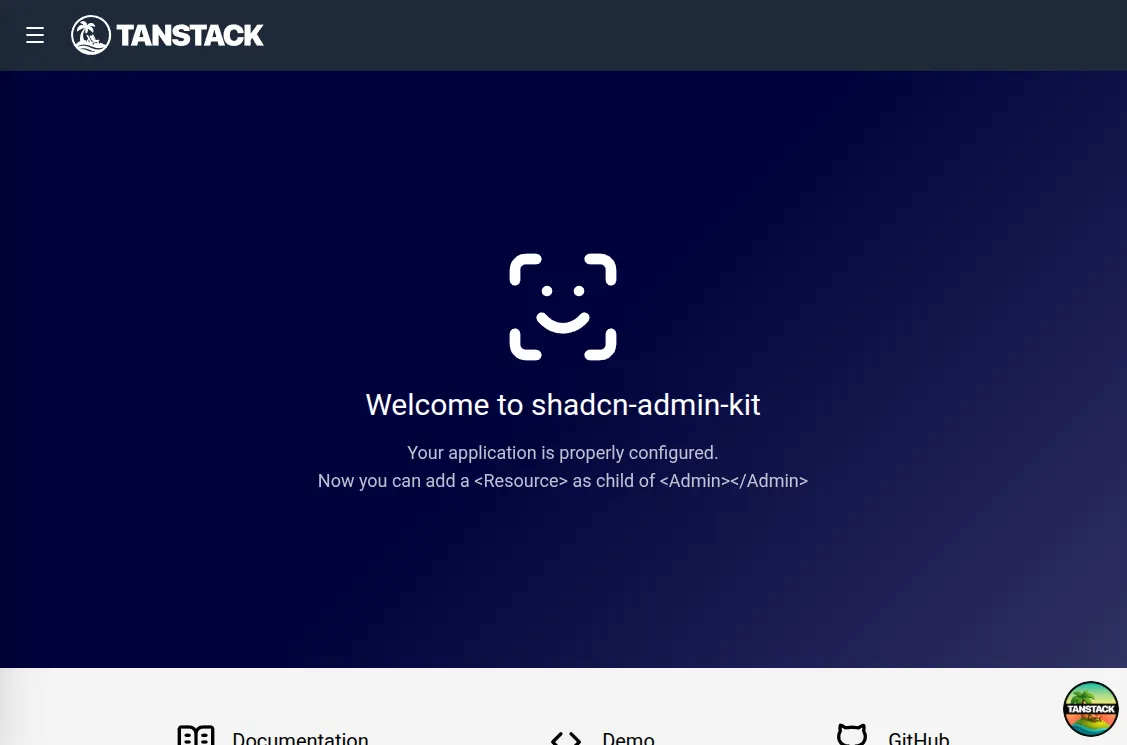
function App() { return <Admin routerProvider={tanStackRouterProvider}></Admin>;}When you run npm run dev and visit http://localhost:3000, you should see the Shadcn Admin Kit welcome screen:
Next step: Read the Quick Start Guide to learn how to use the components in your admin app.