Authentication

Admin-on-rest lets you secure your admin app with the authentication strategy of your choice. Since there are many different possible strategies (Basic Auth, JWT, OAuth, etc.), admin-on-rest simply provides hooks to execute your own authentication code.
By default, an admin-on-rest app doesn’t require authentication. But if the REST API ever returns a 401 (Unauthorized) or a 403 (Forbidden) response, then the user is redirected to the /login route. You have nothing to do - it’s already built in.
Configuring the Auth Client
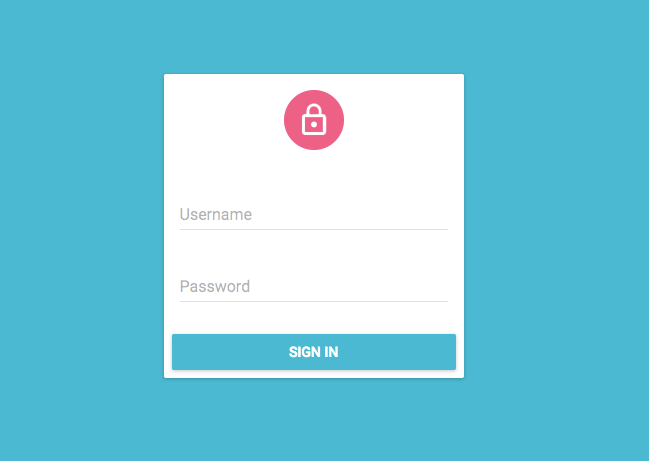
By default, the /login route renders a special component called Login, which displays a login form asking for username and password.
What this form does upon submission depends on the authClient prop of the <Admin> component. This function receives authentication requests (type, params), and should return a Promise. Login calls authClient with the AUTH_LOGIN type, and { login, password } as parameters. It’s the ideal place to authenticate the user, and store their credentials.
For instance, to query an authentication route via HTTPS and store the credentials (a token) in local storage, configure authClient as follows:
// in src/authClient.js
import { AUTH_LOGIN } from 'admin-on-rest';

export default (type, params) => {
    if (type === AUTH_LOGIN) {
        const { username, password } = params;
        const request = new Request('https://mydomain.com/authenticate', {
            method: 'POST',
            body: JSON.stringify({ username, password }),
            headers: new Headers({ 'Content-Type': 'application/json' }),
        })
        return fetch(request)
            .then(response => {
                if (response.status < 200 || response.status >= 300) {
                    throw new Error(response.statusText);
                }
                return response.json();
            })
            .then(({ token }) => {
                localStorage.setItem('token', token);
            });
    }
    return Promise.resolve();
}
Tip: It’s a good idea to store credentials in localStorage, to avoid reconnection when opening a new browser tab. But this makes your application open to XSS attacks, so you’d better double down on security, and add an httpOnly cookie on the server side, too.
Then, pass this client to the <Admin> component:
// in src/App.js
import authClient from './authClient';

const App = () => (
    <Admin authClient={authClient}>
        ...
    </Admin>
);
Upon receiving a 403 response, the admin app shows the Login page. authClient is now called when the user submits the login form. Once the promise resolves, the login form redirects to the previous page, or to the admin index if the user just arrived.
Sending Credentials to the REST API
To use the credentials when calling REST API routes, you have to tweak, this time, the restClient. As explained in the REST client documentation, simpleRestClient and jsonServerRestClient take an httpClient as second parameter. That’s the place where you can change request headers, cookies, etc.
For instance, to pass the token obtained during login as an Authorization header, configure the REST client as follows:
import { simpleRestClient, fetchUtils, Admin, Resource } from 'admin-on-rest';
const httpClient = (url, options = {}) => {
    if (!options.headers) {
        options.headers = new Headers({ Accept: 'application/json' });
    }
    const token = localStorage.getItem('token');
    options.headers.set('Authorization', `Bearer ${token}`);
    return fetchUtils.fetchJson(url, options);
}
const restClient = simpleRestClient('http://localhost:3000', httpClient);

const App = () => (
    <Admin restClient={restClient} authClient={authClient}>
        ...
    </Admin>
);
If you have a custom REST client, don’t forget to add credentials yourself.
Adding a Logout Button
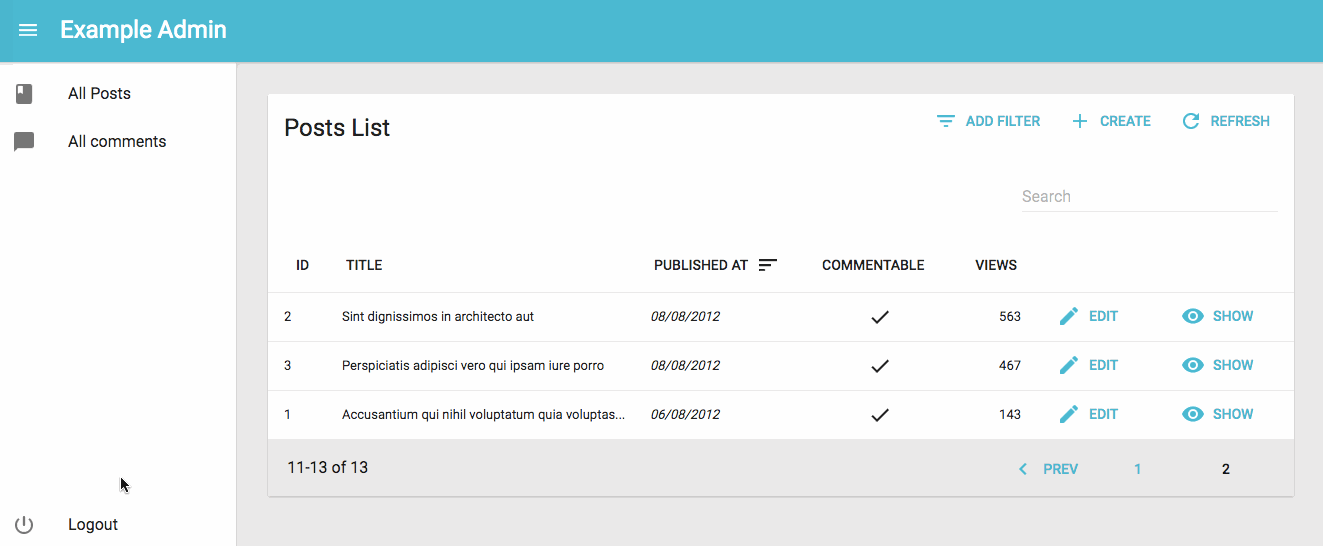
If you provide an authClient prop to <Admin>, admin-on-rest displays a logout button in the sidebar. When the user clicks on the logout button, this calls the authClient with the AUTH_LOGOUT type and removes potentially sensitive data from the redux store. When resolved, the user gets redirected to the login page.
For instance, to remove the token from local storage upon logout:
// in src/authClient.js
import { AUTH_LOGIN, AUTH_LOGOUT } from 'admin-on-rest';

export default (type, params) => {
    if (type === AUTH_LOGIN) {
        // ...
    }
    if (type === AUTH_LOGOUT) {
        localStorage.removeItem('token');
        return Promise.resolve();
    }
    return Promise.resolve();
};
The authClient is also a good place to notify the authentication API that the user credentials are no longer valid after logout.
Catching Authentication Errors On The API
Even though a user may be authenticated on the client-side, their credentials may no longer be valid server-side (e.g. if the token is only valid for a couple weeks). In that case, the API usually answers to all REST requests with an error code 401 or 403 - but what about your API?
Fortunately, each time the API returns an error, the authClient is called with the AUTH_ERROR type. Once again, it’s up to you to decide which HTTP status codes should let the user continue (by returning a resolved promise) or log them out (by returning a rejected promise).
For instance, to redirect the user to the login page for both 401 and 403 codes:
// in src/authClient.js
import { AUTH_LOGIN, AUTH_LOGOUT, AUTH_ERROR } from 'admin-on-rest';

export default (type, params) => {
    if (type === AUTH_LOGIN) {
        // ...
    }
    if (type === AUTH_LOGOUT) {
        // ...
    }
    if (type === AUTH_ERROR) {
        const status  = params.message.status;
        if (status === 401 || status === 403) {
            localStorage.removeItem('token');
            return Promise.reject();
        }
        return Promise.resolve();
    }
    return Promise.resolve();
};
Checking Credentials During Navigation
Redirecting to the login page whenever a REST response uses a 401 status code is usually not enough, because admin-on-rest keeps data on the client side, and could display stale data while contacting the server - even after the credentials are no longer valid.
Fortunately, each time the user navigates, admin-on-rest calls the authClient with the AUTH_CHECK type, so it’s the ideal place to check for credentials.
For instance, to check for the existence of the token in local storage:
// in src/authClient.js
import { AUTH_LOGIN, AUTH_LOGOUT, AUTH_ERROR, AUTH_CHECK } from 'admin-on-rest';

export default (type, params) => {
    if (type === AUTH_LOGIN) {
        // ...
    }
    if (type === AUTH_LOGOUT) {
        // ...
    }
    if (type === AUTH_ERROR) {
        // ...
    }
    if (type === AUTH_CHECK) {
        return localStorage.getItem('token') ? Promise.resolve() : Promise.reject();
    }
    return Promise.reject('Unkown method');
};
If the promise is rejected, admin-on-rest redirects by default to the /login page. You can override where to redirect the user by passing an argument with a redirectTo property to the rejected promise:
// in src/authClient.js
import { AUTH_LOGIN, AUTH_LOGOUT, AUTH_ERROR, AUTH_CHECK } from 'admin-on-rest';

export default (type, params) => {
    if (type === AUTH_LOGIN) {
        // ...
    }
    if (type === AUTH_LOGOUT) {
        // ...
    }
    if (type === AUTH_ERROR) {
        // ...
    }
    if (type === AUTH_CHECK) {
        return localStorage.getItem('token') ? Promise.resolve() : Promise.reject({ redirectTo: '/no-access' });
    }
    return Promise.reject('Unkown method');
};
Tip: For the AUTH_CHECK call, the params argument contains the resource name, so you can implement different checks for different resources:
// in src/authClient.js
import { AUTH_LOGIN, AUTH_LOGOUT, AUTH_ERROR, AUTH_CHECK } from 'admin-on-rest';

export default (type, params) => {
    if (type === AUTH_LOGIN) {
        // ...
    }
    if (type === AUTH_LOGOUT) {
        // ...
    }
    if (type === AUTH_ERROR) {
        // ...
    }
    if (type === AUTH_CHECK) {
        const { resource } = params;
        if (resource === 'posts') {
            // check credentials for the posts resource
        }
        if (resource === 'comments') {
            // check credentials for the comments resource
        }
    }
    return Promise.reject('Unkown method');
};
Tip: The authClient can only be called with AUTH_LOGIN, AUTH_LOGOUT, AUTH_ERROR, or AUTH_CHECK; that’s why the final return is a rejected promise.
Customizing The Login and Logout Components
Using authClient and checkCredentials is enough to implement a full-featured authorization system if the authentication relies on a username and password.
But what if you want to use an email instead of a username? What if you want to use a Single-Sign-On (SSO) with a third-party authentication service? What if you want to use two-factor authentication?
For all these cases, it’s up to you to implement your own LoginPage component, which will be displayed under the /login route instead of the default username/password form, and your own LogoutButton component, which will be displayed in the sidebar. Pass both these components to the <Admin> component:
Tip: Use the userLogin and userLogout actions in your custom Login and Logout components.
// in src/MyLoginPage.js
import React, { Component } from 'react';
import { connect } from 'react-redux';
import { userLogin } from 'admin-on-rest';

class MyLoginPage extends Component {
    submit = (e) => {
        e.preventDefault();
        // gather your data/credentials here
        const credentials = { };

        // Dispatch the userLogin action (injected by connect)
        this.props.userLogin(credentials);
    }

    render() {
        return (
            <form onSubmit={this.submit}>
            ...
            </form>
        );
    }
};

export default connect(undefined, { userLogin })(MyLoginPage);

// in src/MyLogoutButton.js
import React, { Component } from 'react';
import { connect } from 'react-redux';
import { userLogout } from 'admin-on-rest';

const MyLogoutButton = ({ userLogout }) => (
    <button onClick={userLogout}>Logout</button>
);

export default connect(undefined, { userLogout })(MyLogoutButton);

// in src/App.js
import MyLoginPage from './MyLoginPage';
import MyLogoutButton from './MyLogoutButton';

const App = () => (
    <Admin loginPage={MyLoginPage} logoutButton={MyLogoutButton} authClient={authClient}>
    ...
    </Admin>
);
Restricting Access To A Custom Page
If you add custom pages, of if you create an admin app from scratch, you may need to secure access to pages manually. That’s the purpose of the <Restricted> component, that you can use as a decorator for your own components.
// in src/MyPage.js
import { withRouter } from 'react-router-dom';
import { Restricted } from 'admin-on-rest';

const MyPage = ({ location }) =>
    <Restricted authParams={{ foo: 'bar' }} location={location} />
        <div>
            ...
        </div>
    </Restricted>
}

export default withRouter(MyPage);
The <Restricted> component calls the authClient function with AUTH_CHECK and authParams. If the response is a fulfilled promise, the child component is rendered. If the response is a rejected promise, <Restricted> redirects to the login form. Upon successful login, the user is redirected to the initial location (that’s why it’s necessary to get the location from the router).