
Next.js Integration
React-admin runs seamlessly on Next.js, with minimal configuration.
Next.js 13 proposes 2 ways to build a React project:
- the classic Pages router,
- the new App router with React Server components.
React-admin supports both ways.
Next.js With Pages Router
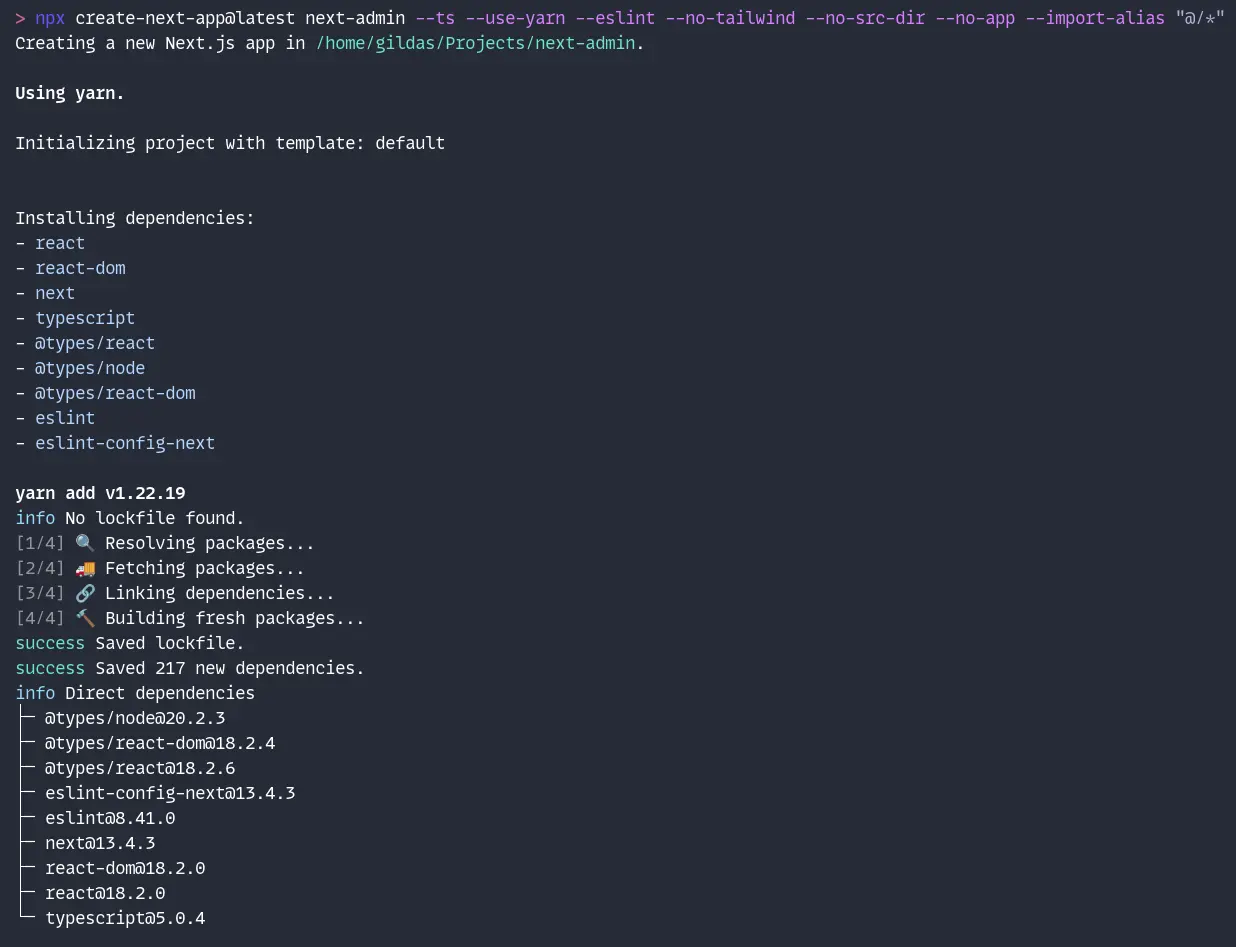
Let’s start by creating a new Next.js project called nextjs-react-admin.
npx create-next-app@latest next-admin --ts --use-yarn --eslint --no-tailwind --src-dir --no-app --import-alias "@/*"
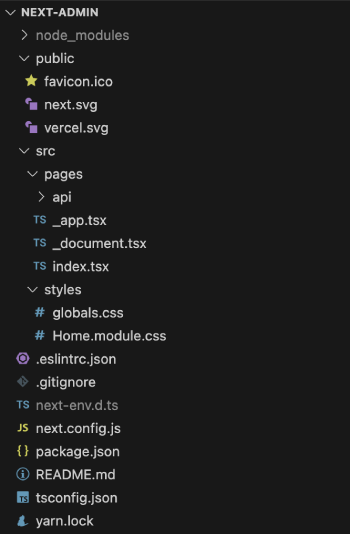
This creates a project with the following folder structure:
Adding React-Admin Dependencies
Add the react-admin npm package, as well as a data provider package. In this example, we’ll use ra-data-json-server to connect to a test API provided by JSONPlaceholder.
cd next-admin
yarn add react-admin ra-data-json-server
Creating the Admin App Component
Next, create an admin directory inside src, and the admin App component in src/admin/App.jsx:
// in src/admin/App.jsx
import * as React from "react";
import { Admin, Resource, ListGuesser, EditGuesser } from 'react-admin';
import jsonServerProvider from 'ra-data-json-server';

const dataProvider = jsonServerProvider('https://jsonplaceholder.typicode.com');

const App = () => (
  <Admin dataProvider={dataProvider}>
    <Resource name="users" list={ListGuesser} edit={EditGuesser} recordRepresentation="name" />
    <Resource name="posts" list={ListGuesser} edit={EditGuesser} recordRepresentation="title" />
    <Resource name="comments" list={ListGuesser} edit={EditGuesser} />
  </Admin>
);

export default App;
This is a minimal configuration to render CRUD pages for users, posts and comments. React-admin guesses the data structure from the API response.
Exposing the Admin App Component
Now, let’s configure Next.js to render the admin app component in the root path (‘/’). Edit the file called src/pages/index.tsx, and replace the content with the following:
// in src/pages/index.tsx
import type { NextPage } from "next";
import dynamic from "next/dynamic";

const App = dynamic(() => import("../admin/App"), { ssr: false });

const Home: NextPage = () => {
  return <App />;
};

export default Home;
Tip: Why the dynamic import? React-admin is designed as a Single-Page Application, rendered on the client-side. It comes with its own routing sytem, which conflicts with the Next.js routing system. So we must prevent Next.js from rendering the react-admin component on the server-side. Using dynamic allows disabling Server-Side Rendering for the <App> component.
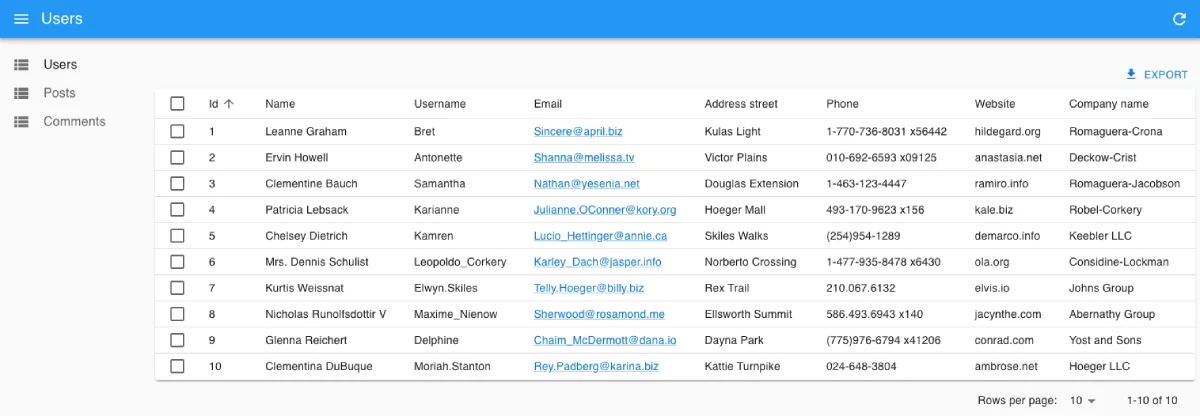
Now, start the server with yarn dev, browse to http://localhost:3000/, and you should see the working admin:
Rendering React-Admin In A Sub Route
In many cases, the admin is only a part of the application. For instance, you may want to render the admin in a subpath, e.g. /admin.
Next.js makes it trivial: create a src/pages/admin.tsx file with the same content as in the previous section:
// in src/pages/admin.tsx
import type { NextPage } from "next";
import dynamic from "next/dynamic";

const App = dynamic(() => import("../admin/App"), { ssr: false });

const Admin: NextPage = () => {
  return <App />;
};

export default Admin;
Now the admin renders at http://localhost:3000/admin, and you can use the Next.js routing system to add more pages.
Adding an API
Next.js allows to serve an API from the same server. You could use this to build a CRUD API by hand. However, we consider that building a CRUD API on top of a relational database is a solved problem and that developers shouldn’t spend time reimplementing it.
For instance, if you store your data in a PostgreSQL database, you can use PostgREST to expose the data as a REST API with zero configuration. Even better, you can use a Software-as-a-Service like Supabase to do that for you.
In such cases, the Next.js API can only serve as a Proxy to authenticate client queries and pass them down to Supabase.
Let’s see an example in practice.
First, create a Supabase REST API and its associated PostgreSQL database directly on the Supabase website (it’s free for tests and low usage). Once the setup is finished, use the Supabase manager to add the following tables:
userswith fields:id,name, andemailpostswith fields:id,title, andbodycommentswith fields:id,name,body, andpostId(a foreign key to theposts.idfield)
You can populate these tables via the Supabse UI if you want. Supabase exposes a REST API at https://YOUR_INSTANCE.supabase.co/rest/v1.
Copy the Supabase API URL and service role key into Next.js’s .env.local file:
# In `.env.local`
SUPABASE_URL="https://MY_INSTANCE.supabase.co"
SUPABASE_SERVICE_ROLE="MY_SERVICE_ROLE_KEY"
Tip: This example uses the service role key here and not the anonymous role. This allows mutations without dealing with authorization. You shouldn’t do this in production, but use the Supabase authorization feature instead.
Create a “catch-all” API route in the Next.js app by adding a pages/api/admin/[[...slug]].ts file. This API route redirects all calls from the react-admin app to the Supabase CRUD API:
// in pages/api/admin/[[...slug]].ts
import { NextApiRequest, NextApiResponse } from "next";

export default async function handler(req: NextApiRequest, res: NextApiResponse) {
  // get the incoming request URL, e.g. 'posts?limit=10&offset=0&order=id.asc'
  const requestUrl = req.url?.substring("/api/admin/".length);
  // build the CRUD request based on the incoming request
  const url = `${process.env.SUPABASE_URL}/rest/v1/${requestUrl}`;
  const options: RequestInit = {
    method: req.method,
    headers: {
      prefer: req.headers["prefer"] as string ?? "",
      accept: req.headers["accept"] ?? "application/json",
      ["content-type"]: req.headers["content-type"] ?? "application/json",
      // supabase authentication
      apiKey: process.env.SUPABASE_SERVICE_ROLE ?? '',
    },
  };
  if (req.body) {
    options.body = JSON.stringify(req.body);
  }
  // call the CRUD API
  const response = await fetch(url, options);
  // send the response back to the client
  const contentRange = response.headers.get("content-range");
  if (contentRange) {
    res.setHeader("Content-Range", contentRange);
  }
  res.end(await response.text());
}
Tip: Some of this code is really PostgREST-specific. The prefer header is required to let PostgREST return one record instead of an array containing one record in response to getOne requests. The Content-Range header is returned by PostgREST and must be passed down to the client. A proxy for another CRUD API will require different parameters.
Finally, update the react-admin data provider to use the Supabase adapter instead of the JSON Server one. As Supabase provides a PostgREST endpoint, we’ll use ra-data-postgrest:
yarn add @raphiniert/ra-data-postgrest
// in src/admin/App.jsx
import * as React from "react";
import { Admin, Resource, ListGuesser, EditGuesser } from 'react-admin';
import postgrestRestProvider from "@raphiniert/ra-data-postgrest";

const dataProvider = postgrestRestProvider("/api/admin");

const App = () => (
  <Admin dataProvider={dataProvider}>
    <Resource name="users" list={ListGuesser} edit={EditGuesser} recordRepresentation="name" />
    <Resource name="posts" list={ListGuesser} edit={EditGuesser} recordRepresentation="title" />
    <Resource name="comments" list={ListGuesser} edit={EditGuesser} />
  </Admin>
);

export default App;
Next.js With App Router
Let’s start by creating a new Next.js project called nextjs-react-admin using the new App Router.
npx create-next-app@latest next-admin --ts --use-yarn --eslint --no-tailwind --no-src-dir --app --import-alias "@/*"
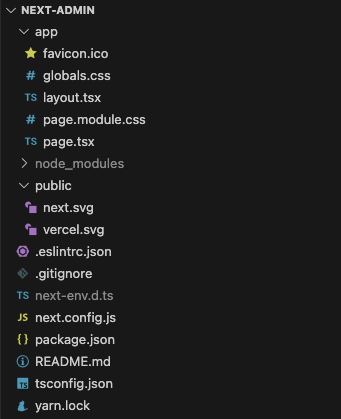
This creates a project with the following folder structure:
Adding React-Admin Dependencies
Add the react-admin npm package, as well as a data provider package. In this example, we’ll use ra-data-json-server to connect to a test API provided by JSONPlaceholder.
cd next-admin
yarn add react-admin ra-data-json-server
Creating the Admin App Component
Next, replace the app/page.tsx file with the following code, which initializes the react-admin app:
// in app/page.tsx
"use client";
import { Admin, Resource, ListGuesser, EditGuesser } from "react-admin";
import jsonServerProvider from "ra-data-json-server";

const dataProvider = jsonServerProvider("https://jsonplaceholder.typicode.com");

const App = () => (
  <Admin dataProvider={dataProvider}>
    <Resource name="users" list={ListGuesser} edit={EditGuesser} recordRepresentation="name" />
    <Resource name="posts" list={ListGuesser} edit={EditGuesser} recordRepresentation="title" />
    <Resource name="comments" list={ListGuesser} edit={EditGuesser} />
  </Admin>
);

export default App;
Now, start the server with yarn dev, browse to http://localhost:3000/, and you should see the working admin:
React-admin renders a CRUD for users, posts and comments, guessing the data structure from the API response.
Tip: Why the "use client" directive? React-admin is designed as a Single-Page Application, rendered on the client-side. It comes with various client-side only libraries (emotion, material-ui, react-query) leveraging the React Context API, and cannot be rendered using React Server components.
Tip: If you migrated from the Pages Router, you might have to delete the .next directory in your project to ensure NextJS bundles the client dependencies correctly.
Starting from there, you can Add an API as described in the previous section, and/or add features to the Next.js app, as explained in the Getting started tutorial