
TanStack Start Integration
TanStack Start is a full-stack React framework built on top of TanStack Router. React-admin supports TanStack Router as an alternative to react-router, so you can use react-admin in a TanStack Start application.
Setting Up TanStack Start
Let’s start by creating a new TanStack Start project. Run the following command:
npm create @tanstack/start@latest
# or
yarn create @tanstack/start
This script will ask you for more details about your project. The prompts include:
- What would you like to name your project? (example:
tanstack-admin) - Select toolchain
- Select deployment adapter
- What add-ons would you like for your project?
- Would you like an example?
- Initialize git repository
- Install dependencies
For this tutorial, we used the following choices in our local setup: ESLint toolchain, Nitro (agnostic) deployment adapter, Query add-on, and None for the example. You can pick different options depending on your needs.
If you want to see the current list of add-ons, run:
npm create @tanstack/start@latest --list-add-ons
# or
yarn create @tanstack/start --list-add-ons
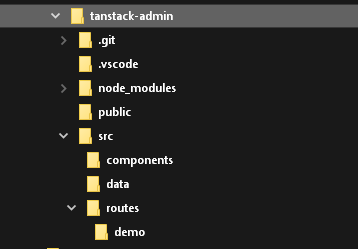
The project structure should look like this:
Setting Up React-Admin In TanStack Start
Add the react-admin and ra-router-tanstack packages, as well as a data provider package. In this example, we’ll use ra-data-json-server to connect to a test API provided by JSONPlaceholder.
cd tanstack-admin
npm install react-admin ra-router-tanstack ra-data-json-server
# or
yarn add react-admin ra-router-tanstack ra-data-json-server
Adding React-Admin In A Sub Route
TanStack Start uses file-based routing. React-admin generates dynamic routes for each resource (e.g. /admin/users, /admin/users/:id). To avoid creating one TanStack route per react-admin page, use a single splat route.
First, create the admin route at src/routes/admin.$.tsx:
// in src/routes/admin.$.tsx
import { createFileRoute } from '@tanstack/react-router';
import {
    Admin,
    Resource,
    ListGuesser,
    EditGuesser,
} from 'react-admin';
import jsonServerProvider from 'ra-data-json-server';
import { tanStackRouterProvider } from 'ra-router-tanstack';

const dataProvider = jsonServerProvider('https://jsonplaceholder.typicode.com');
export const Route = createFileRoute('/admin/$')({ component: App });

function App() {
    return (
        <Admin
            dataProvider={dataProvider}
            routerProvider={tanStackRouterProvider}
            basename="/admin"
        >
            <Resource
                name="users"
                list={ListGuesser}
                edit={EditGuesser}
            />
        </Admin>
    );
}

export default App;
Then keep the root route as a simple link to the admin:
// in src/routes/index.tsx
import { createFileRoute, Link } from '@tanstack/react-router';

function Home() {
    return (
        <div>
            <h1>TanStack Start + React-Admin</h1>
            <p>
                Go to the admin at <Link to="/admin">/admin</Link>
            </p>
        </div>
    );
}

export const Route = createFileRoute('/')({ component: Home });
You can now start the app in development mode:
npm run dev
# or
yarn dev
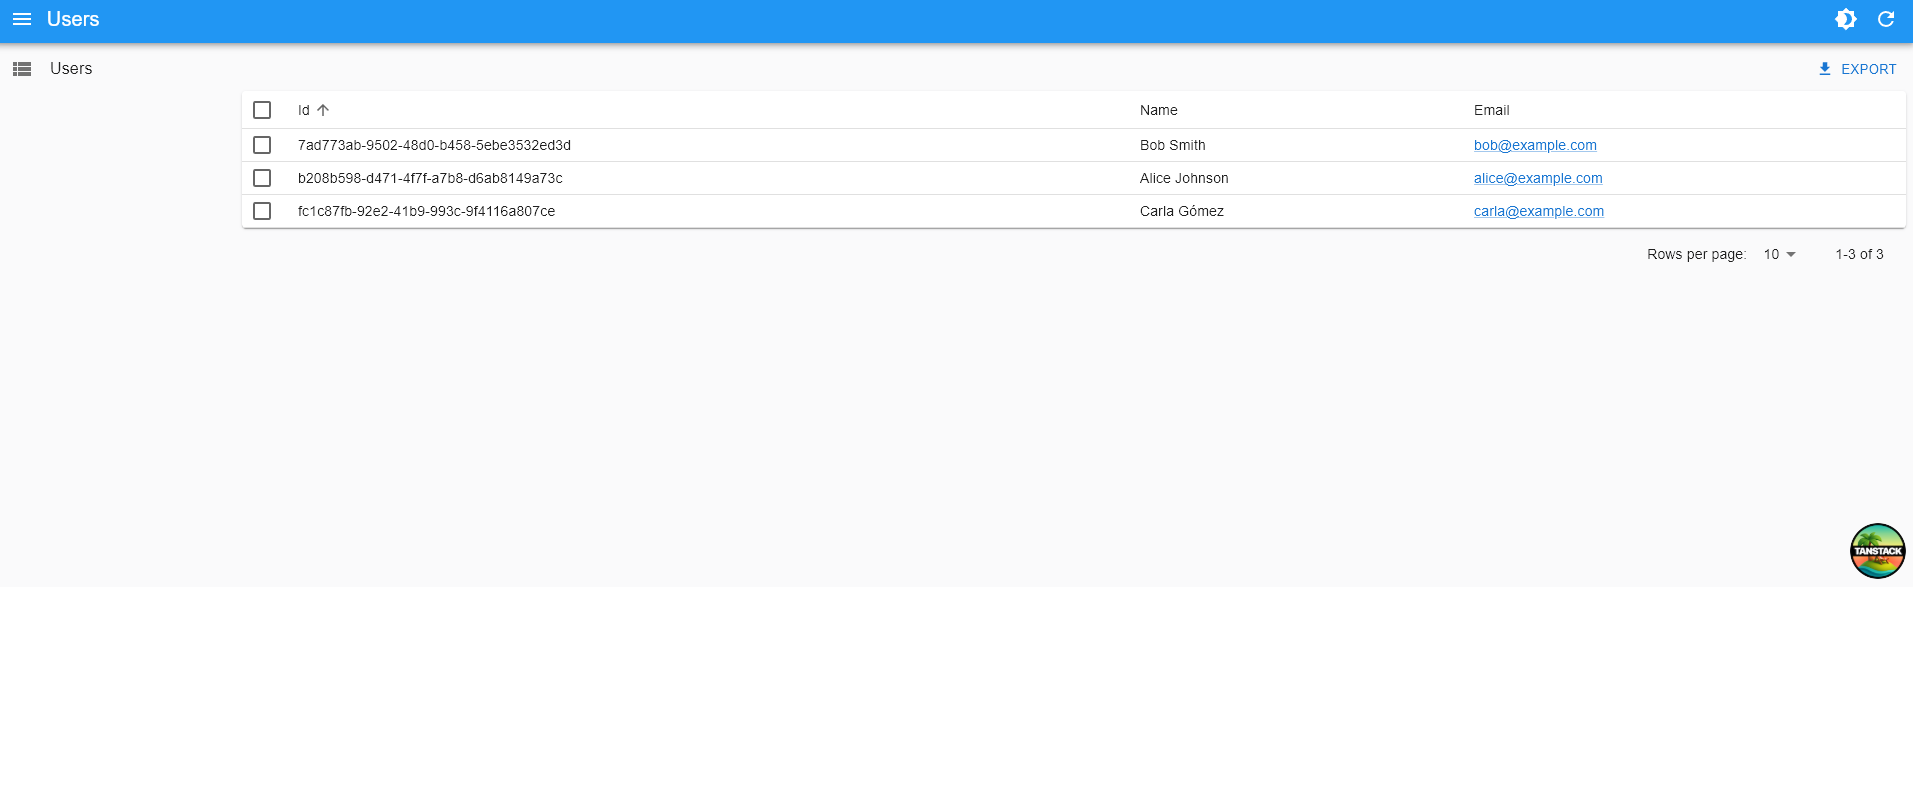
The admin should render at /admin on your dev server.
Tip: With the /admin/$ route, you don’t need to create one TanStack Start route file per react-admin page.
Removing The TanStack Header
TanStack Start adds a default header in the root layout. If you want the admin to render without that header, edit src/routes/__root.tsx and remove the <Header /> component from RootDocument.
Adding an API
TanStack Start doesn’t force a specific backend. If you need an API for your admin, you can:
- Use an external CRUD backend like Supabase or PostgREST
- Proxy requests through your app’s server runtime (if your deployment includes one)
For example, you can create a REST API with Supabase and proxy it through TanStack Start so you don’t expose service keys to the browser.
First, create a Supabase REST API and its associated PostgreSQL database directly on the Supabase website (it’s free for tests and low usage). Once the setup is finished, use the Supabase manager to add the following table:
userswith fields:id,name, andemail
You can populate these tables via the Supabase UI if you want.
Supabase exposes a REST API at https://YOUR_INSTANCE.supabase.co/rest/v1.
Next, create a configuration to let the TanStack Start app connect to Supabase. Create a .env file:
# In `.env`
SUPABASE_URL="https://MY_INSTANCE.supabase.co"
SUPABASE_SERVICE_ROLE="MY_SERVICE_ROLE_KEY"
Tip: This example uses the service role key here and not the anonymous role. This allows mutations without dealing with authorization. You shouldn’t do this in production, but use the Supabase authorization feature instead.
Time to bootstrap the API Proxy. Create a new TanStack Start route at src/routes/api.$.ts:
// in src/routes/api.$.ts
import { createFileRoute } from '@tanstack/react-router'

export const Route = createFileRoute('/api/$')({
    server: {
        handlers: {
            GET: ({ request }) => proxy(request),
            POST: ({ request }) => proxy(request),
            PUT: ({ request }) => proxy(request),
            DELETE: ({ request }) => proxy(request),
        },
    },
})

const API_PREFIX = '/api'

const proxy = (request: Request) => {
    const apiUrl = getSupabaseUrlFromRequestUrl(request.url)

    return fetch(apiUrl, {
        method: request.method,
        body: request.body,
        headers: {
            prefer: request.headers.get('prefer') ?? '',
            accept: request.headers.get('accept') ?? 'application/json',
            'Accept-Encoding': '',
            apiKey: `${process.env.SUPABASE_SERVICE_ROLE}`,
            Authorization: `Bearer ${process.env.SUPABASE_SERVICE_ROLE}`,
        },
    })
}

const getSupabaseUrlFromRequestUrl = (url: string) => {
    const startOfRequest = url.indexOf(API_PREFIX)
    const query = url.substring(startOfRequest + API_PREFIX.length)
    return `${process.env.SUPABASE_URL}/rest/v1${query}`
}
Tip: Some of this code is PostgREST-specific. The prefer header is required to let PostgREST return one record instead of an array containing one record in response to getOne requests. A proxy for another CRUD API will require different parameters.
Update the react-admin data provider to use the Supabase adapter instead of the JSON Server one. As Supabase provides a PostgREST endpoint, we’ll use ra-data-postgrest:
npm install @raphiniert/ra-data-postgrest
# or
yarn add @raphiniert/ra-data-postgrest
Finally, update your Admin dataProvider:
// in src/routes/admin.$.tsx
import { Admin, Resource, ListGuesser, fetchUtils } from 'react-admin';
import postgrestRestProvider from '@raphiniert/ra-data-postgrest';
import { tanStackRouterProvider } from 'ra-router-tanstack';

const dataProvider = postgrestRestProvider({
    apiUrl: '/api',
    httpClient: fetchUtils.fetchJson,
    defaultListOp: 'eq',
    schema: () => '',
});

// ... keep the rest of the file the same
Next Steps
For standalone vs embedded setups, see the TanStack Router Integration.